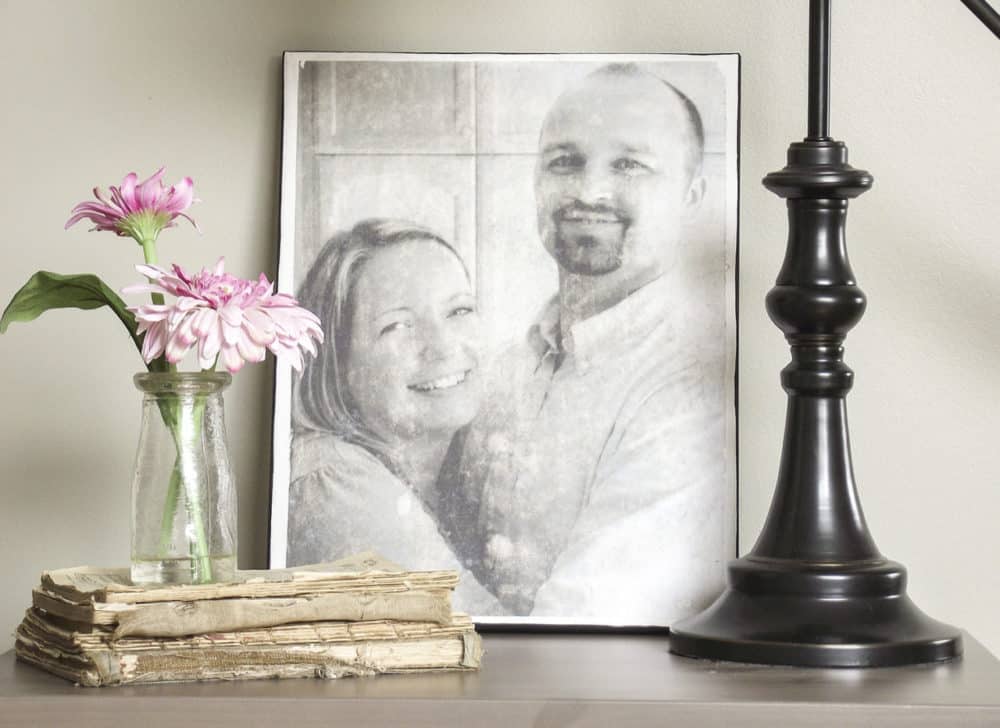
There’s something magical about crafting decor that feels personal and unique, isn’t there? Recently, I felt inspired to create something special for our bedroom and decided to try transferring a photo of Dean and me onto a canvas using Mod Podge Photo Transfer Medium. Not only was it a fun and easy project, but the results were stunning—our photo now looks like a custom piece of art!
If you’re interested in more DIY decor ideas that add charm and personality to your space, check out my Pencil Transfer Method – How to Easily Create Art tutorial. It’s a beginner-friendly way to update your home with style!
How to Use Mod Podge Photo Transfer Medium on Canvas
Here’s a quick step-by-step guide for transferring a photo to canvas.
Supplies You’ll Need:
- Mod Podge Photo Transfer Medium
- Canvas
- Laser-printed photo on plain paper (no photo paper!)
- Scissors
- Two foam brushes
- Sponge
- Water
- Paint (optional)
Instructions:
1. Choose your photo and size it to fit your canvas using photo editing software (like Canva or Photoshop).
2. Print your image on plain paper. Avoid using photo paper, as it won’t work.
3. Trim the photo to fit your canvas, leaving a half-inch border if desired.
4. On a protected surface, apply a thick, even layer of Mod Podge Photo Transfer Medium to the front of your photo and spread it all over using a foam brush.


5. Place the sticky side of the photo face-down on the canvas. Smooth out air bubbles gently, starting from the center. Let it dry for 24 hours.

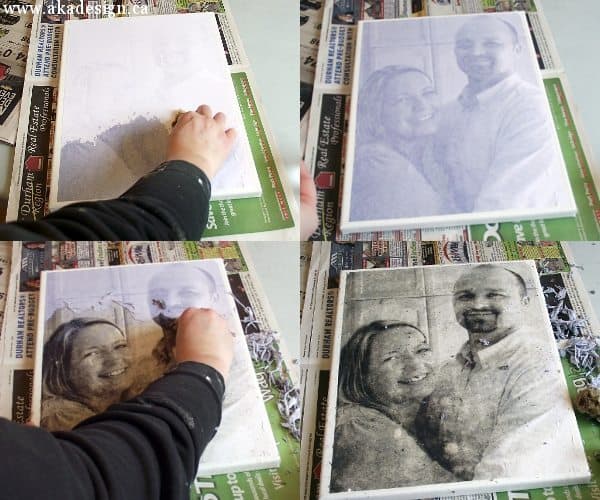
6. Once dry, wet the paper with a damp sponge and gently rub the paper off in circular motions until only the image remains on the canvas.

7. Let it dry completely, then brush off any paper residue.
8. (Optional) Paint the canvas edges for a finished look.
What Surfaces Can You Transfer Images Onto with Mod Podge?
While I started with a canvas, Mod Podge Photo Transfer Medium works beautifully on many other surfaces. Here are a few creative ideas to try:
- Glass: Candle holders, photo frames, antique windows
- Wood: Signs, ornaments, coasters
- Fabric: Pillows, napkins, placemats
- Clay or Terra Cotta: Jewelry, pots, planters
The versatility of this medium makes it a go-to for creating personalized gifts and unique home decor.
FAQs
aser-printed images on regular paper work best. Avoid glossy or photo paper.
No, unfortunately, inkjet prints won’t work. Let inkjet prints dry thoroughly before use.
Allow a full 24 hours for it to dry completely before wetting and removing the paper.
Unfortunately, no. Since the transferred image is paper-based, it won’t hold up outdoors.
More Home Decor Crafts
- DIY Topiary Trees from Dollar Store Supplies
- Embroidery Hoop Orbs – Easily Make Your Own
- DIY Moss Topiary Balls | How to Make a Topiary
- Photo Coasters – Make Your Own Picture Coasters
- DIY Wood Bead Garland with Tassels & Tag
- Mod Podge Photo Transfer: Easy Canvas Art How-To
- How to Make a Magnolia Leaf Wreath on the Cheap!
- How to Make a Hand Lettered Canvas Sign the Easy Way (No Skills Needed!)
- How to Make a DIY Floating Frame to Enhance Your Art

Mod Podge Photo Transfer: Easy Custom Canvas Art
Materials
- Mod Podge Photo Transfer Medium
- Canvas
- INK JET printout of photo
- Water
- Sponge
- Paint
Tools
- Scissors
- Two foam brushes
Instructions
- Choose your photo. Using a photo editing software (I used Photoshop, but you can use Canva or any other program you know), size to fit your canvas. If desired change mode to grayscale.
- Print photo on PLAIN paper. Photo paper will NOT work.
- Trim photo to fit canvas, leaving about a half inch space for border around the edge. Transfer Medium doesn't dry clear, so be sure to trim right to the edge of your image or you'll have a white outline.
- On a protected surface (I used newspaper I had on hand), using a sponge brush to spread a thick layer of Transfer Medium all over the FRONT SIDE of your photocopied, trimmed photo. All you want to see is WHITE.
- Without touching the sticky surface, place your photo paper sticky side down onto your canvas.
- Tap gently in the center and then smooth outwards toward the edges on all sides, removing air bubbles as you go. LET DRY FOR 24 HOURS.
- Softly press a fairly wet sponge onto the image on canvas until the entire thing is damp to wet. Now squeeze out the sponge into a cup.
- Using a circular motion and the damp sponge, rub the paper off the canvas; you'll see it sort of rub off in small pieces Continue until all you see is your transferred image. Gently brush off any additional paper pieces and let dry.
- Using a foam brush and black craft paint, carefully paint just the edges of the canvas.
Transferring photos onto canvas with Mod Podge Photo Transfer Medium is such a fun and satisfying project. Whether you’re crafting for your home or creating gifts for loved ones, this method makes it easy to add a personal touch to almost any surface. With just a little patience and the right supplies, you can create custom decor that’s as meaningful as it is beautiful.
I’d love to hear about your experience if you give this project a try! Have questions or tips of your own? Share them in the comments below.

Want to see more content like this in your Google searches?
This button tells Google that Home Made Lovely is a source you like, so it can show you more of it.