This post contains affiliate links & photos. See our full disclosure here.
Have you ever fallen in love with a beautiful magnolia leaf wreath, only to be shocked by the price tag? I’ve been there! The gorgeous faux magnolia wreath from Fixer Upper is a fan favorite, but at nearly $100 plus shipping, it can be a hard pill to swallow. Don’t worry—I’ve got the perfect solution for you. I’m going to show you how to make a DIY magnolia wreath that looks just like the original, but for much less.

Last year, I was in a rush and thought I could quickly wire some magnolia leaves onto a wreath form. Spoiler alert: it didn’t work! The leaves wouldn’t stay in place, and they looked way too shiny and fake. While it was decent enough for photos, it definitely wasn’t the timeless, farmhouse look I was going for.
But after some trial and error, I finally came up with a version that’s way better, looks full and realistic, and actually stays put! Here’s how you can make your own magnolia leaf wreath, just like the one from Magnolia—but at a fraction of the price.
How to Make a Magnolia Leaf Wreath Just Like the Original For Much Less
Magnolia’s signature wreath costs about $98 USD—and with shipping and customs fees, it can quickly add up to over $200 CAD for those of us north of the border. But with a little paint and patience, you can create a beautiful, budget-friendly version that looks almost identical!
Magnolia Leaf Wreath Supplies
- faux magnolia leaves (see tip below)
- 12″ grapevine wreath
- small paint brushes
- sea sponges
- matte acrylic craft paints – a sunset color, nutmeg brown color, and ivy green color
- tin snips or floral scissors
- glue gun and glue
- Kraft/butcher paper (optional)
💡Tip: You have several options for magnolia leaves. You can use stems, garlands, or individual leaves. I’ve even used a cheap pre-made wreath and cut the leaves off—works just as well!
Step-by-Step Instructions
1. Prepare Your Workspace: Lay out your supplies on a surface you’re okay with getting paint or glue on. I used a big roll of Kraft paper on my kitchen island. It’s perfect for a project like this where you’ll be switching between tasks!
2. Separate the Leaves: If you’re using stems or a pre-made wreath, remove the leaves carefully.

3. Mix Your Paint Colors: Use a paper plate to mix your paints. I suggest making 3 brown shades and 3 green shades for the perfect color variety. The colors I used were:
- 100% Dark Chocolate
- Mix of Dark Chocolate and Antique Gold
- 100% Olive Green
- Mix of Olive Green and Antique Gold
4. Paint the Leaves: Carefully paint each leaf using your mixed colors. I love to check the original Magnolia wreath for inspiration, as it has such beautiful subtle variations in color. Let them dry completely.

5. Add Accents: Once your leaves are dry, use a sea sponge to dab on accent colors like a lighter green on the tips of green leaves, or brown on the edges. This creates that lovely, multi-colored depth you’ll see in the Magnolia wreath.

6. Assemble the Wreath: Using your hot glue gun, attach the leaves to your grapevine wreath. Start at the base and work your way around, positioning the leaves in the same direction. Step back every now and then to check for gaps, and fill them in as needed.


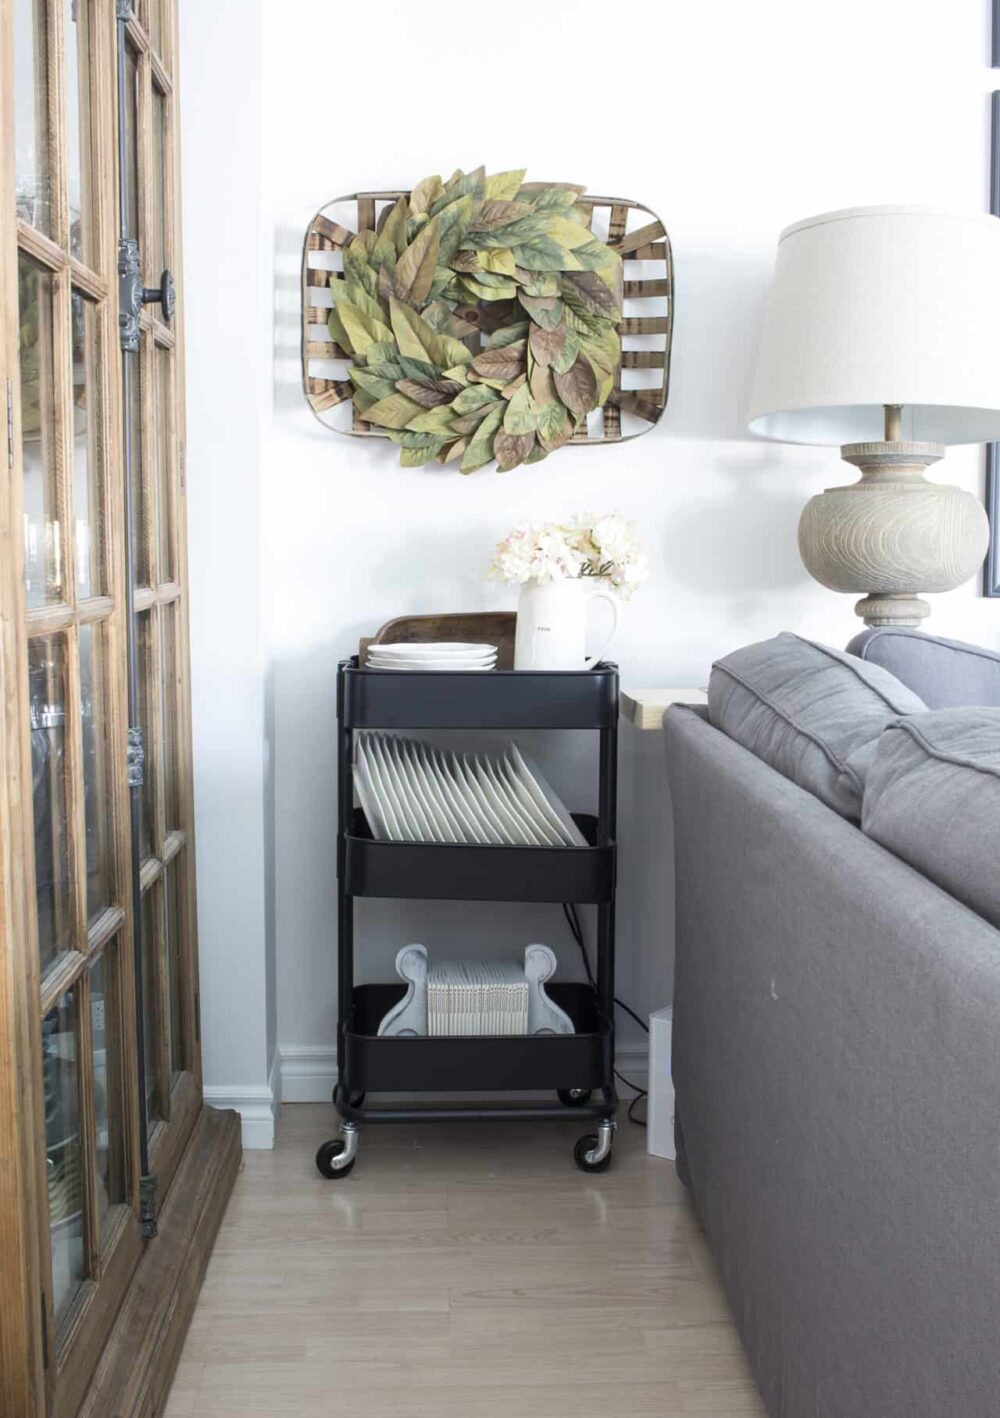
Where to Display Your Finished Magnolia Wreath
This wreath looks amazing just about anywhere! Here are a few places I love displaying it:
- On a front or interior door
- On a mirror or window
- Over a fireplace mantel
- On the back of a chair
- On a bookshelf or kitchen cupboard door
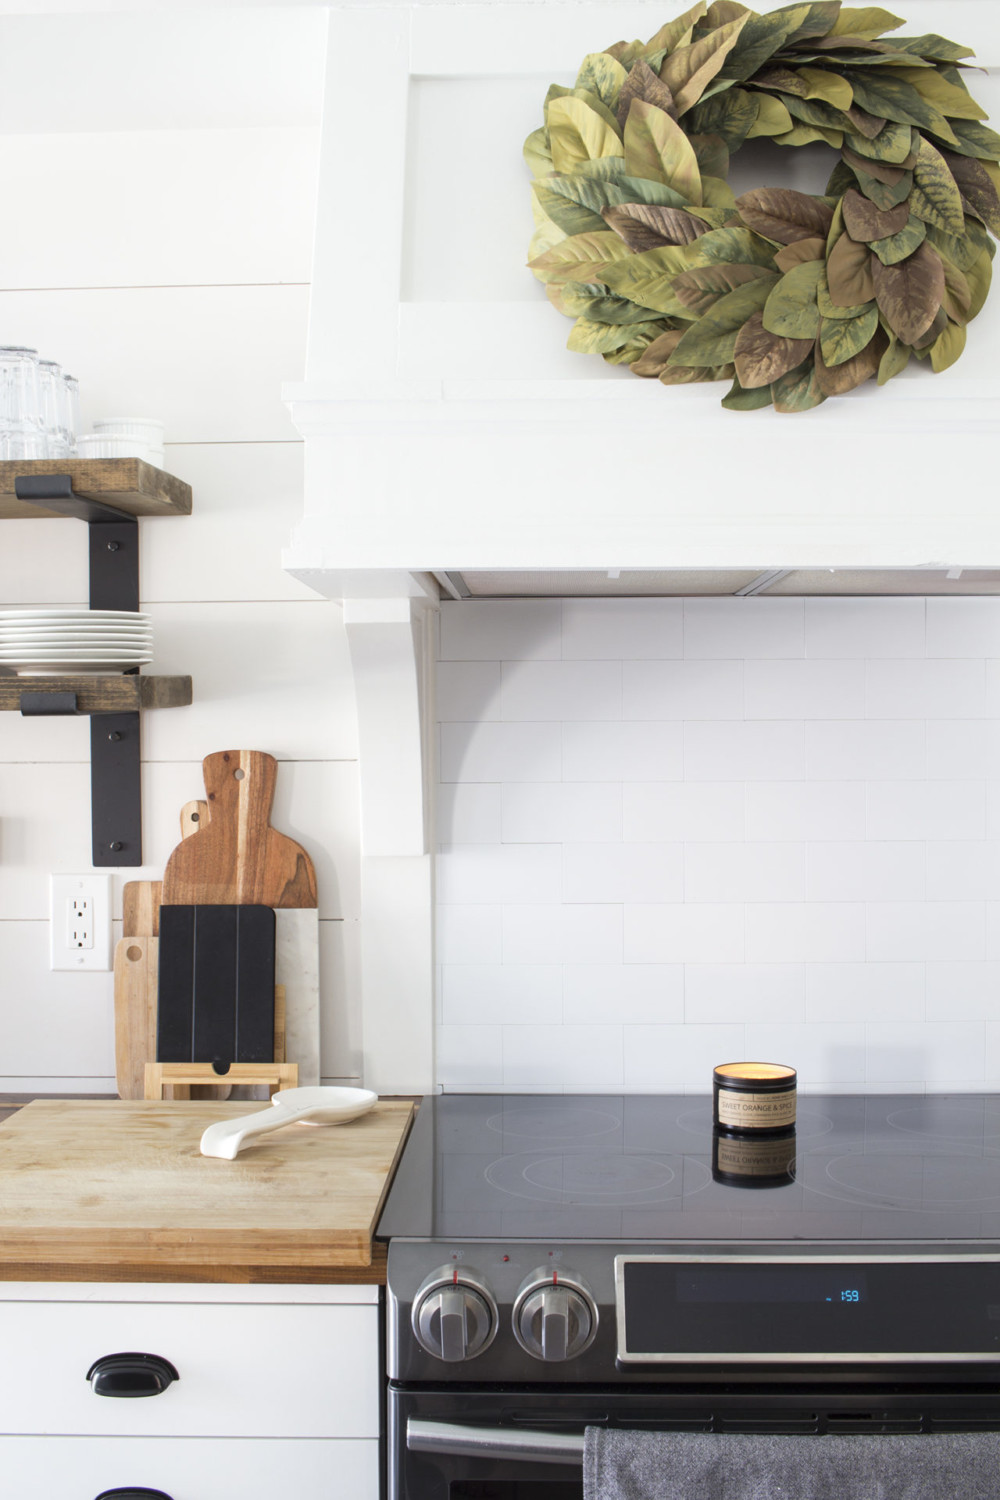
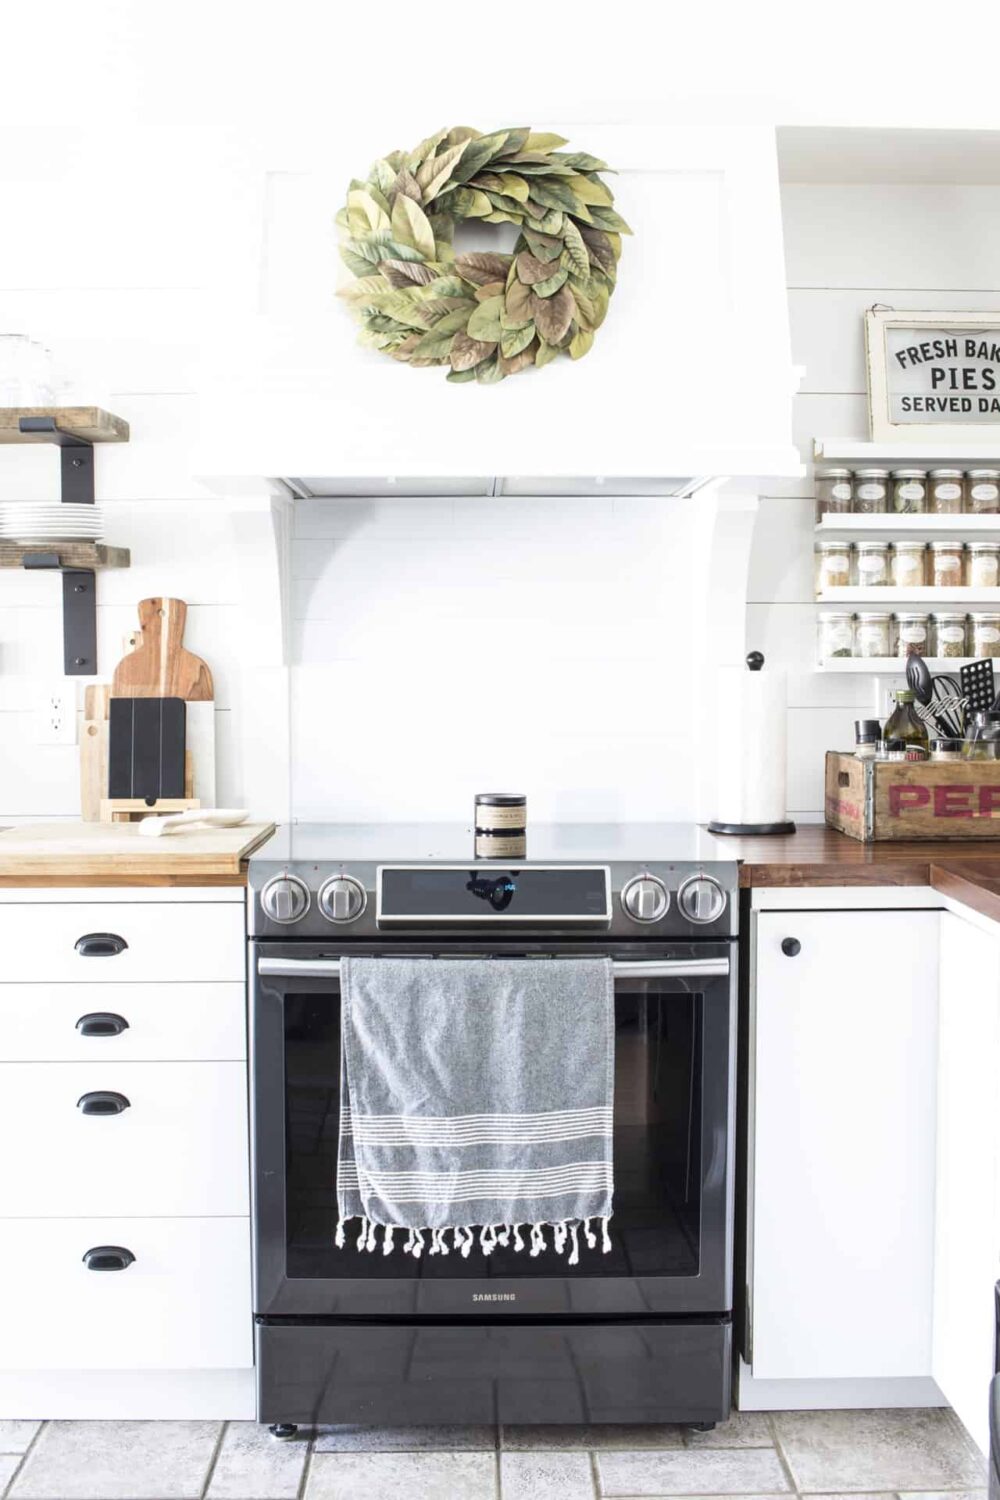
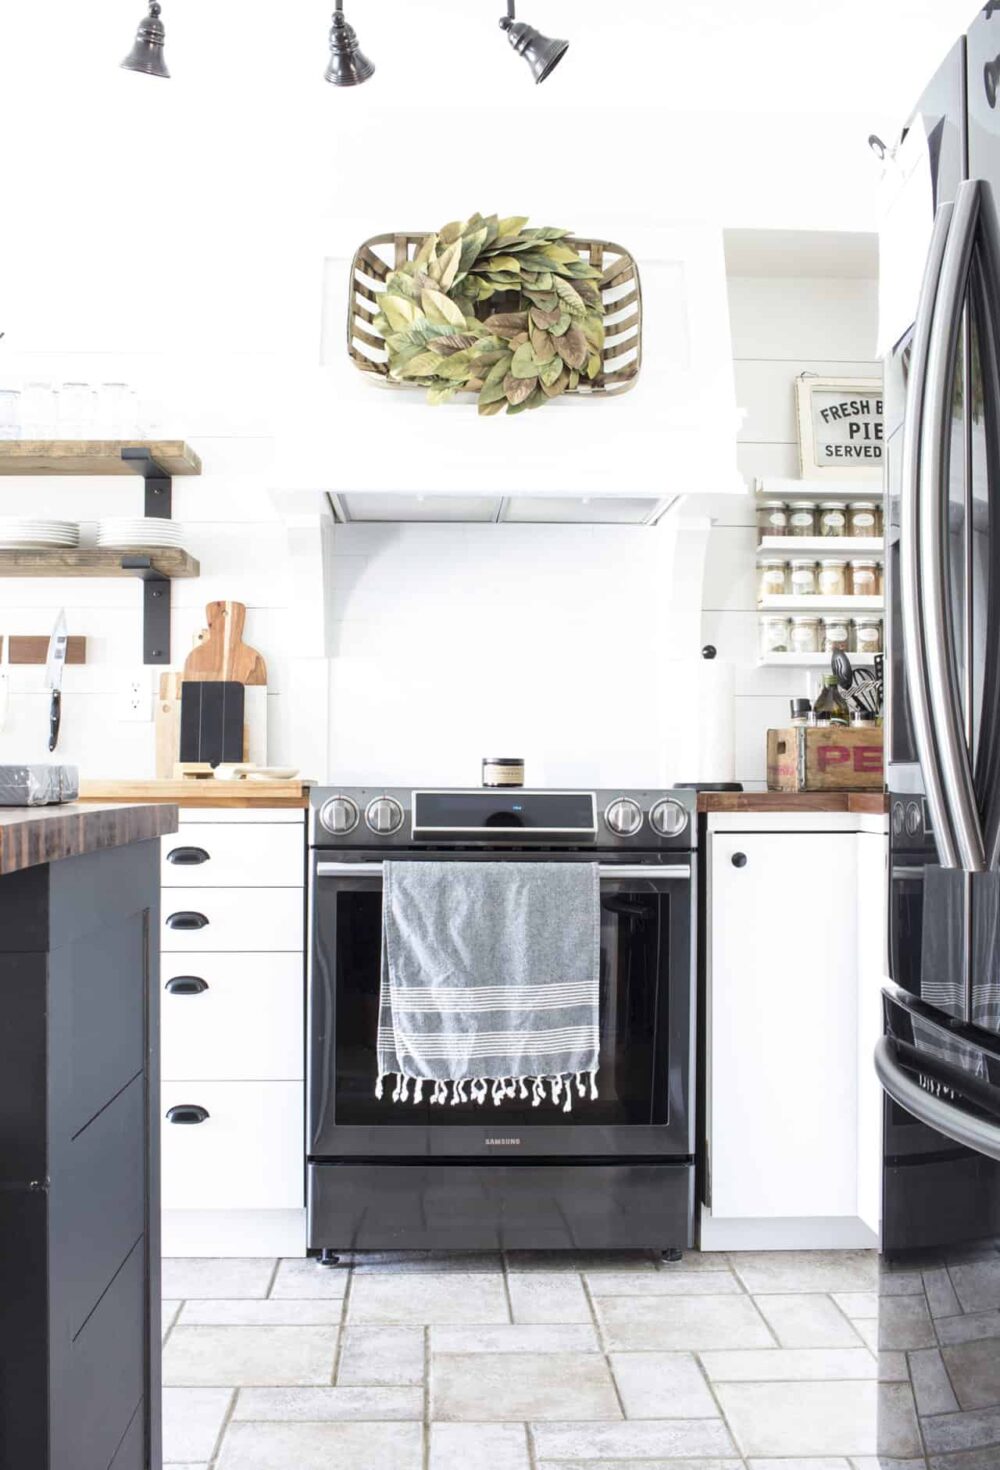
- Or for that farmhouse vibe, hang it on a tobacco basket or above your stove range hood!

Video Tutorial
FAQs
Don’t worry! You can use magnolia stems, garlands, or even a pre-made wreath. Just remove the leaves and follow the same steps.
Hot glue is your best friend! Be sure to step back and check your wreath as you go, filling in any gaps with extra leaves.
Absolutely! Feel free to adjust the paint colors to suit your style. I chose more neutral, earthy tones, but you can definitely experiment with different shades.
More Home Decor Crafts
- DIY Topiary Trees from Dollar Store Supplies
- Embroidery Hoop Orbs – Easily Make Your Own
- DIY Moss Topiary Balls | How to Make a Topiary
- Photo Coasters – Make Your Own Picture Coasters
- DIY Wood Bead Garland with Tassels & Tag
- Mod Podge Photo Transfer: Easy Canvas Art How-To
- How to Make a Magnolia Leaf Wreath on the Cheap!
- How to Make a Hand Lettered Canvas Sign the Easy Way (No Skills Needed!)
- How to Make a DIY Floating Frame to Enhance Your Art

How to Make a Magnolia Leaf Wreath Tutorial
Materials
- faux magnolia leaves (see note below)
- 12″ grapevine wreath
- matte acrylic craft paints – a sunset color, nutmeg brown color and ivy green color
- Kraft/butcher paper (optional)
Tools
- small paint brushes
- sea sponges
- tin snips or floral scissors
- glue gun and glue
Instructions
- Lay out all your supplies on a surface you don’t mind getting paint or hot glue on. I used some of my brown Kraft/butcher paper roll taped to my kitchen island. That way I could listen to music, watch TV or even make dinner between steps!
- Separate each leaf from the stems, wreath or garlands if needed.
- Mix 6 shades/colors of paint using your craft paints onto a paper plate or other suitable dish. You’ll want 3 brownish shades and 3 greenish shades. I used Decoart Americana in Dark Chocolate and Antique Gold as well as Craft Smart in Olive Green. The colors I used were: 100% Dark Chocolate, mix of 50% Dark Chocolate + 50% Antique Gold mix of 75% Dark Chocolate + 25% Antique Gold 100% Olive Green mix of 50% Olive Green + 50% Antique Gold mix 75% Olive Green + 25% Antique Gold.
- Paint all your leaves with your mixed paint colors. While painting, periodically look at the original Magnolia wreath to see the color mix. It’s amazing that there’s actually such a variety of color when you really look at it. Let dry.
- Once your painted leaves are all dry, add a little color variation by sponging on an accent color (a lighter green on green leaves, or some brown on green leaves, etc.), paying particular attention to the ends of the leaves where the lighter color is more concentrated. Let dry.
- Then simply affix all your leaves (pointed in the same general direction) using hot glue to the grapevine wreath. Work your way around the wreath, filling it well from side to side as you go. Make sure you step back every once in awhile, or hold your wreath up to make sure there are no gaps. If there are, fill them in with more leaves.
Notes
Note: You have a few options for magnolia leaves to use for this project. You can use magnolia stems, garlands, packaged individual leaves or even a cheapo magnolia wreath.
Here’s what you’d need to make the wreath:
If you love the look of a magnolia wreath but don’t love the price tag, this DIY version is the perfect solution. With just a few simple supplies and a little patience, you can create a wreath that looks just like the original, but for a fraction of the cost. Plus, it’s a fun and quick project—perfect for a weekend craft session!
Do you love magnolia wreaths as much as I do? Let me know how you’d display your DIY wreath, or share your favorite wreath crafting tips in the comments below!

Want to see more content like this in your Google searches?
This button tells Google that Home Made Lovely is a source you like, so it can show you more of it.