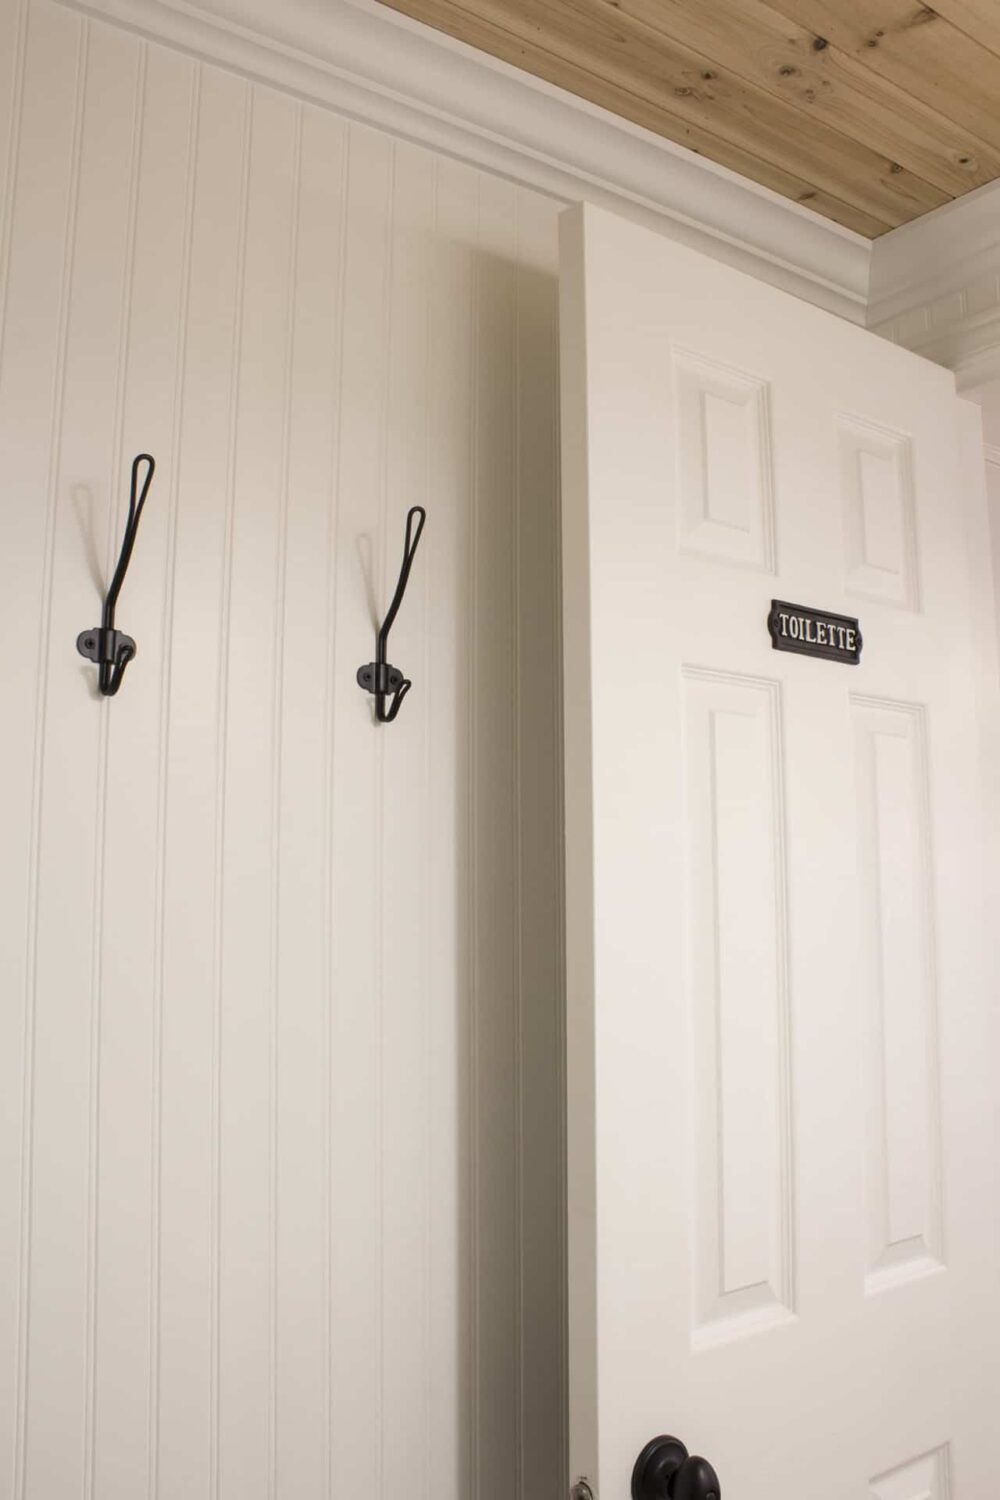
For as long as I can remember, I’ve dreamed of adding beadboard walls and a cedar plank ceiling with crown molding to our powder room. There’s just something about the combination that feels timeless and charming. When we finally tackled this project, it turned out even better than I had imagined! If you’re looking for a way to transform a space without breaking the bank, beadboard is the perfect place to start.
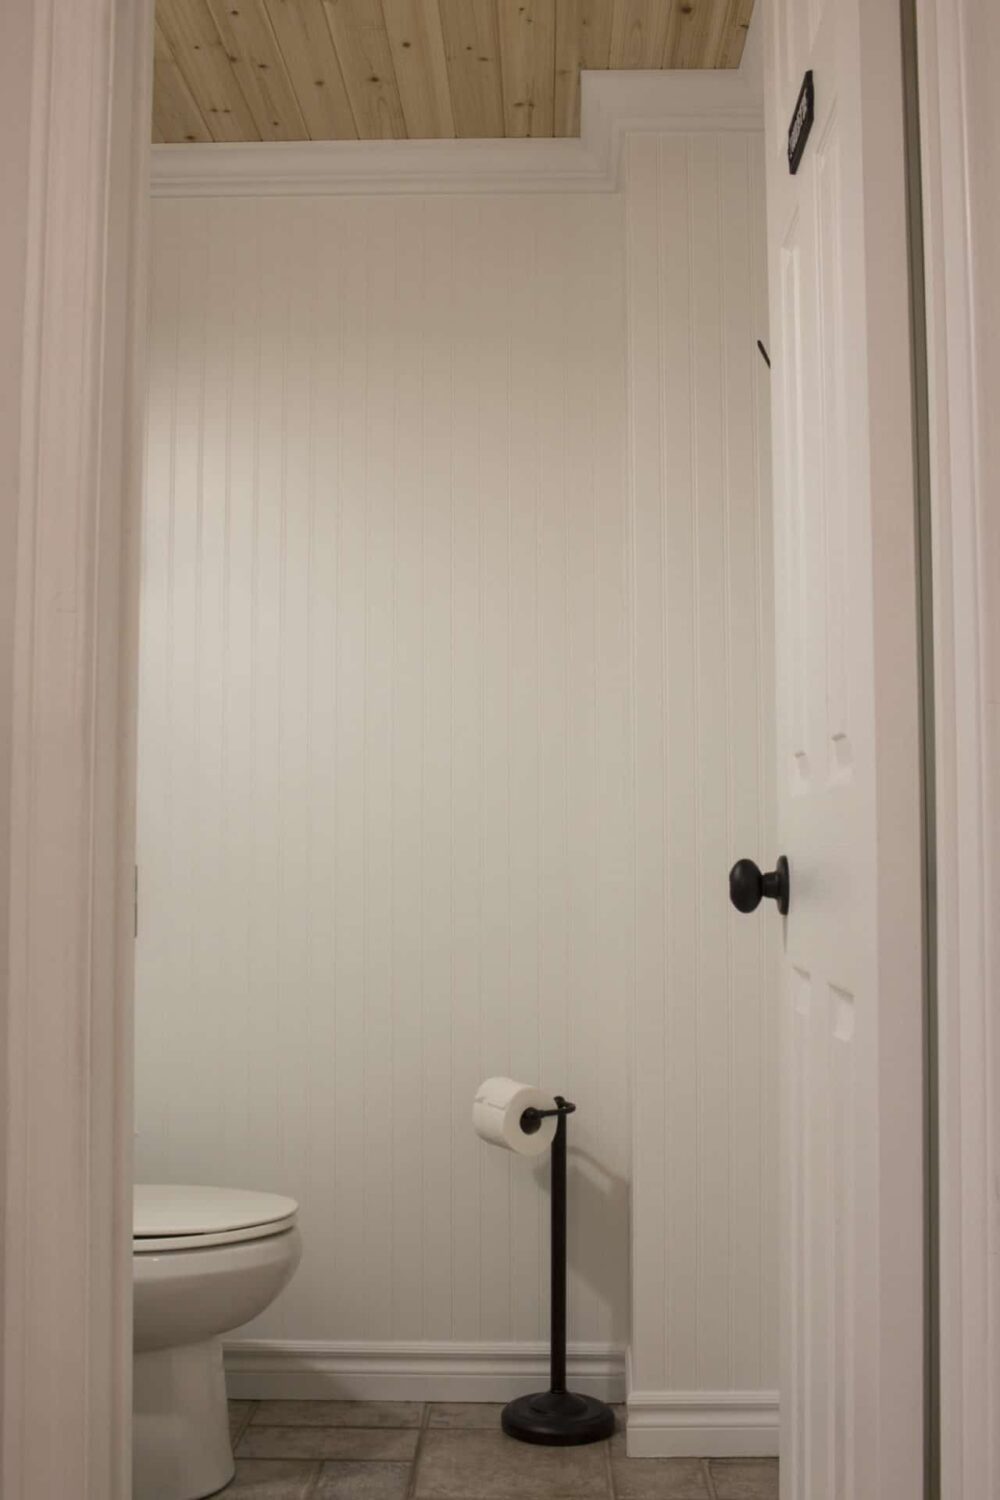
Before tackling beadboard, I had already freshened up our powder room with paint and a new sink, but something was still missing. That’s when I realized beadboard paneling could give the walls the clean, classic look I was craving. (If you’re dreaming of a ceiling upgrade too, check out my tutorial on installing a cedar plank tongue-and-groove ceiling for even more ideas!)

Step-by-Step Instructions
1. Prepare the Room
- Remove everything from the walls, including outlet covers, switch plates, and anything hanging.
- Decide whether to remove the baseboards:
- If removing baseboards: Carefully pry them off the wall using a crowbar or flathead screwdriver.
- If keeping baseboards (what we did): Ensure the beadboard panels fit snugly against the top edge of the existing baseboards.
2. Measure and Cut
- Measure your walls and cut your beadboard panels to size.
- Start with full panels for the most visible areas and plan the seams for less obvious spots.

3. Start Installation
- Begin installing panels from a corner. Use a level to ensure the first panel is straight, as this sets the tone for the rest of the installation.
- Place the beadboard snugly against the existing baseboards (or flush to the floor if you’ve removed them). Use a nail gun to secure each panel to the wall, nailing along the grooves for a seamless finish.
4. Work Around Obstacles
- For outlets or other interruptions, cut holes in the beadboard using a jigsaw. Precision here will save headaches later!
5. Add Trim and Finish
- If you removed the baseboards, reinstall or replace them after installing the beadboard. If you kept them in place, check that the beadboard sits evenly against the top of the baseboards.
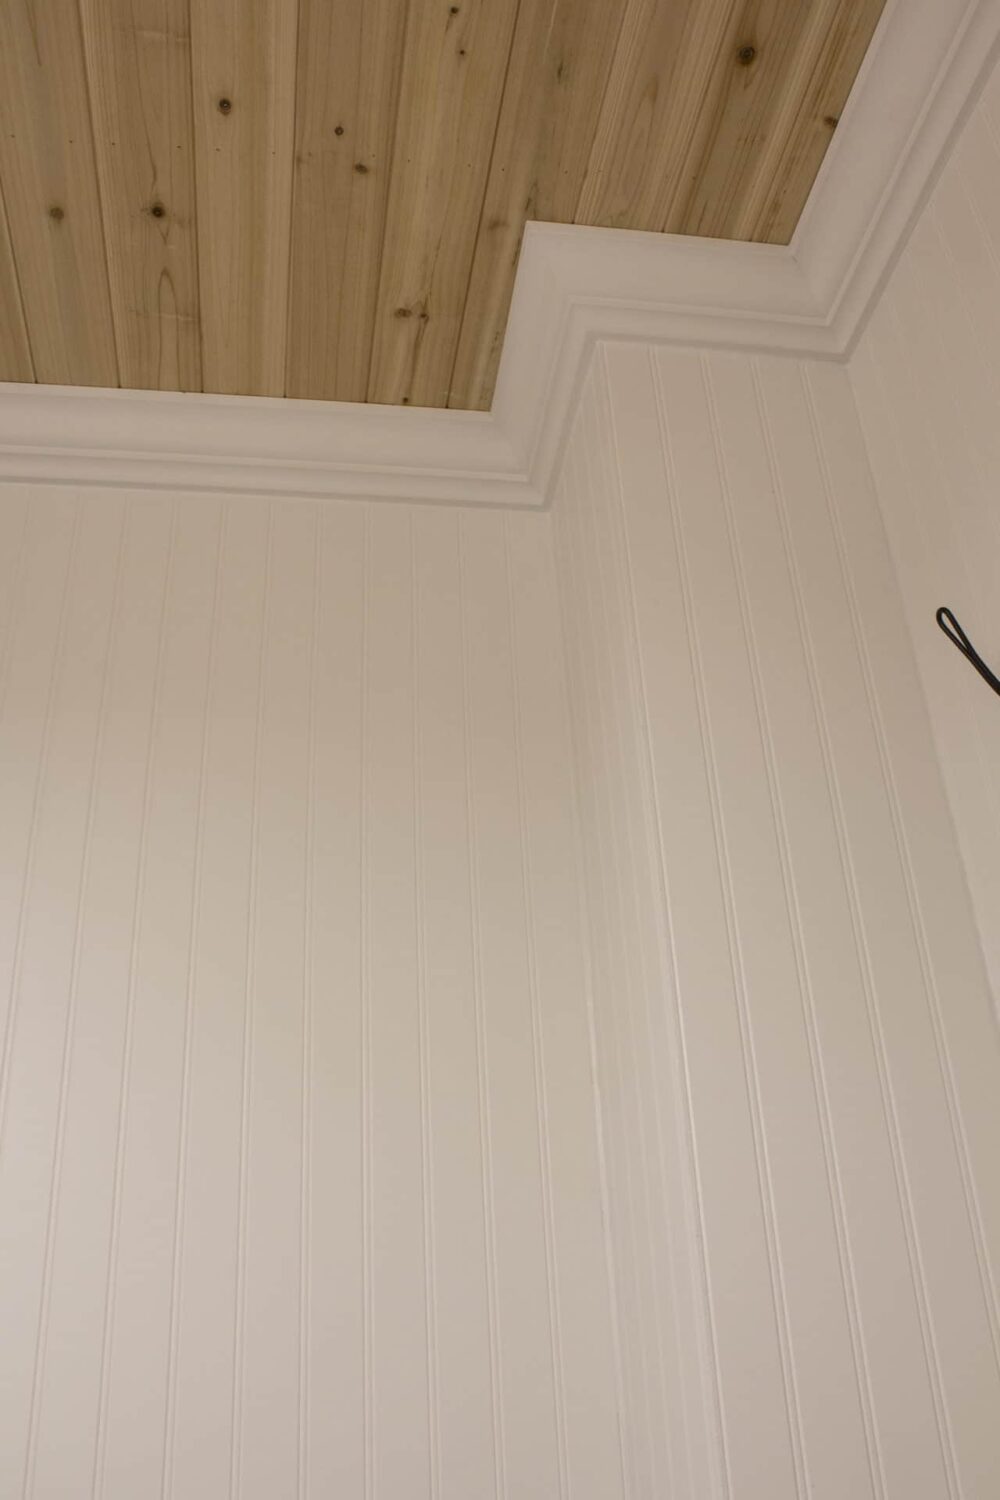
- Add a chair rail or crown molding for a polished look.
- Caulk along seams and edges to create a smooth transition.
6. Fill, Sand, and Paint
- Fill nail holes with filler, then sand smooth once dry. Paint the beadboard with a durable, washable paint to complete the look.
FAQs
The cost varies, but you can expect to pay $20–$40 per panel, depending on the material and quality.
Yes, but you’ll need to smooth the texture first with a skim coat or by sanding to ensure a flat surface for installation.
MDF is more affordable and easier to paint, but real wood is more durable and resists warping better in humid areas.
A nail gun is highly recommended for a secure and professional-looking finish. Other basic tools like a level and measuring tape are sufficient for the rest.
Absolutely! You can install the beadboard tight against the top of your existing baseboards for a clean look. Just ensure the beadboard aligns evenly across the room.
More Character-Adding DIY Projects
- DIY Board and Batten Tutorial
- How to DIY a Shiplap Wall the Cheap and Easy Way!
- How to DIY a Professional Looking Coffered Ceiling for Less than $500!
- How to Install Panel Moulding: Adding Character to Your Home
- How to Install Beadboard Paneling: A Step-by-Step DIY Guide
- How to Install a Cedar Plank Ceiling: Step-by-Step DIY Tutorial
- Shiplap and Barn Beam Fireplace Mantel Makeover
How to Install Beadboard Paneling Tutorial
Transform your space with beadboard walls! Learn how to install beadboard paneling step by step for a classic, farmhouse-inspired look.
Materials
- Beadboard panels (measure your space to determine how much you’ll need)
- Paint and paintbrush/roller
- Caulk
- Hole filler
Tools
- Nail gun and nails
- Level
- Measuring tape
- Jigsaw (for cutting around outlets)
- Sandpaper
Instructions
Step 1: Prepare the Room
- Remove outlet covers, switch plates, and wall decor.
- Decide whether to remove baseboards:
Option 1: Remove baseboards carefully using a crowbar.
Option 2: Leave baseboards in place and fit beadboard snugly against the top.
Step 2: Measure and Cut
- Measure walls and cut beadboard panels to size.
- Start with full panels for visible areas and plan seams for hidden spots.
Step 3: Install the Panels
- Begin in a corner, ensuring the first panel is level.
- Use a nail gun to secure panels to the wall along the grooves.
Step 4: Work Around Obstacles
- Cut holes in the beadboard for outlets or other interruptions using a jigsaw.
Step 5: Add Trim
- Reinstall or add new baseboards if needed. Add a chair rail or crown molding for a finished look.
Step 6: Caulk, Fill, and Paint
- Caulk seams and edges for a polished look.
- Fill nail holes, sand smooth, and paint with durable paint.
Adding beadboard walls to our powder room was the game-changer I didn’t realize I needed. It’s amazing how such a simple project can completely transform a space! Whether you’re starting fresh or working around existing features like baseboards, beadboard is a versatile option that adds character to any room. I’d love to hear your questions or see your before-and-after photos—share them in the comments below!

Want to see more content like this in your Google searches?
This button tells Google that Home Made Lovely is a source you like, so it can show you more of it.