When we first toured this house, I could see its potential, but it needed something special to make it feel like home. The walls were flat and uninspiring—classic builder-grade—but I knew panel moulding could be the perfect solution. It’s amazing how something as simple as trim can completely transform a space, adding subtle elegance and timeless character.
If you’re looking for other ways to add charm to your walls, you might enjoy my post on How to DIY a Shiplap Wall the Cheap and Easy Way. Both projects are great for elevating your home’s look while keeping things budget-friendly and beginner-friendly.
Why Panel Moulding Transforms a Space
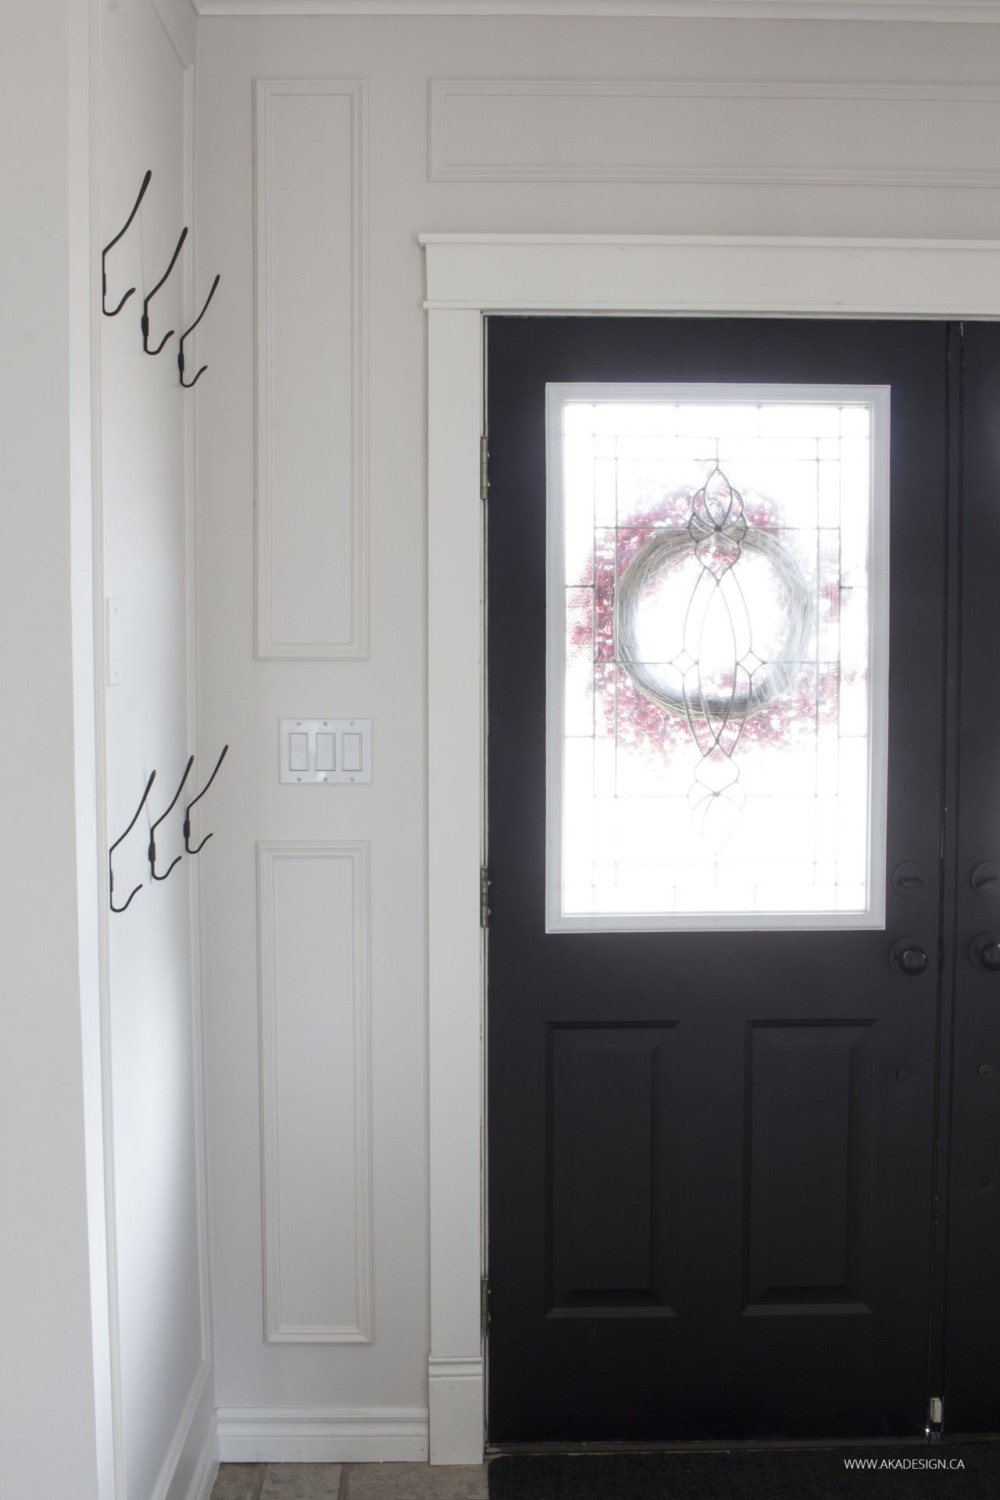
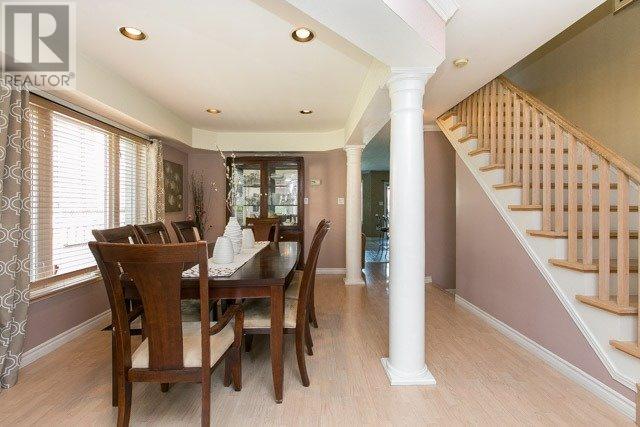
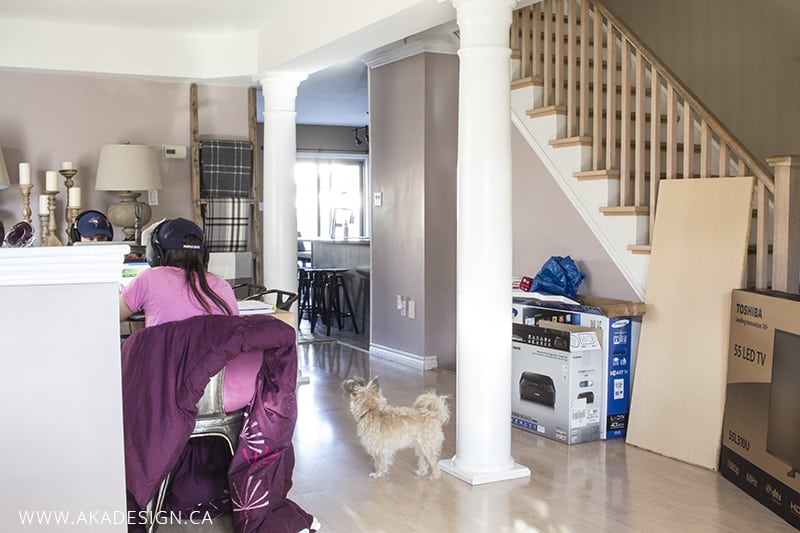
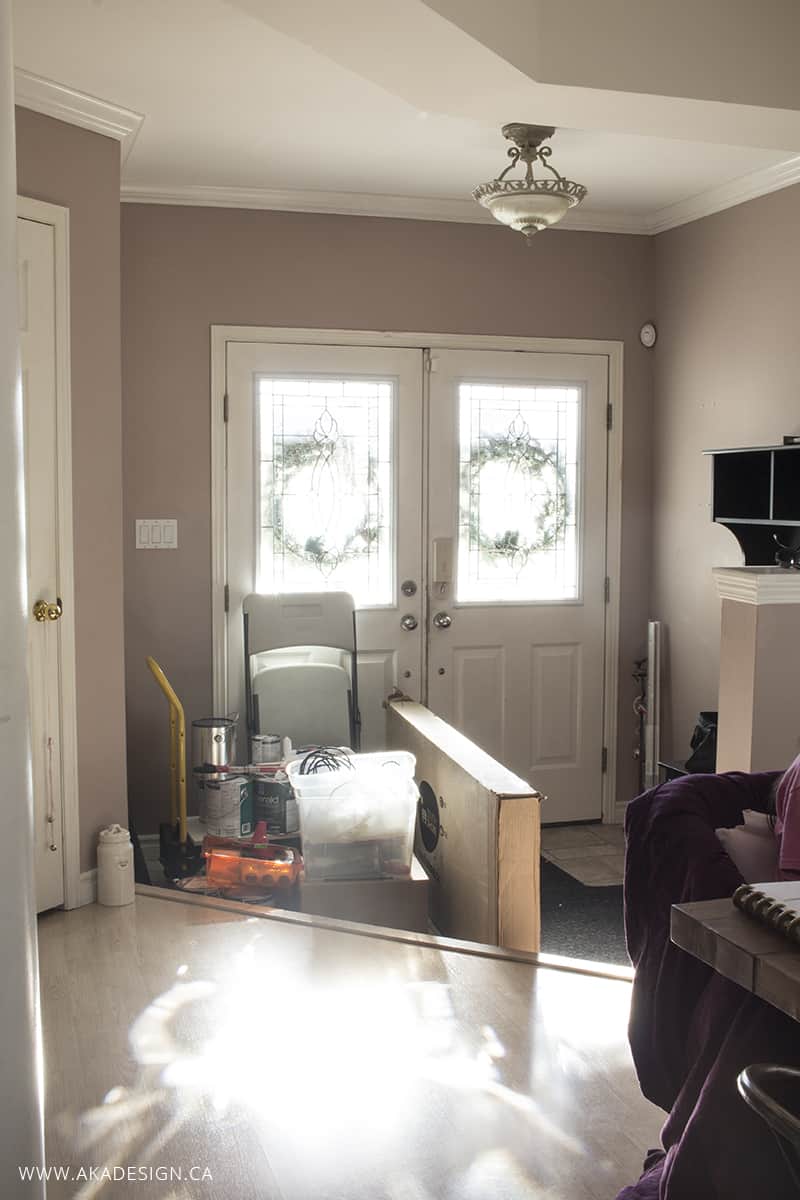
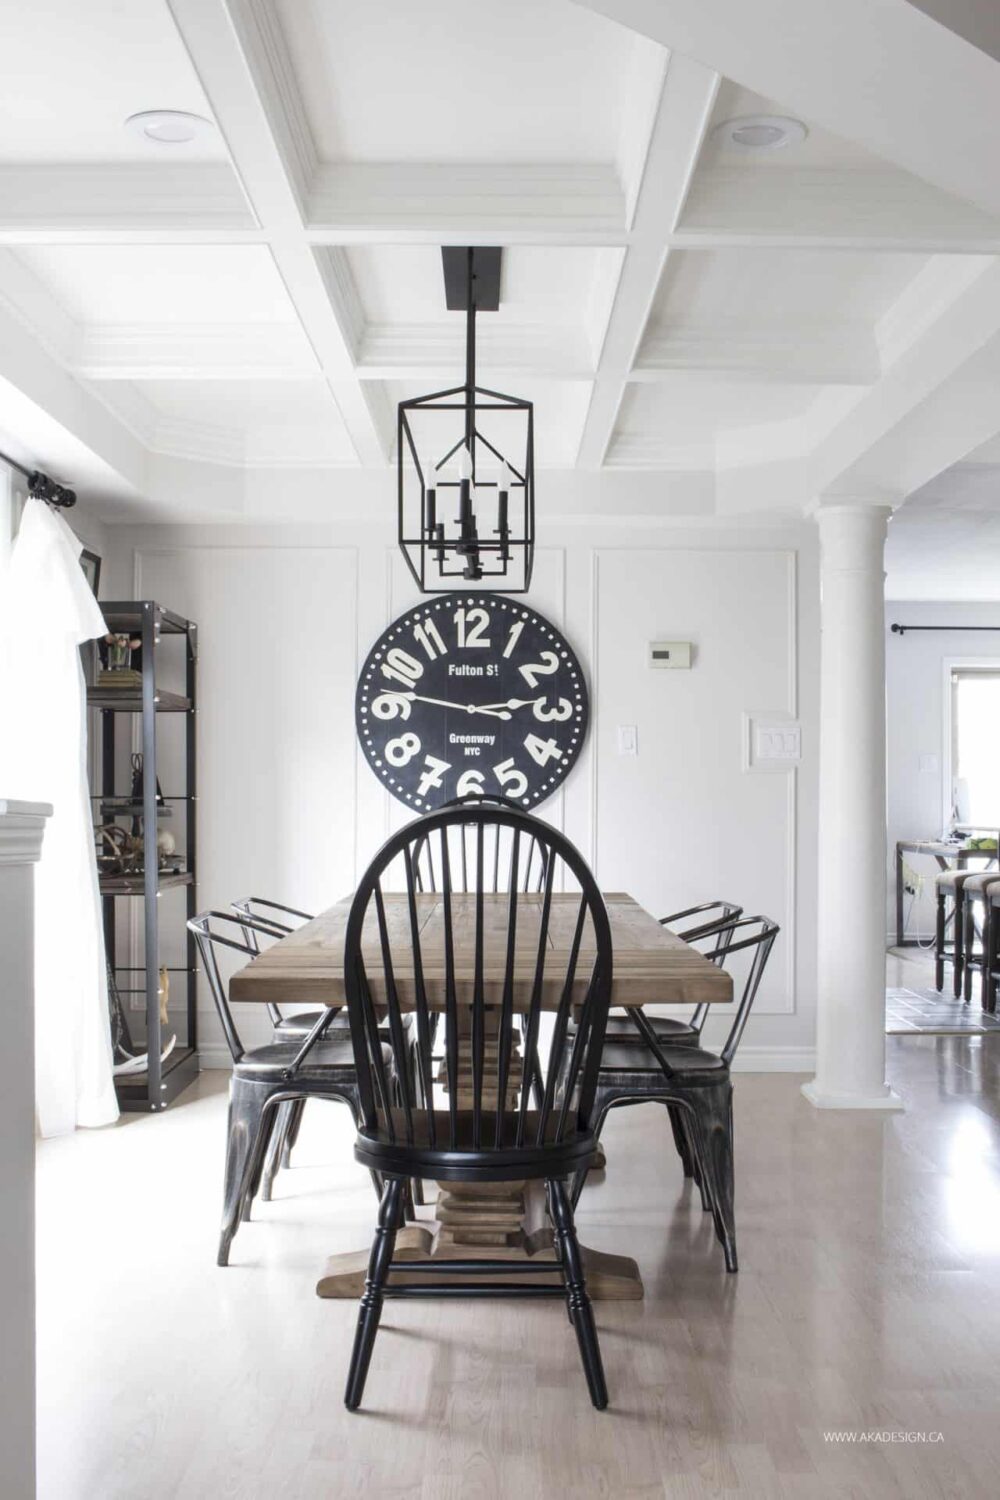
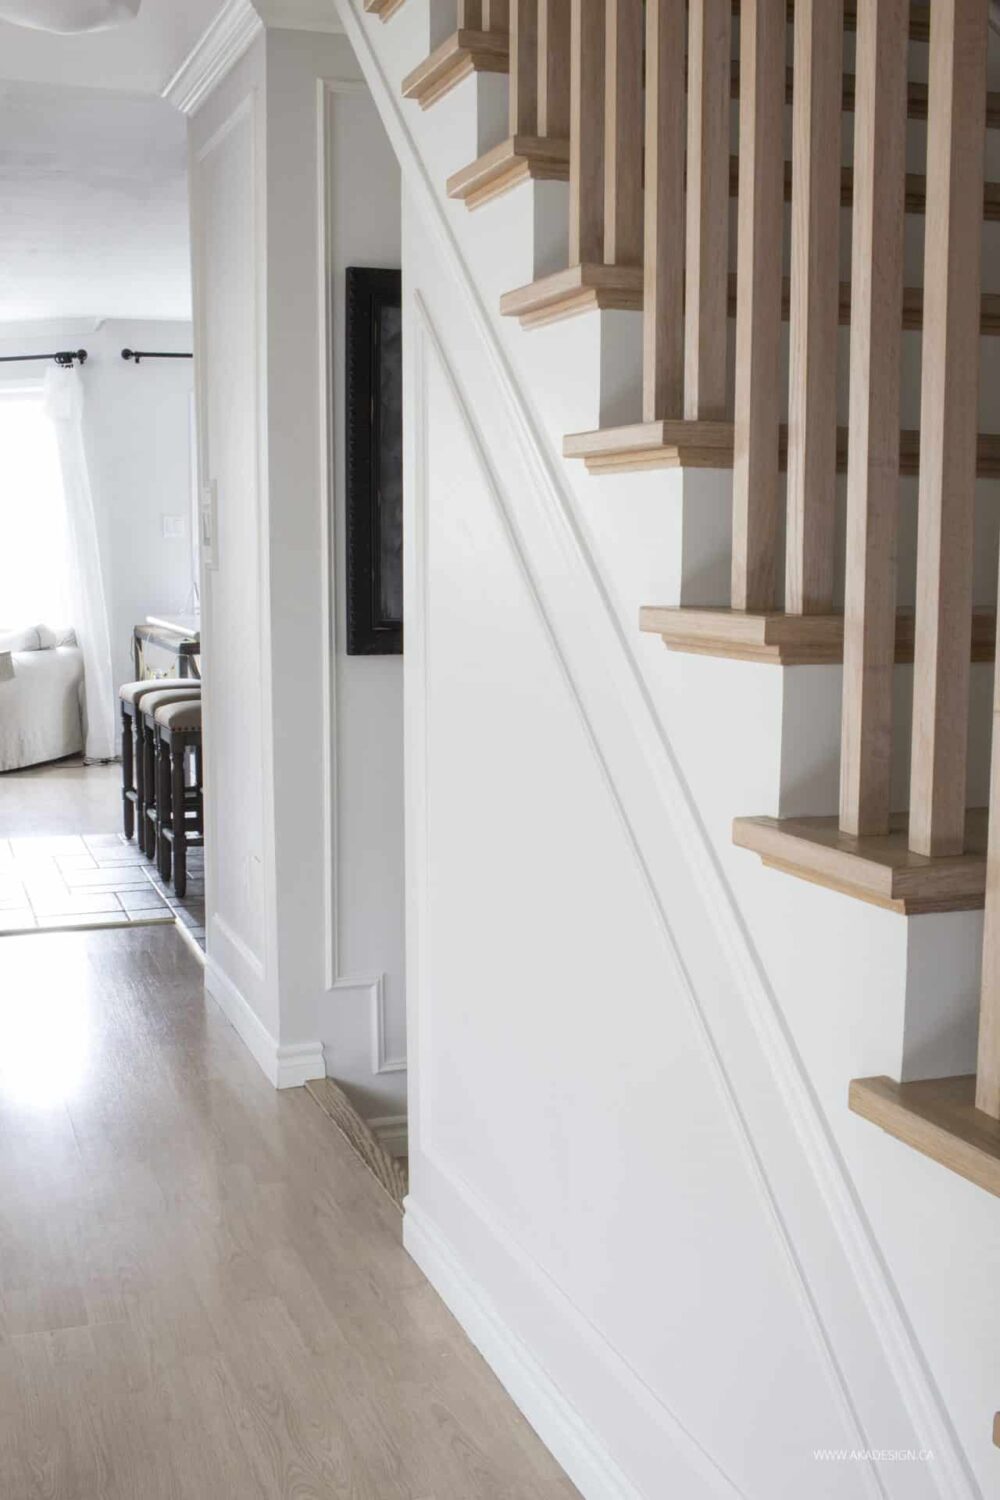
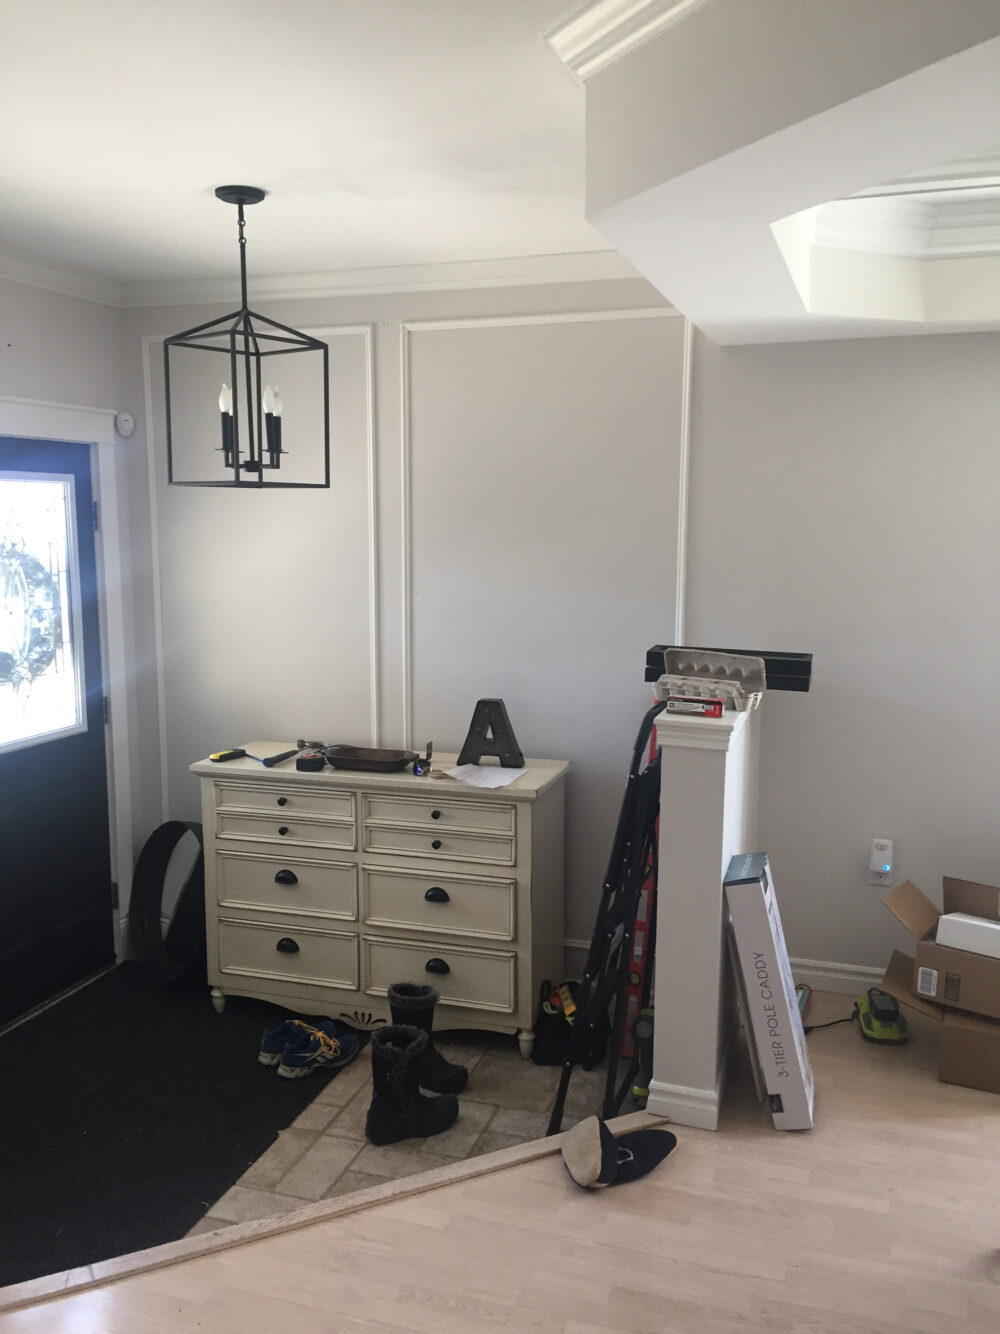
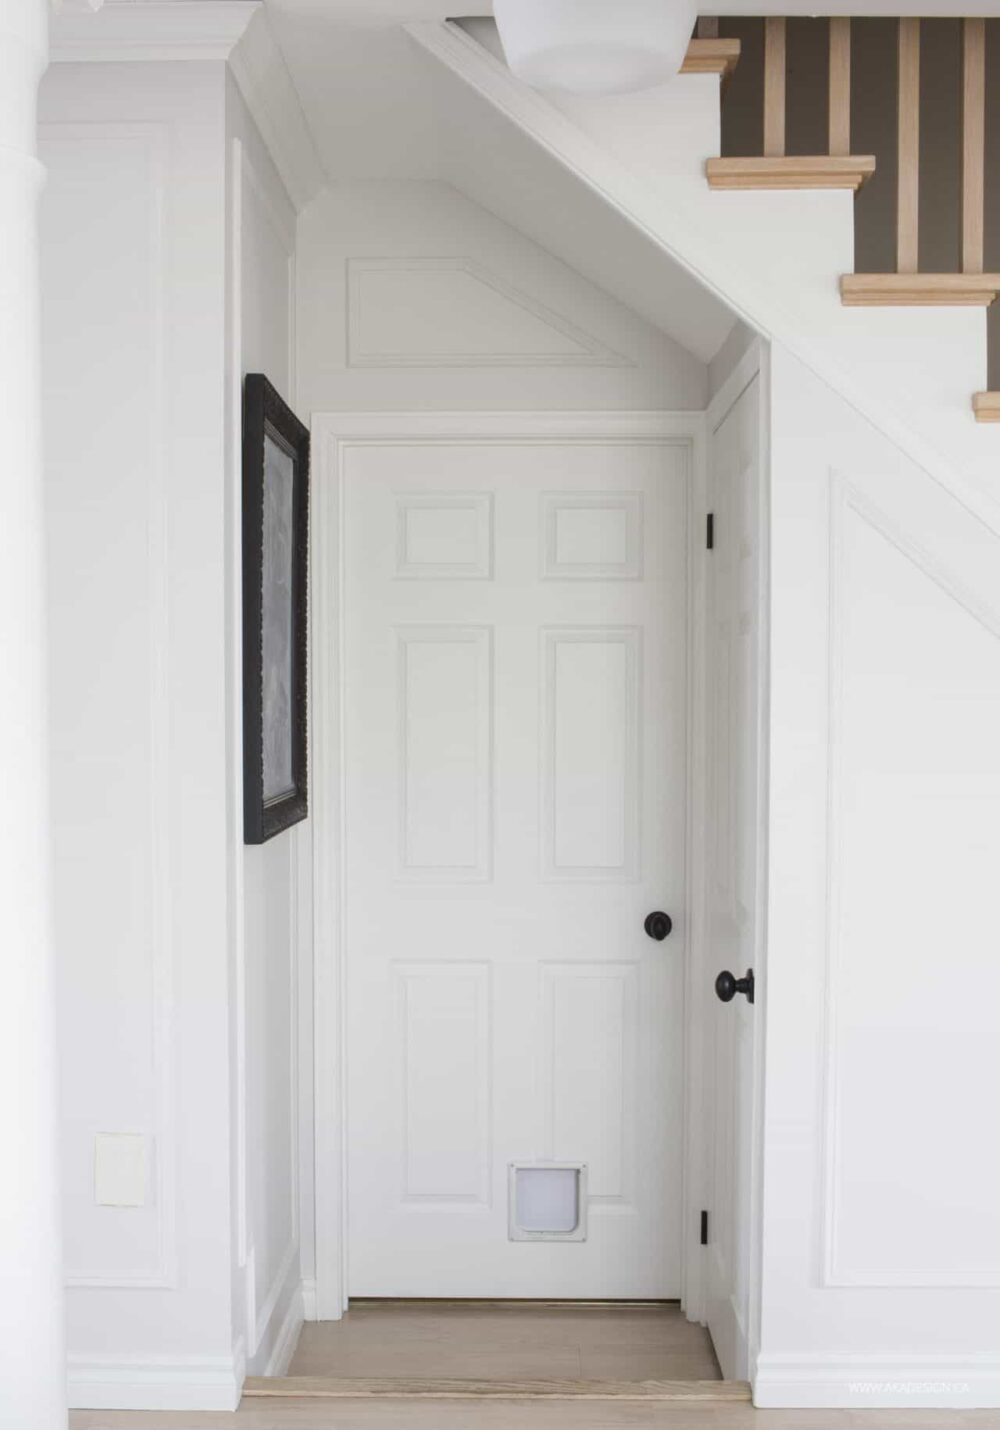
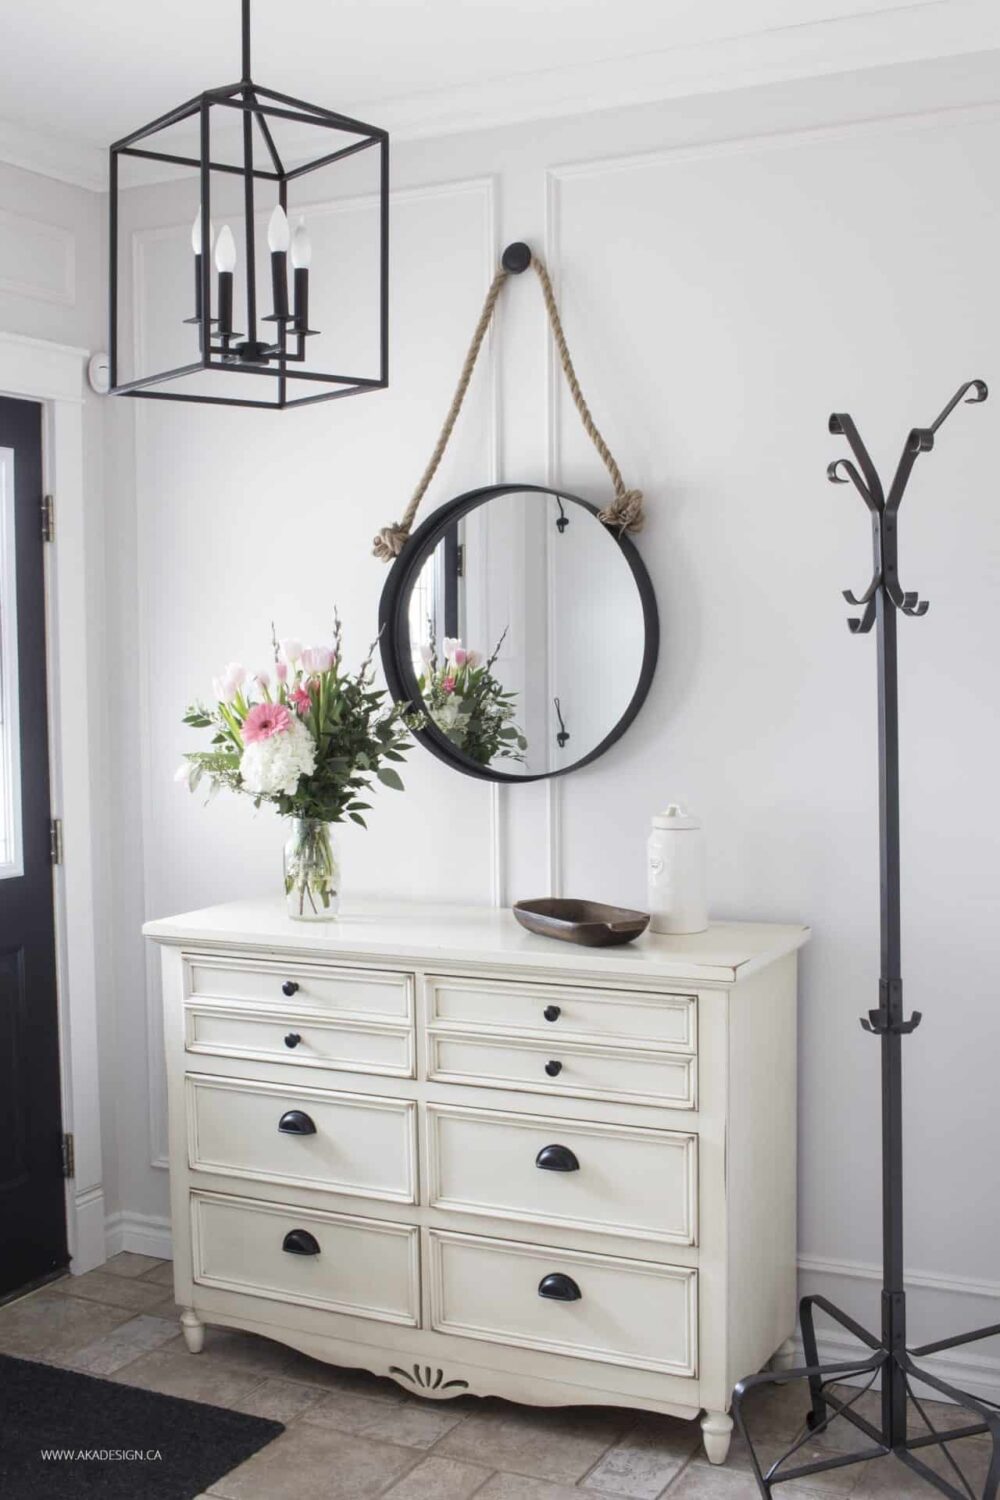
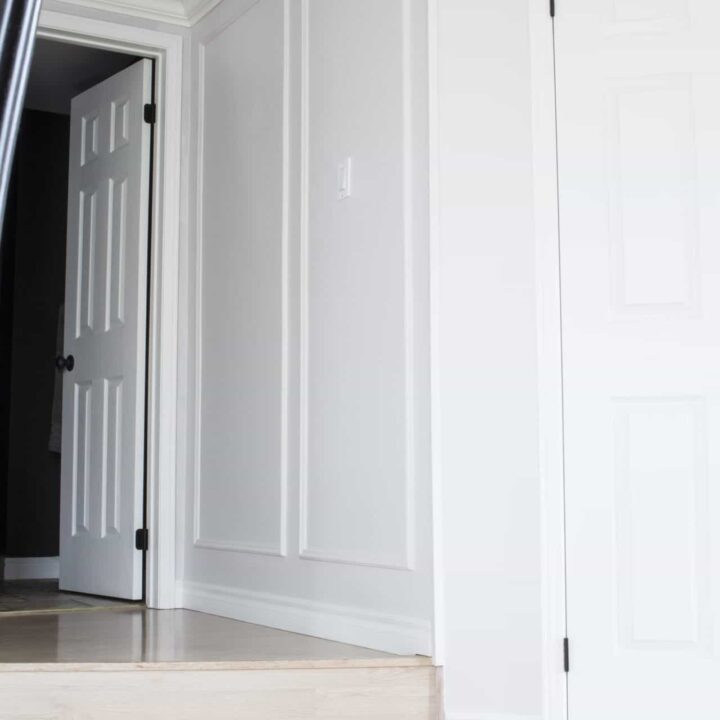
The first rooms we tackled were the entryway and dining room, and the difference was night and day. With the old mauve walls, the spaces felt short and choppy, but adding panel moulding made them feel taller, brighter, and much more polished. Since then, we’ve added panel moulding to our stairwell and upstairs hallway, and the cohesive look it brings throughout our home is just what I dreamed of.
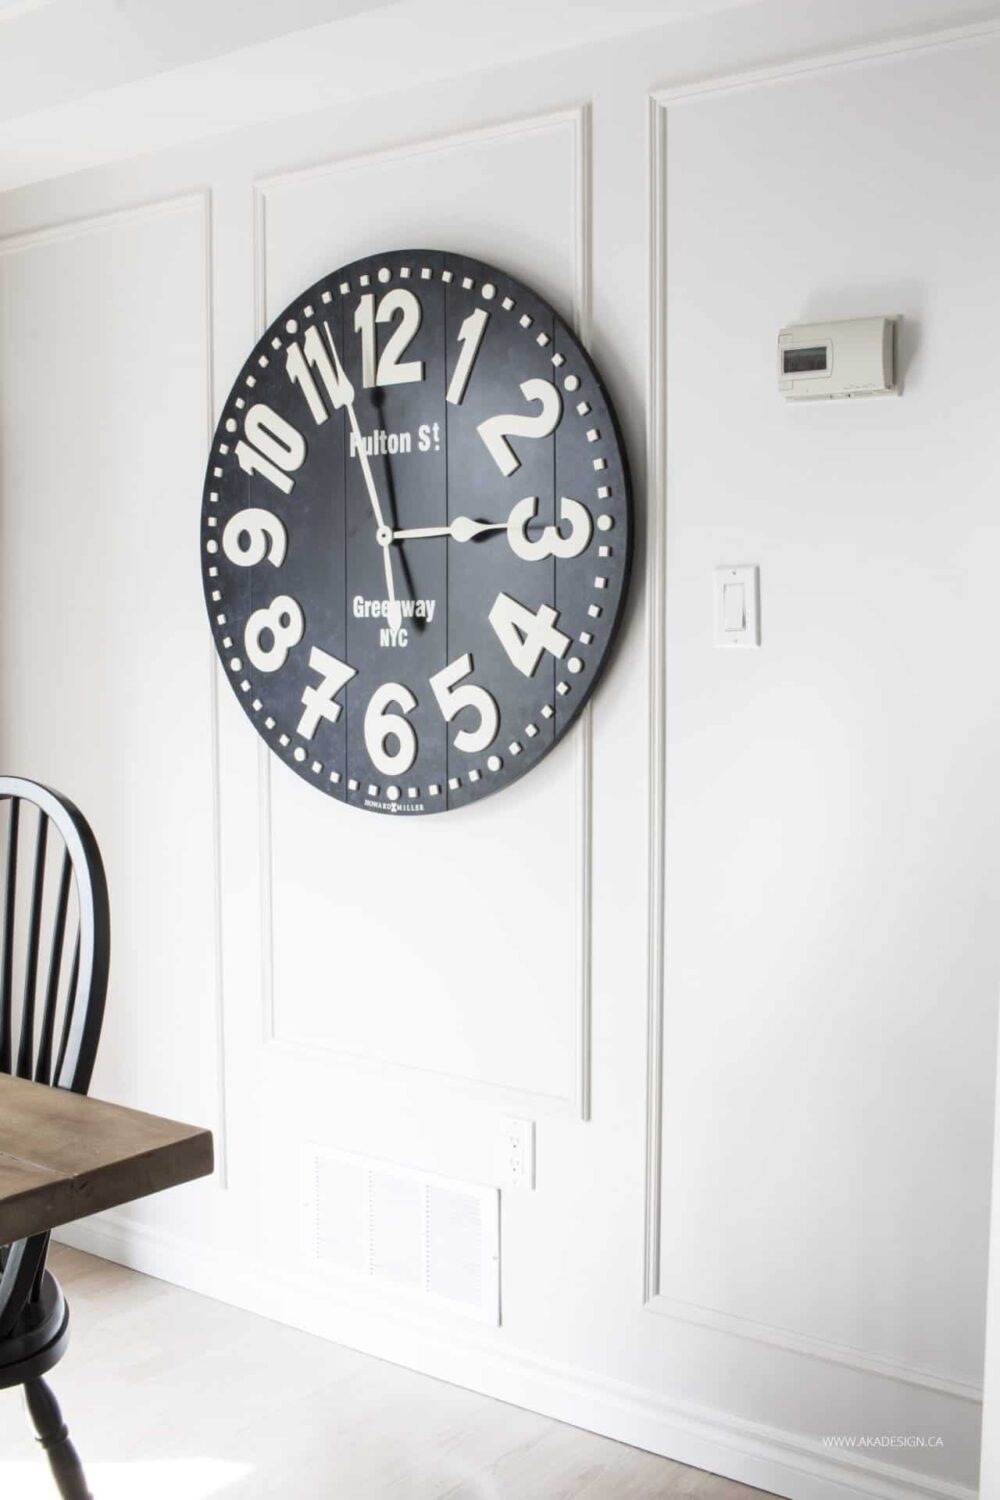
In hindsight, though, I’d change how we handled obstacles like switches and vents. Instead of working so obviously around them, I’d plan ahead to make those areas blend more seamlessly. That’s the beauty of tackling a project like this—you learn as you go and improve with each room!

How to Install Panel Moulding: Step-by-Step
Materials Needed:
- MDF panel moulding
- Paintable caulking
- Wood filler
- Painter’s tape
- Paint
Tools Needed:
- Miter saw
- Brad nailer
- Measuring tape
- Level
- Sandpaper
- Caulking gun
Instructions
Step 1: Plan Your Design
Start by mapping out your design. Measure the walls and decide on the size and spacing of your panels. We left:
- 4 inches from the crown moulding
- 4 inches from corners
- 5.5 inches from the floor (to allow for larger baseboards later)
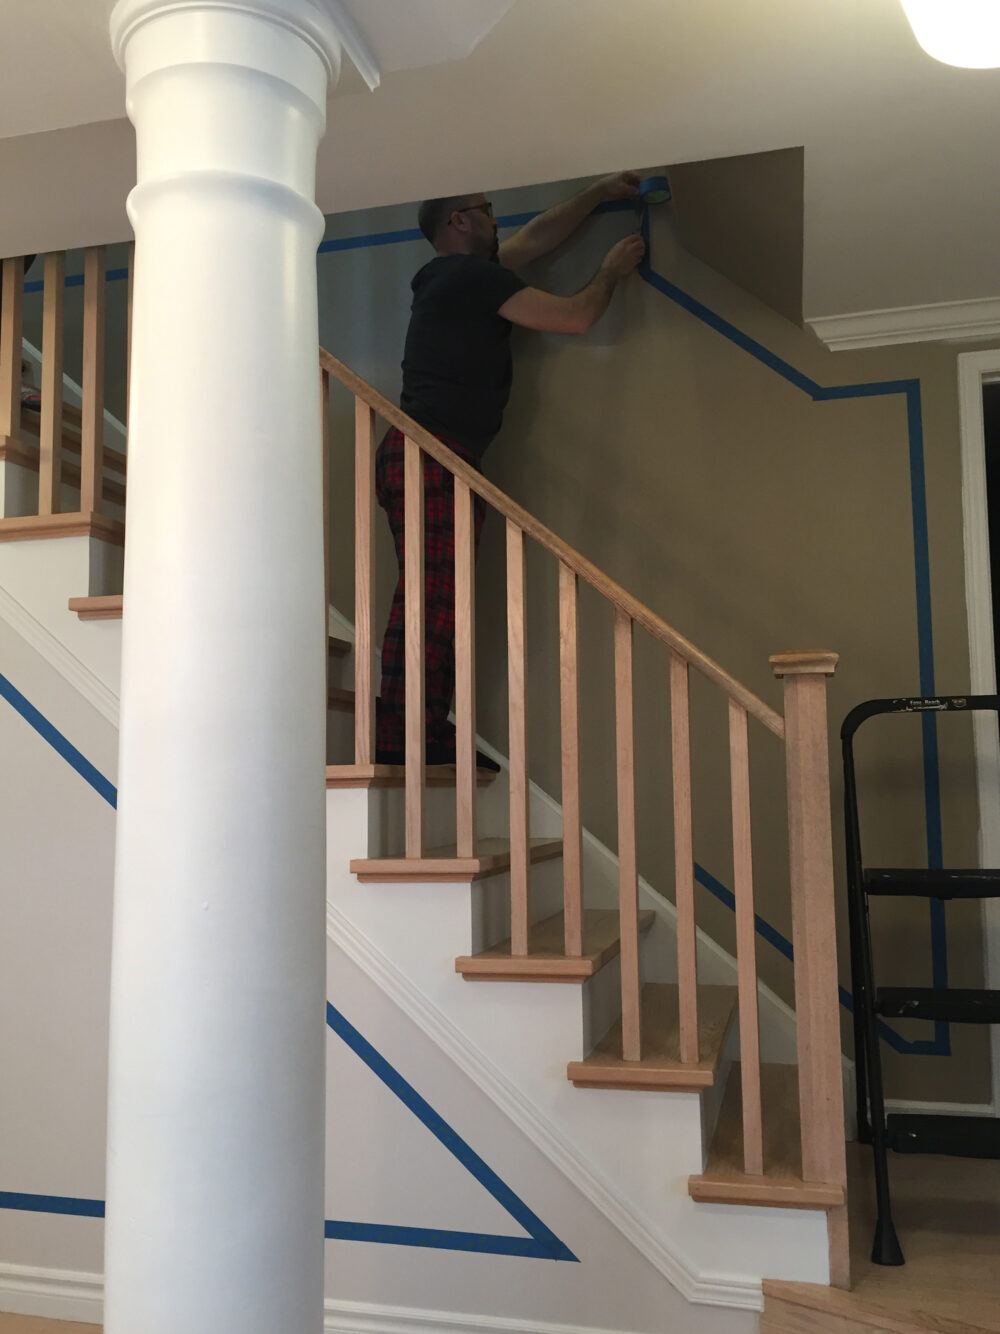
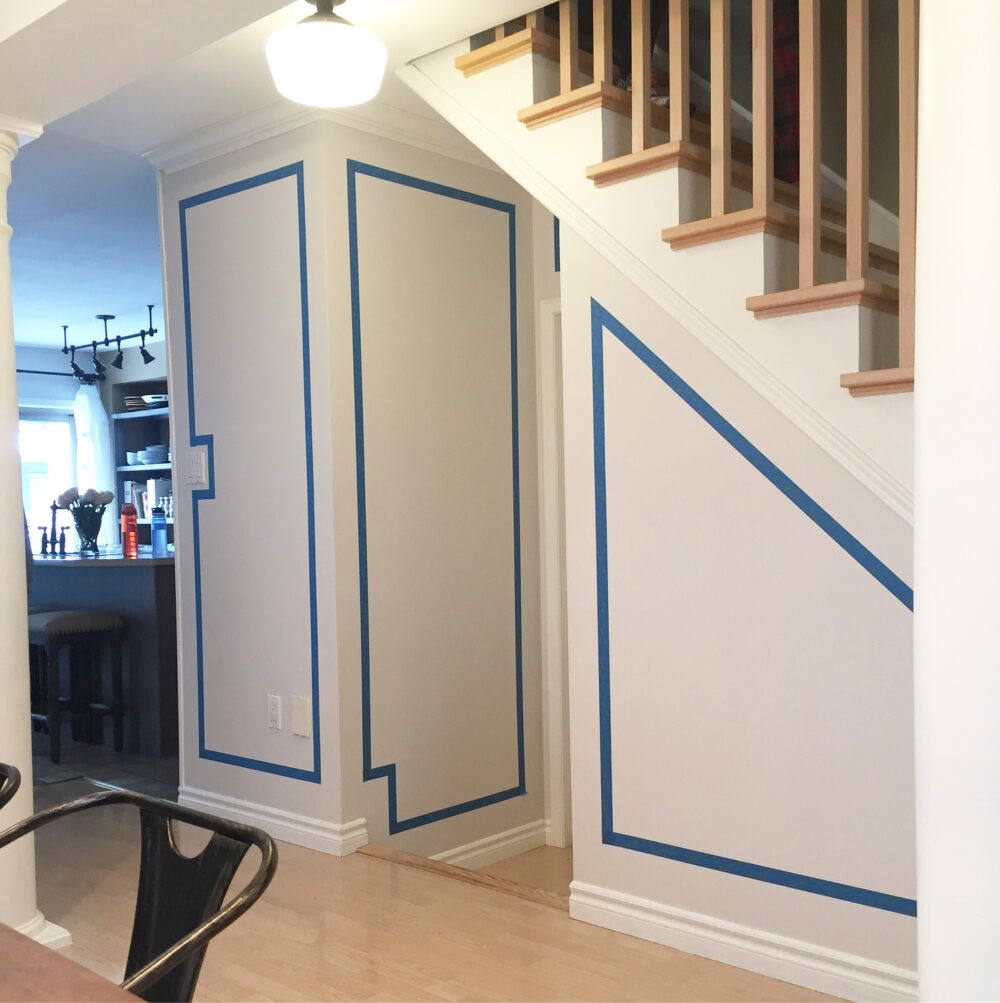
Step 2: Mock Up with Painter’s Tape
Use painter’s tape to outline your panel design directly on the walls. It’s a simple step, but it’s invaluable for visualizing your layout and troubleshooting tricky spots like outlets or vents.
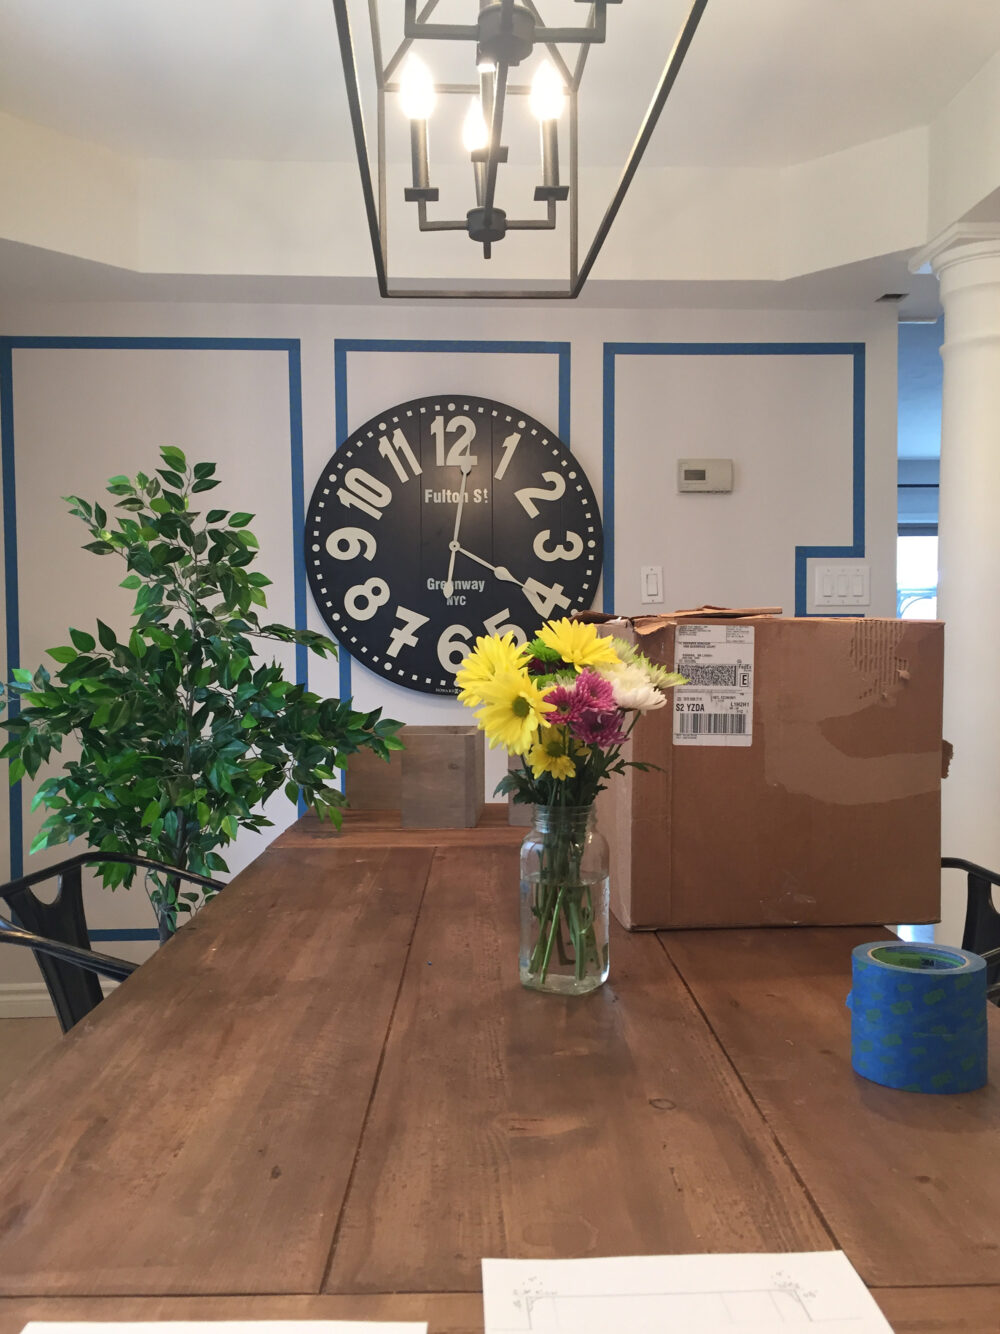
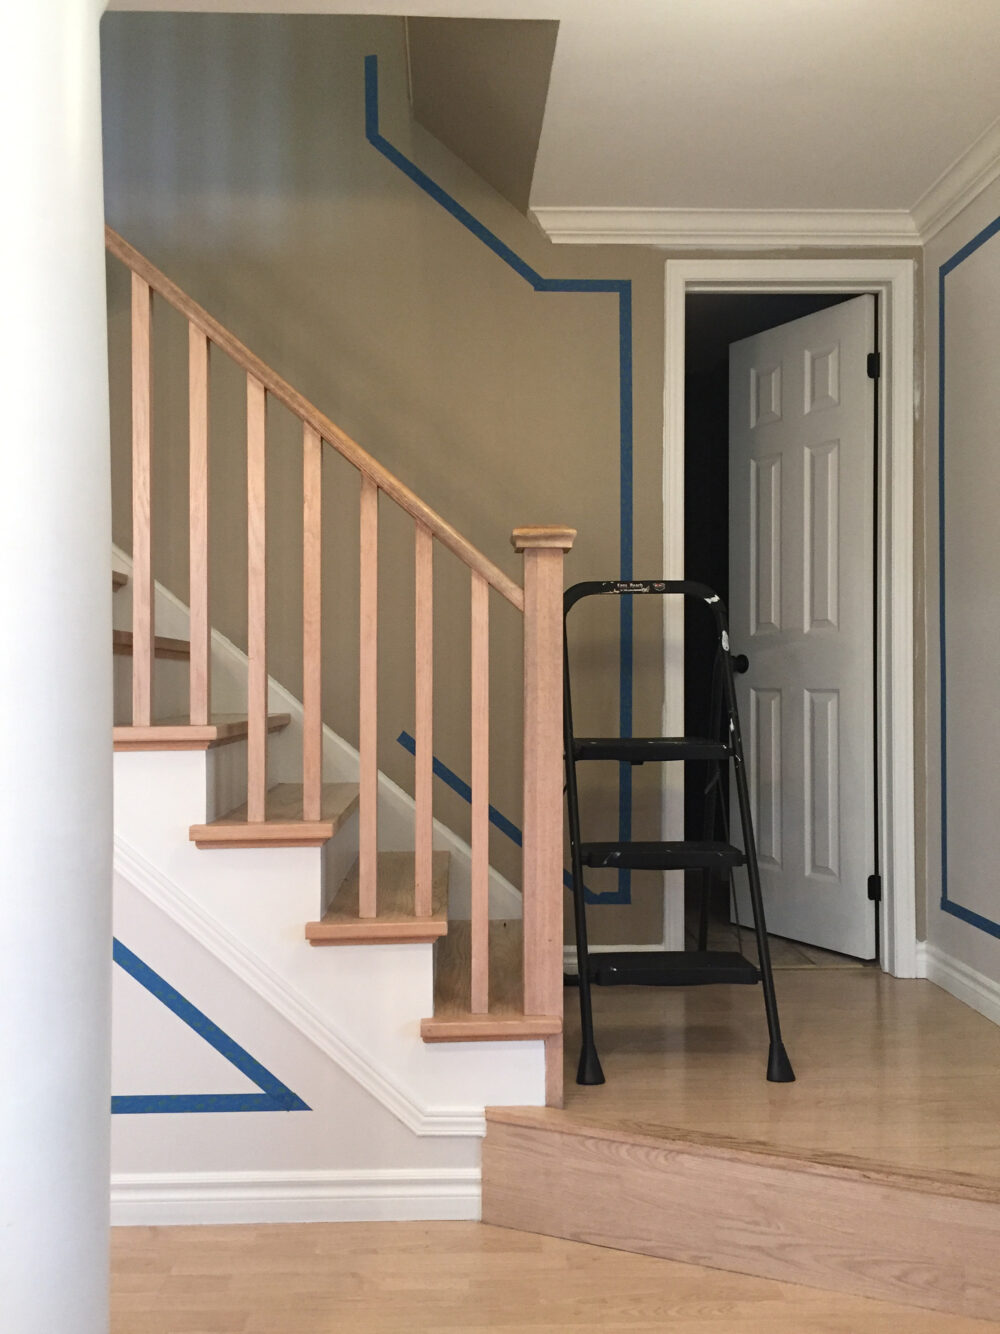
Step 3: Handle Obstacles Creatively
When planning around switches, vents, or outlets, aim for subtle adjustments rather than working around them too obviously. For example:
- Shift panels slightly to avoid obstacles entirely.
- Use filler panels or smaller sections for a more seamless look.
Step 4: Cut Your Trim
Using a miter saw, cut each piece of moulding to size. For rectangles, cut the ends at 45-degree angles for clean joints. Work one wall at a time to stay organized.
Step 5: Install the Moulding
Start with the bottom pieces of each rectangle, then move to the sides and top. Use a level to ensure straight lines, and secure the trim with a brad nailer.
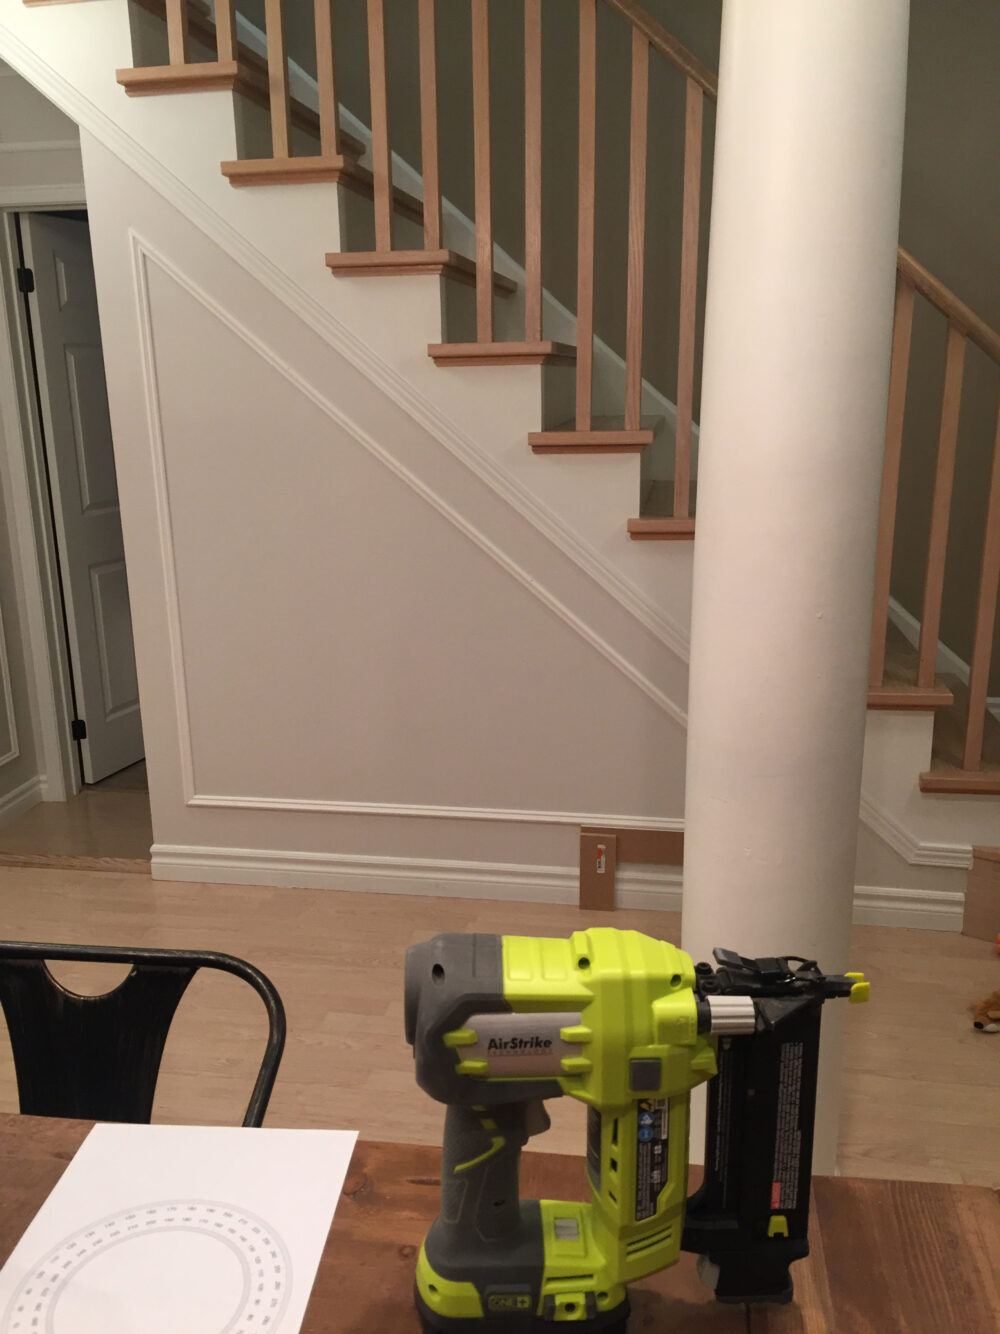

Step 6: Fill and Caulk
Fill nail holes with wood filler and sand once dry. Caulk along the edges of the moulding for a seamless, polished look.
Step 7: Paint the Walls and Trim
For contrast, paint the moulding white before installation and touch up afterward. For a cohesive look, paint it the same color as the walls after caulking.

FAQs About Installing Panel Moulding
MDF is a great choice for budget-friendly projects. It’s durable, easy to work with, and looks high-end once painted.
Absolutely! With basic tools and patience, this is a beginner-friendly DIY project.
No, you can install the moulding above the baseboards. Just leave enough space if you plan to update them later.
Use a miter saw for precise cuts, and test-fit each piece before nailing it in place. Take your time—it’s worth it!
More Character-Adding DIY Projects
- DIY Board and Batten Tutorial
- How to DIY a Shiplap Wall the Cheap and Easy Way!
- How to DIY a Professional Looking Coffered Ceiling for Less than $500!
- How to Install Panel Moulding: Adding Character to Your Home
- How to Install Beadboard Paneling: A Step-by-Step DIY Guide
- How to Install a Cedar Plank Ceiling: Step-by-Step DIY Tutorial
- Shiplap and Barn Beam Fireplace Mantel Makeover
How to Install Panel Moulding Tutorial
Materials
- MDF panel moulding
- Paintable caulking
- Wood filler
- Painter’s tape
- Paint
Tools
- Miter saw
- Brad nailer
- Measuring tape
- Level
- Sandpaper
- Caulking gun
Instructions
- Plan Your Design
Measure your walls and determine the size and spacing of your panels.
Leave consistent gaps (e.g., 4 inches from crown moulding and corners, 5.5 inches above the floor). - Mock Up with Painter’s Tape
Tape your panel design directly onto the walls to visualize the layout.
Adjust for obstacles like switches and vents. - Handle Obstacles
Shift panel placement to avoid obstacles where possible.
Use smaller or filler panels for a seamless look if necessary. - Cut Your Trim
Use a miter saw to cut each piece of moulding to size, angling ends at 45 degrees for neat joints.
Work one wall at a time to stay organized. - Install the Moulding
Start with the bottom pieces of each panel, ensuring they are level.
Nail the moulding into place using a brad nailer. - Fill and Caulk
Fill nail holes with wood filler and sand smooth once dry.
Caulk edges for a professional, seamless finish. - Paint
Paint the moulding white before installation for contrast, or paint it the same color as the walls after caulking for a subtle look.
Walking through the entryway and dining room now feels like stepping into a completely different home. The panel moulding has brought a layer of charm and sophistication that was missing before. If you’re dreaming of adding a touch of elegance to your walls, this project is totally worth it—and it’s something you can tackle yourself with a little patience and planning.
Have you thought about adding panel moulding to your home? I’d love to hear your ideas in the comments below!

Want to see more content like this in your Google searches?
This button tells Google that Home Made Lovely is a source you like, so it can show you more of it.