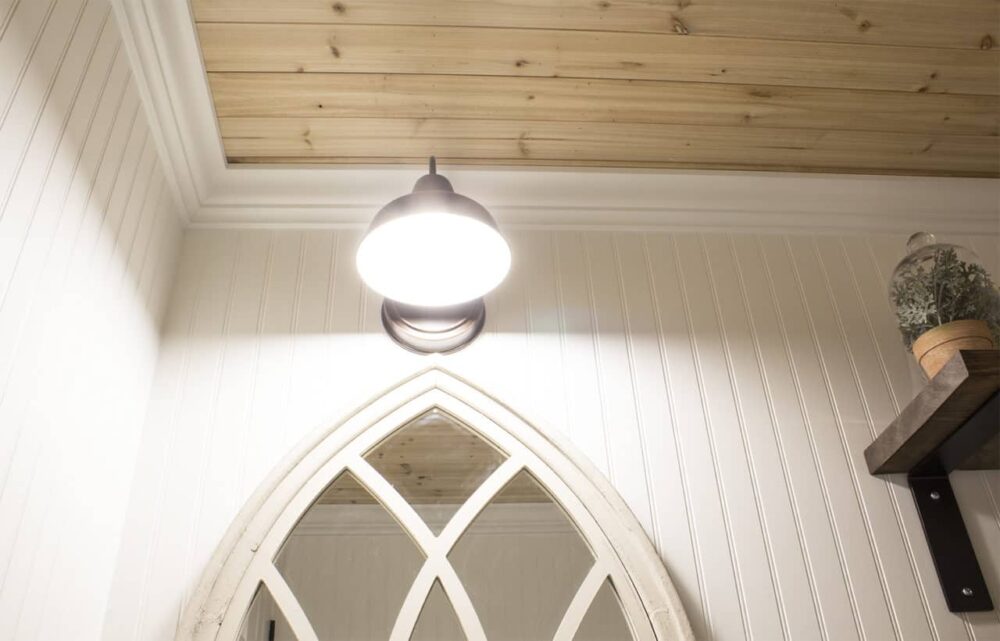
Adding a cedar plank ceiling had been on my dream project list for years. There’s just something so warm and natural about the look of wood overhead, especially when paired with beadboard walls and crown molding. When we finally decided to tackle this project in our powder room, it completely transformed the space, giving it the cozy, farmhouse-inspired feel I’d always envisioned.
If you’ve been following along, you know our powder room makeover also included beadboard walls. (Check out my tutorial on How to Install Beadboard Paneling for a detailed guide on that project!) The cedar ceiling added the perfect finishing touch to bring everything together.
Step-by-Step Instructions
Step 1: Prepare the Ceiling
- Remove any existing light fixtures, ceiling fans, or vents. Turn off the power to the room to ensure safety.
- Check the ceiling for imperfections, loose paint, or debris. Smooth out any bumps or fill holes as needed for a level surface.
- If your ceiling is textured, consider sanding it down or attaching furring strips to create a flat surface for the planks.
Step 2: Measure and Plan
- Measure the length and width of your ceiling to calculate the number of planks you’ll need. Add 10–15% extra for cuts and mistakes.
- Determine the direction you want the planks to run (typically parallel to the longest wall or the main source of light).
- Plan your layout to avoid having thin or uneven planks at the edges of the ceiling. Adjust your starting point if needed.
Step 3: Prepare and Cut the Planks
- Use a miter saw to cut the planks to the appropriate length.
- If you’re staining or sealing the cedar, do this before installation to make the process easier and ensure even coverage. Allow the planks to dry completely.

Step 4: Install the First Row of Planks
- Start at one edge of the ceiling, ideally along a straight wall. Use a level to ensure the first plank is perfectly straight—this is critical for the rest of the installation.
- Secure the plank to the ceiling joists with a nail gun, placing nails along the groove of the plank for a hidden finish.
- Use a second nail through the tongue for added stability, especially in areas prone to movement or vibration.
Step 5: Continue Installing Planks
- Fit the tongue of the next plank into the groove of the previous one. Tap lightly with a rubber mallet to ensure a snug fit without damaging the wood.
- Nail each plank into place, repeating the process for the remaining rows.
Step 6: Handle Obstacles and Edges
- When you reach light fixtures, vents, or other ceiling features, measure and mark the plank where the cutout is needed.
- Use a jigsaw to carefully cut the hole before installing the plank. Test the fit before nailing it into place.
- For the final row, measure the remaining space and cut the planks to fit. You may need to trim the width of the last row using a table saw or circular saw.

Step 7: Add Trim and Molding
- Install crown molding or other trim around the edges of the ceiling to cover gaps and create a polished look.
- Use a nail gun to attach the molding, then caulk along the seams where the molding meets the ceiling and walls for a flawless finish.
Step 8: Stain or Seal (Optional)
- If you haven’t already, apply a wood stain or clear sealer to protect the cedar and enhance its natural beauty. Use a brush or lint-free cloth for even application. (We did not do this, as we used natural cedar planks)
FAQs
Yes, but you’ll need to smooth the surface first or use furring strips to create a level base for the planks.
It’s optional. Cedar has natural oils that resist moisture, but sealing can enhance durability and color.
Use shims to level the planks during installation and caulk the edges for a clean finish.
Yes! Cedar’s natural resistance to moisture makes it a great choice for bathrooms, especially if properly sealed.
More Character-Adding DIY Projects
- DIY Board and Batten Tutorial
- How to DIY a Shiplap Wall the Cheap and Easy Way!
- How to DIY a Professional Looking Coffered Ceiling for Less than $500!
- How to Install Panel Moulding: Adding Character to Your Home
- How to Install Beadboard Paneling: A Step-by-Step DIY Guide
- How to Install a Cedar Plank Ceiling: Step-by-Step DIY Tutorial
- Shiplap and Barn Beam Fireplace Mantel Makeover

How to Install a Cedar Plank Ceiling Tutorial
Learn how to install a cedar plank ceiling with this step-by-step guide. Add warmth and charm to any space with easy DIY tips and tricks.
Materials
- Cedar tongue-and-groove planks
- Nails
- Wood stain or sealer (optional)
- Crown molding (optional)
- Caulk
Tools
- Nail gun and nails
- Measuring tape
- Level
- Miter saw
- Jigsaw
Instructions
Step 1: Prepare the Ceiling
- Remove light fixtures and clear the space.
- Ensure the ceiling surface is clean and smooth.
Step 2: Measure and Plan
- Measure the ceiling to determine how many planks you’ll need.
- Plan the layout so that the planks run evenly across the ceiling, avoiding slivers at the edges.
Step 3: Cut Planks to Size
- Use a miter saw to cut planks to the correct length for each row.
Step 4: Begin Installation
- Start at one edge of the ceiling.
- Fit the tongue of the first plank into the groove of the next, ensuring a tight fit.
- Secure the planks to the ceiling joists using a nail gun, nailing along the groove for a seamless finish.
Step 5: Work Around Fixtures
- Use a jigsaw to cut holes in the planks for light fixtures or vents.
Step 6: Finish the Edges
- Add crown molding for a polished, professional look.
- Caulk along the seams where the molding meets the ceiling.
Step 7: Stain or Seal (Optional)
- If desired, apply a wood stain or clear sealer to protect the cedar and enhance its natural beauty. (We did NOT do this.)
The cedar plank ceiling was the finishing touch our powder room needed. It added warmth, character, and a touch of luxury that I still swoon over every time I walk in. Whether you’re sprucing up a bathroom or any other space, I can’t recommend this project enough. Let me know if you have questions, or share your results in the comments—I’d love to see how your ceiling turns out!

Want to see more content like this in your Google searches?
This button tells Google that Home Made Lovely is a source you like, so it can show you more of it.