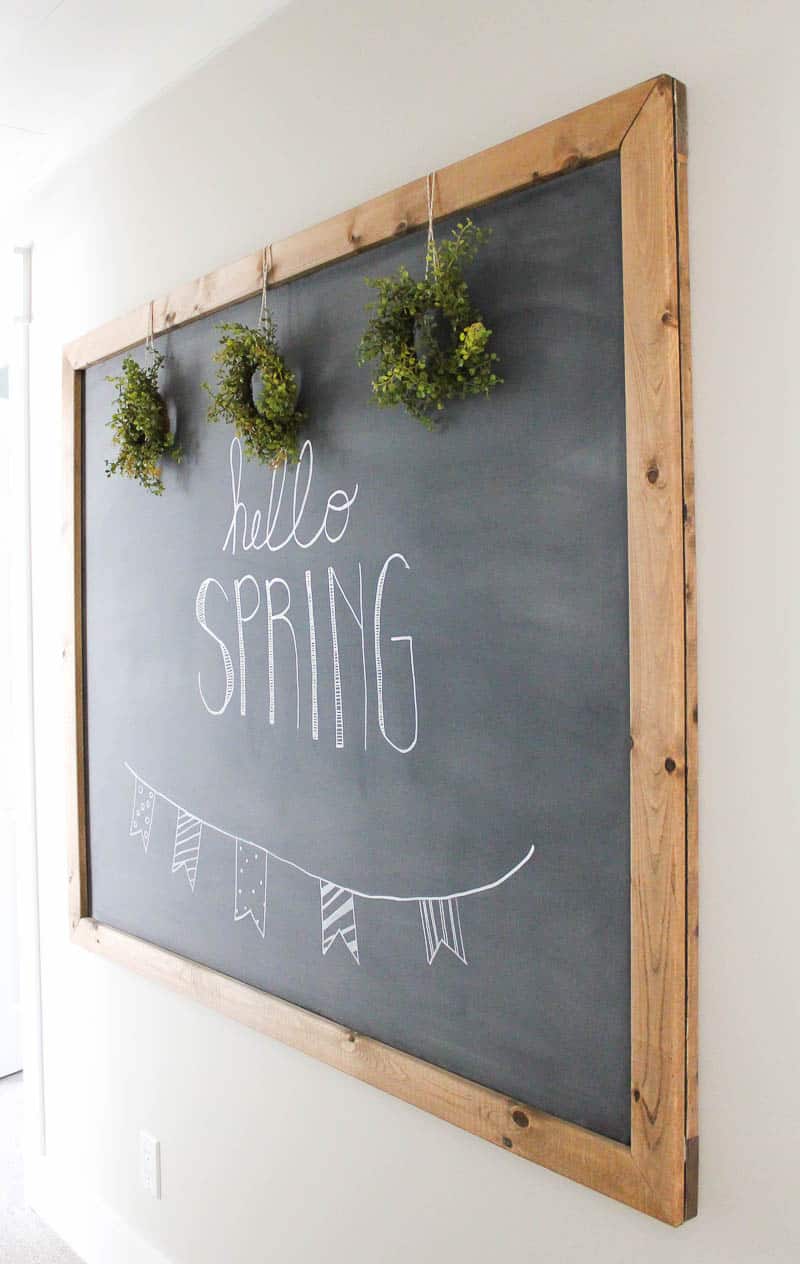
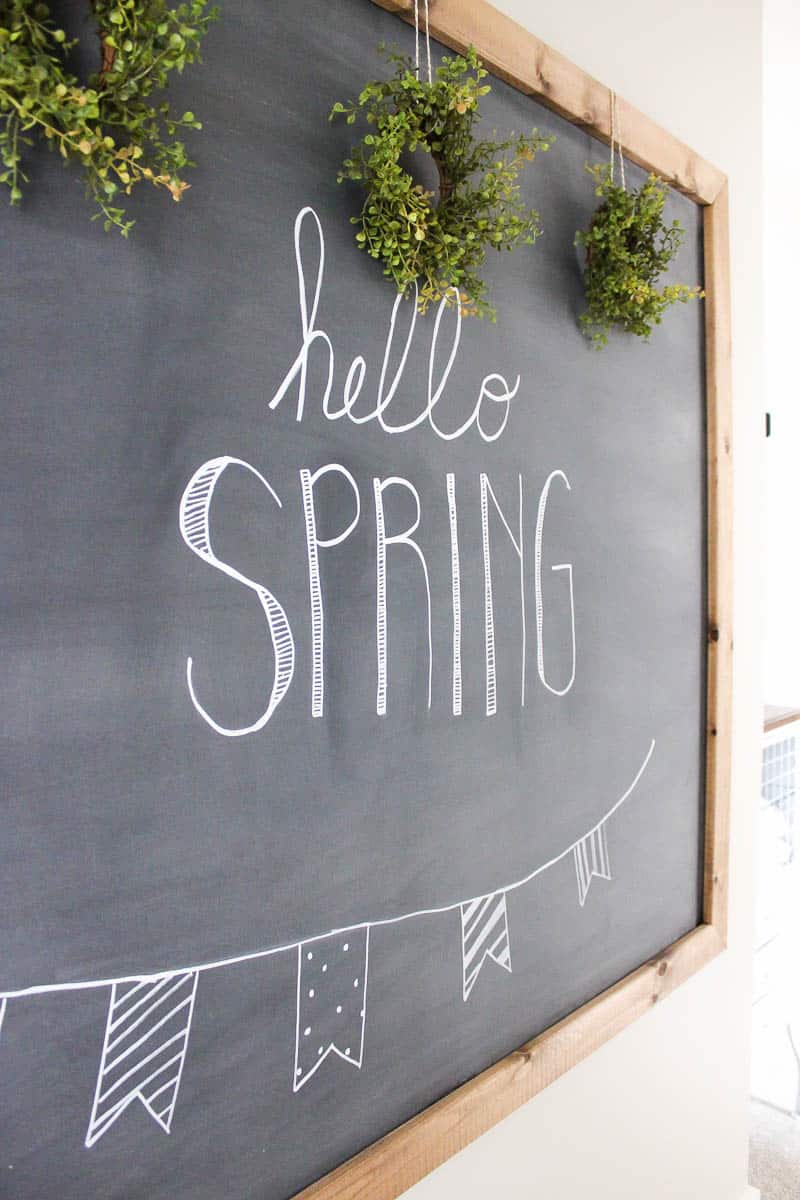
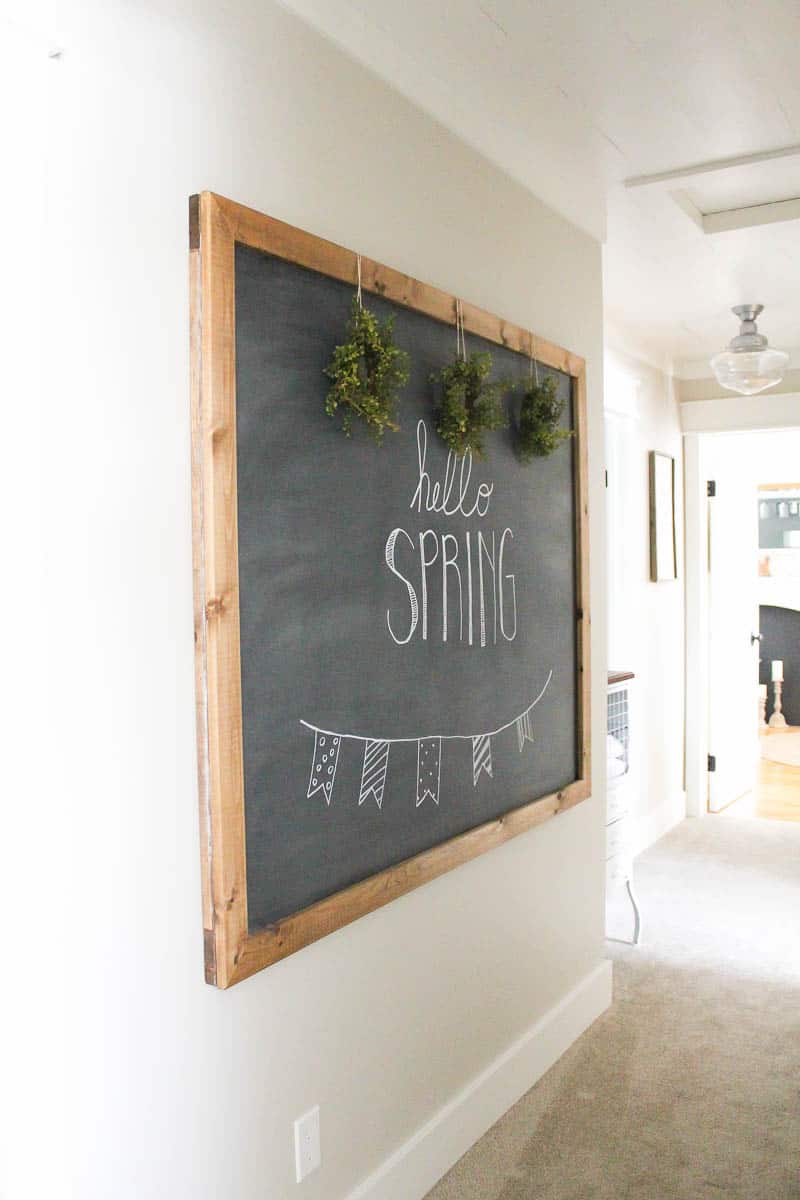
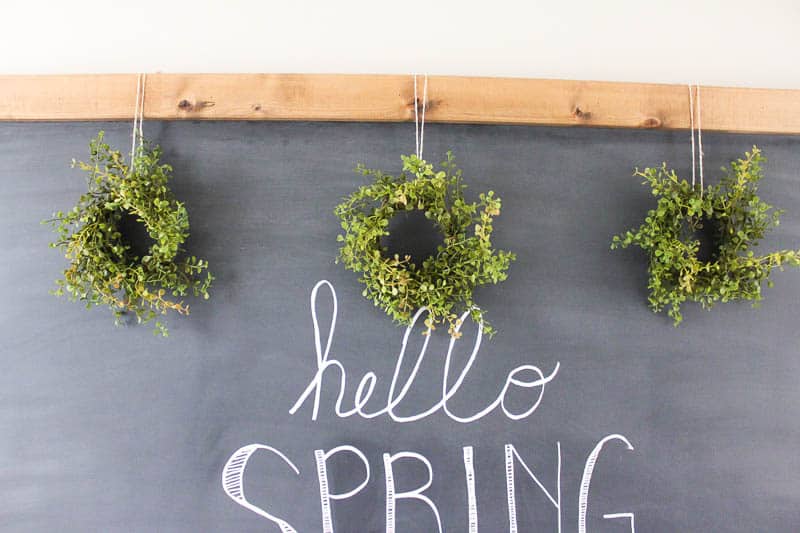
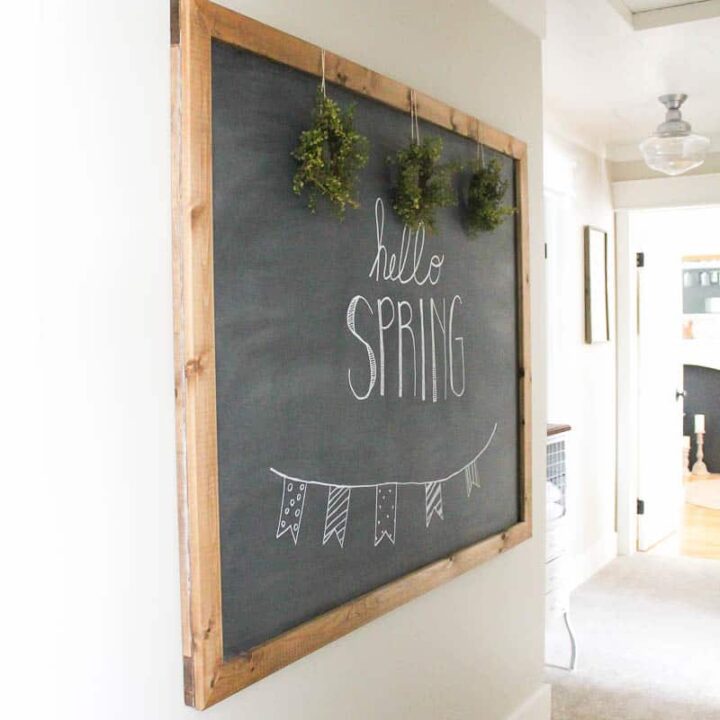
A chalkboard is such a versatile and stylish addition to any home, and making your own is easier than you might think! In this step-by-step guide, I’ll show you how to create a large DIY chalkboard that combines rustic farmhouse charm with practical functionality. Whether you’re planning to use it for reminders, seasonal decor, or family messages, this project will bring personality to your space.
If you love adding farmhouse charm to your home, you might also enjoy my post on How to Make Wood Look Old in 3 Simple Steps. It’s another easy project that pairs beautifully with this rustic chalkboard.
DIY Large Chalkboard Tutorial
Materials
- MDF or hardboard (approx. 48″ x 60″)
- Primer
- Chalkboard paint
- Four 1″x3″x48″ boards (mitered corners)
- Four 1″x3″x60″ boards (mitered corners)
- Wood stain (e.g., Minwax Provincial)
Tools
- Two paint brushes
- Lint-free cloths
- Finishing nails and hammer or nail gun
- Measuring tape
- Miter saw or hand saw
- Two D-ring hangers
- Picture hanging hardware
- Chalkboard brush or clean dry cloth
Step-by-Step Instructions
1. Cut the board to size
Start with a large sheet of MDF or hardboard. Cut it to your desired dimensions (ours was 4’x5’).
2. Prime and paint the surface
Apply one coat of primer, followed by at least two coats of chalkboard paint (three coats for good measure). Let it cure according to the paint’s instructions.
3. Build a back frame
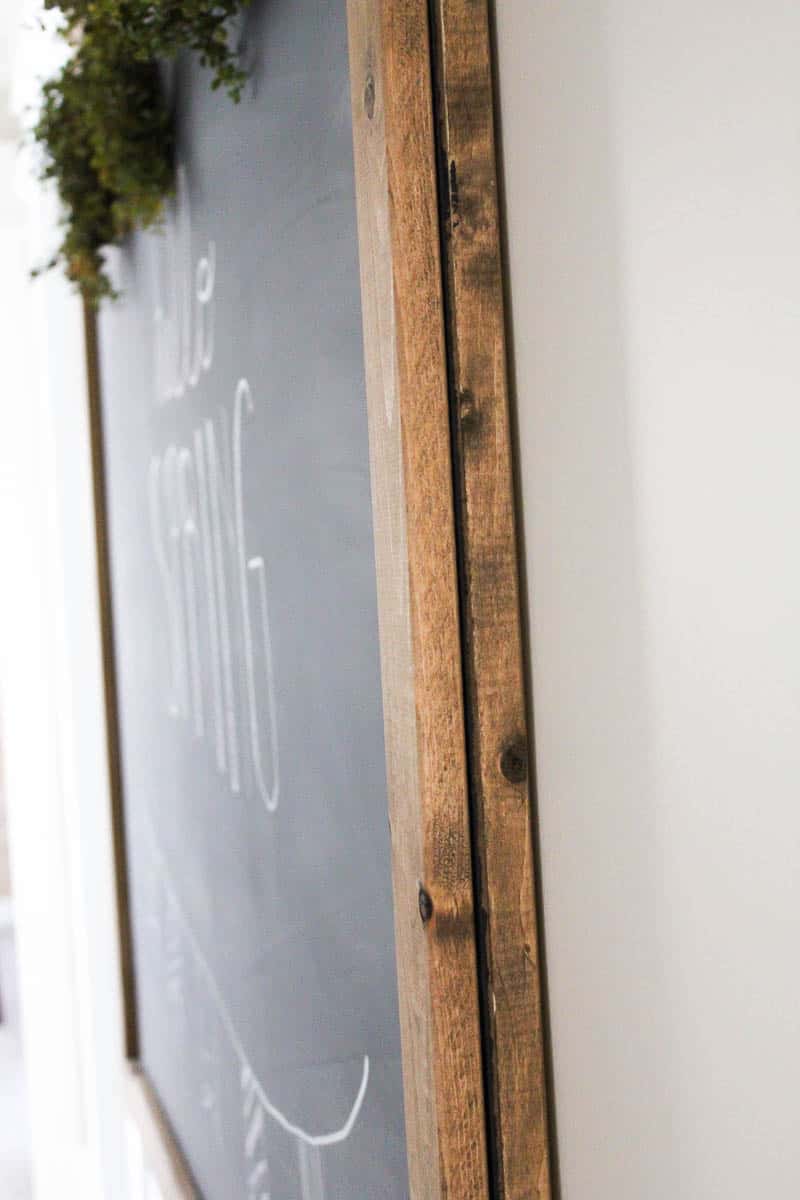
Attach a frame to the back for stability and to provide an anchor for hangers. Use 1×3 boards, cut to length with mitered corners, and secure them with finishing nails.
4. Create the front frame
Repeat the process for the front frame, but don’t attach it yet—staining will be easier before assembly.
5. Stain the frames
Apply and wipe off your chosen wood stain. Don’t forget to stain the visible edges of the back frame too. We used Minwax Provincial for a rich, warm finish.
6. Assemble the front frame
Once the stain is dry, nail the front frame pieces to the chalkboard, ensuring the edges align perfectly.
7. Attach hangers
Secure D-ring hangers to the back frame, ensuring they are level for even hanging.
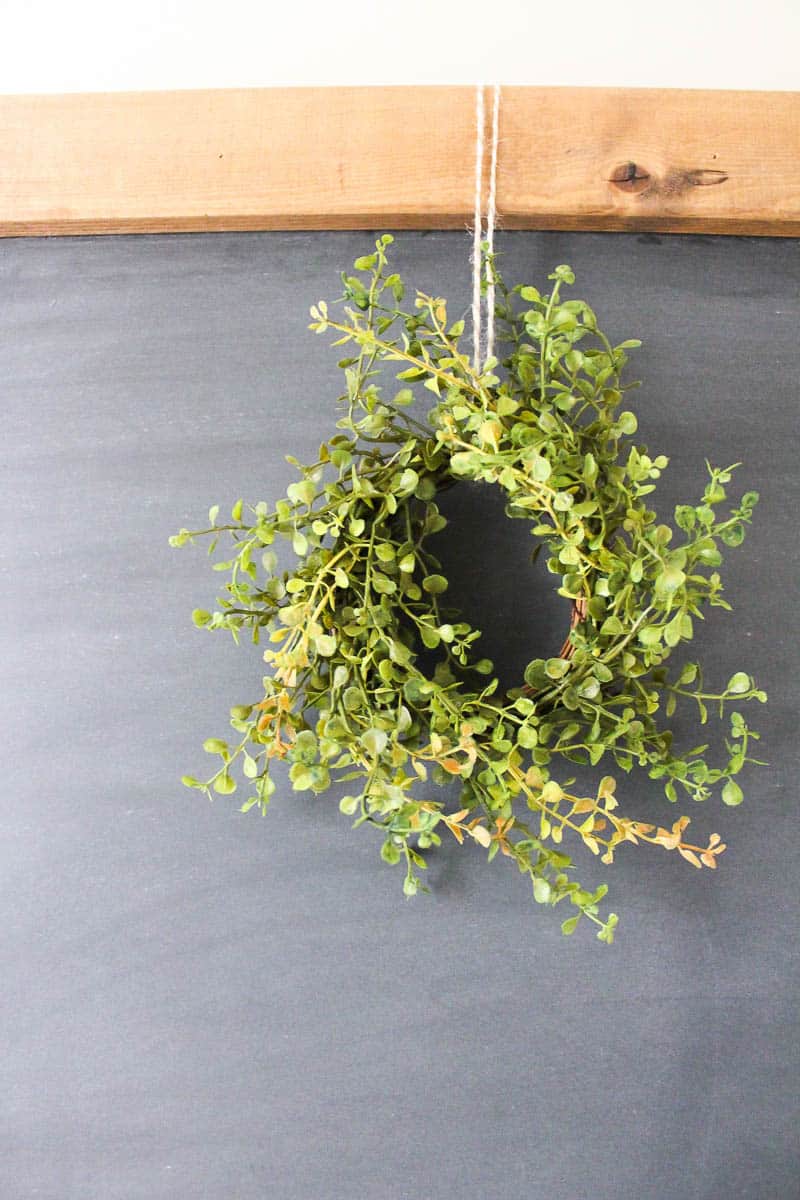
8. Season the chalkboard
Before using the chalkboard, “season” it by rubbing the entire surface with the side of a piece of chalk. Wipe it clean with a chalkboard brush or dry cloth.
Tips
- Use reclaimed wood for the frame for an extra rustic touch.
- Ensure hangers and wall anchors are sturdy enough to support the chalkboard’s weight.
- Customize the size of the chalkboard to suit your space.

FAQs
This tutorial uses a 4’x5’ board, but you can customize the size based on your space.
Absolutely! Choose wood that complements your home’s style. Reclaimed wood can add extra rustic charm.
While it’s not overly heavy, ensure you use sturdy hangers and proper wall anchors to support it.
Yes, seasoning prevents “ghosting” or permanent marks on the chalkboard surface.
More DIY Decor Projects
- Shiplap and Barn Beam Fireplace Mantel Makeover
- DIY Range Hood Cover: Easy Custom Kitchen Upgrade
- Build a Faux Mantel Shelf For YOUR House to Decorate Each Season!
- DIY Balustrade Coffee Table + Where to Get Balustrades!
- DIY Faux Floral Arrangement: Feminine Yet Rustic Crate
- How to Seal Butcher Block Counters for a Durable Finish
- DIY Farmhouse Bathroom Mirror Tutorial
- How to Make a Large Hanging DIY Chalkboard
- Walnut Butcher Block Counters: Installation and 8-Year Review
DIY Chalkboard How-To
Create a stunning DIY chalkboard with this easy tutorial! Perfect for notes, decor, or reminders, it’s a farmhouse charm essential for any home.
Materials
- MDF or hardboard (approx. 48" x 60")
- Primer
- Chalkboard paint
- Four 1"x3"x48" boards (mitered corners)
- Four 1"x3"x60" boards (mitered corners)
- Wood stain (e.g., Minwax Provincial)
Tools
- Two paint brushes
- Lint-free cloths
- Finishing nails and hammer or nail gun
- Measuring tape
- Miter saw or hand saw
- Two D-ring hangers
- Picture hanging hardware
- Chalkboard brush or clean dry cloth
Instructions
- Cut the chalkboard.
Cut a sheet of MDF or hardboard to your desired size (e.g., 4’x5’). - Prime and paint.
Apply one coat of primer and at least two coats of chalkboard paint. Let it cure according to the paint’s instructions. - Build the back frame.
Use 1x3 boards to build a frame on the back for added support and to attach hangers. Secure with finishing nails. - Create the front frame.
Measure, cut, and stain the 1x3 boards for the front frame. Allow the stain to dry before attaching the frame. - Assemble the front frame.
Attach the stained frame pieces to the front of the chalkboard using finishing nails, ensuring everything aligns neatly. - Attach hangers.
Secure D-ring hangers to the back frame, ensuring they are level for even hanging. - Season the chalkboard.
Rub the entire surface with the side of a piece of chalk and wipe it clean to prevent ghosting.
Making a DIY chalkboard is a fun and rewarding project that can transform your space in just a few hours. I love how it brings a touch of character and practicality to any room. I hope this guide inspires you to roll up your sleeves and try it for yourself! If you have questions or tips to share, I’d love to hear from you in the comments below.
