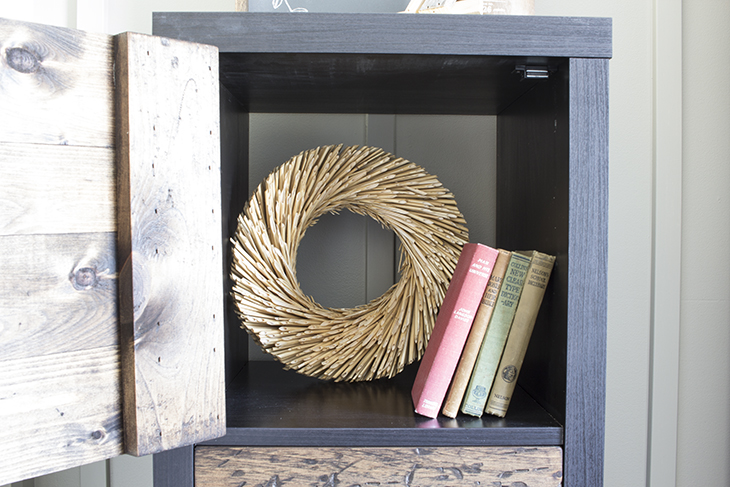
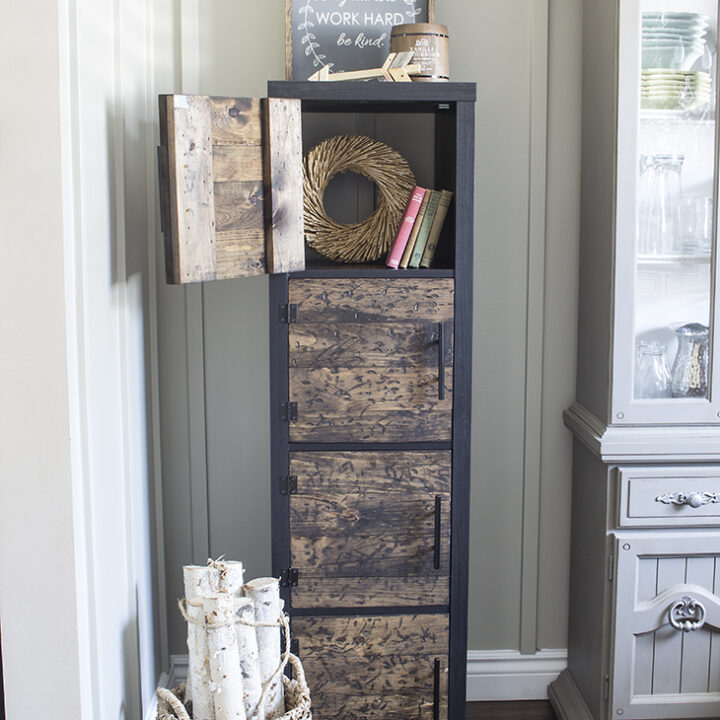
Hi friends! Have you ever wished your IKEA Kallax shelf could do more than just store things? I know I did when we moved our son into the basement and needed extra storage with a little more style. Instead of settling for the plain open shelving, we decided to customize it with rustic wooden doors. This simple hack added both functionality and charm, transforming the piece into something truly unique.

When we moved our son downstairs last year, he needed extra storage, but we didn’t have time to build something from scratch. Instead, we gave the classic IKEA Kallax shelf a makeover by adding custom rustic wooden doors. If you love DIY projects like this, you’ll also enjoy my Painting Furniture: How to Paint Furniture – Everything You Need to Know! post for expert tips on transforming other furniture pieces in your home.
Transform Your IKEA Kallax with Rustic Wooden Doors
Materials
- IKEA Kallax shelving unit (16 1/2″ x 57 7/8″)
- Knotty pine one-by-fours (6 ft long, 5 pieces)
- 3-inch cabinet handles (4)
- 1 1/2-inch narrow fixed pin hinges (8)
- Magnetic catches (4)
- Wood glue or adhesive
- 1 1/4-inch brad nails (128)
- Finishes: dark walnut stain, foam brush, lint-free rag, and oil-rubbed bronze spray paint (optional)
Tools
- table saw
- miter saw
- brad nailer
- drill
- sander
- hammer
Instructions
Step 1: Assemble the Shelving Unit
Follow the instructions that come with the IKEA Kallax shelving unit and set it aside once assembled.
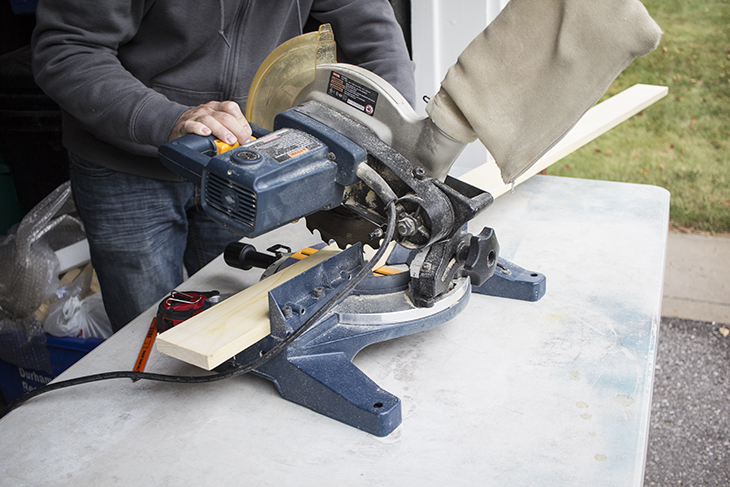
Step 2: Cut the Door Materials
Cut 16 pieces of knotty pine to 13 1/16″ long for the door fronts. Then, rip four of those pieces to create narrower 1-by-3 boards for added visual interest. Cut eight more pieces to 13 1/16″ for door backing.

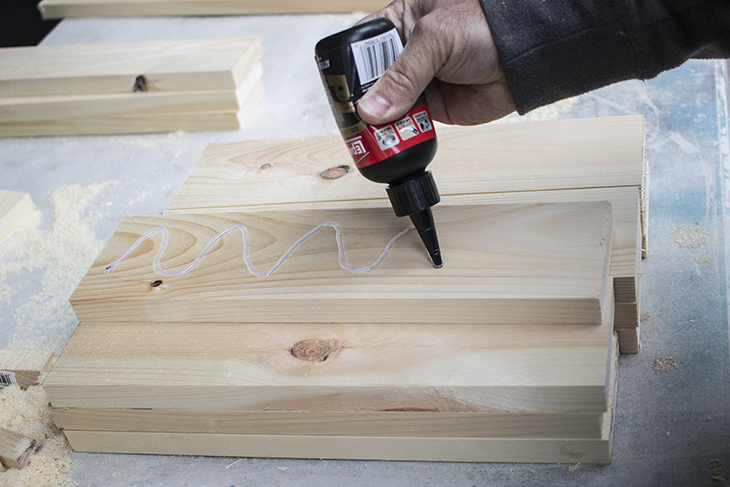
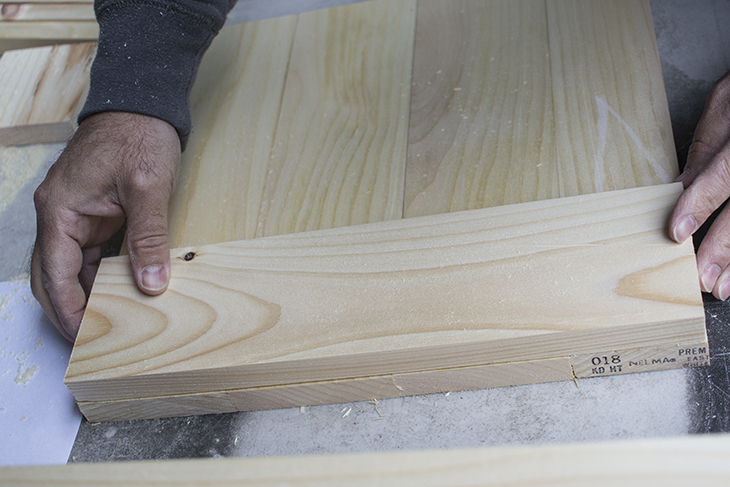
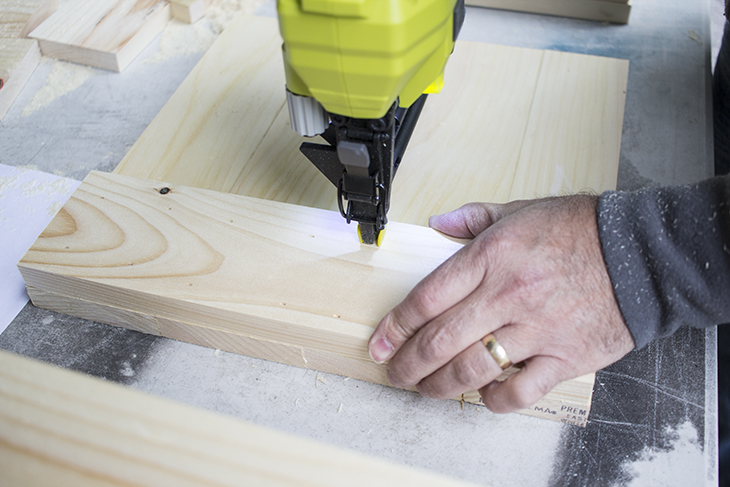
Step 3: Assemble the Doors
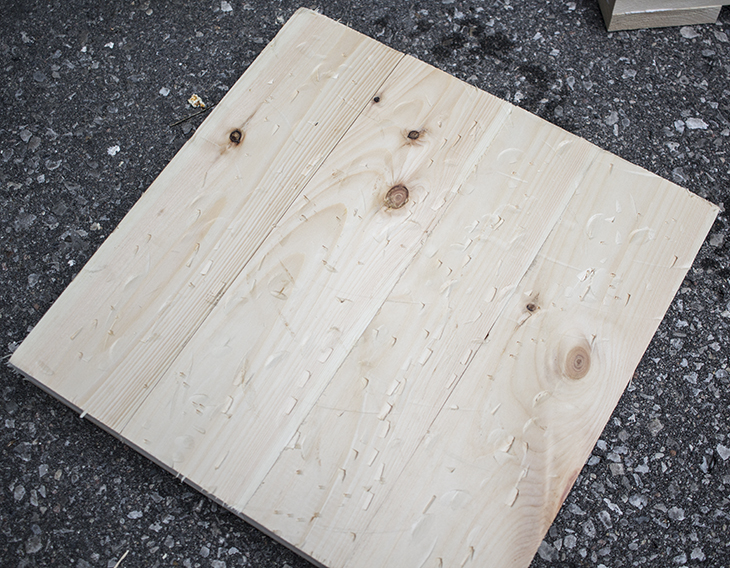
Lay out three full-width boards and one narrow board to form each door front. Use wood glue and brad nails to secure the backing pieces horizontally. Alternate the placement of the narrower board on each door for a reclaimed wood look.


Step 4: Distress and Stain the Doors
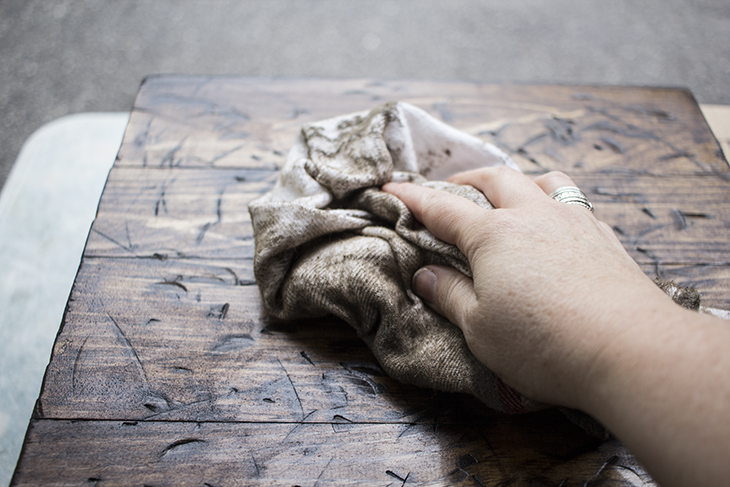
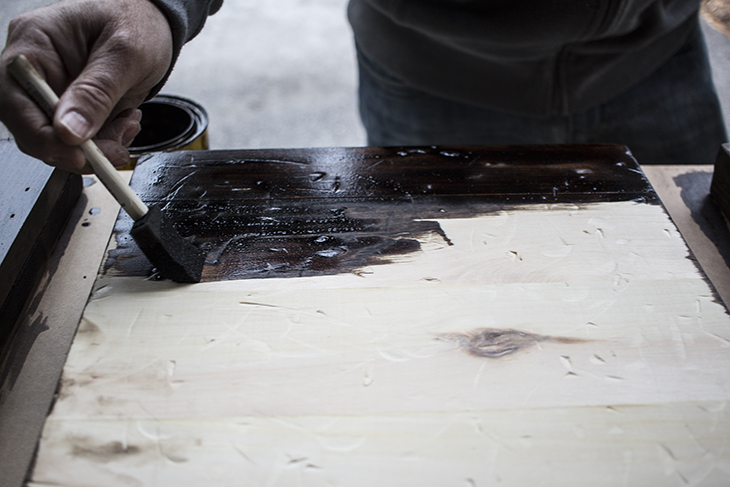
Distress the door fronts using a hammer, screwdriver, or other tools for a rustic, weathered appearance. Sand the edges and fronts to remove rough spots. Apply dark walnut stain, let it sit for 5–10 minutes, then wipe off the excess with a lint-free rag. Allow the doors to dry completely before moving on.
Step 5: Add Handles and Hinges
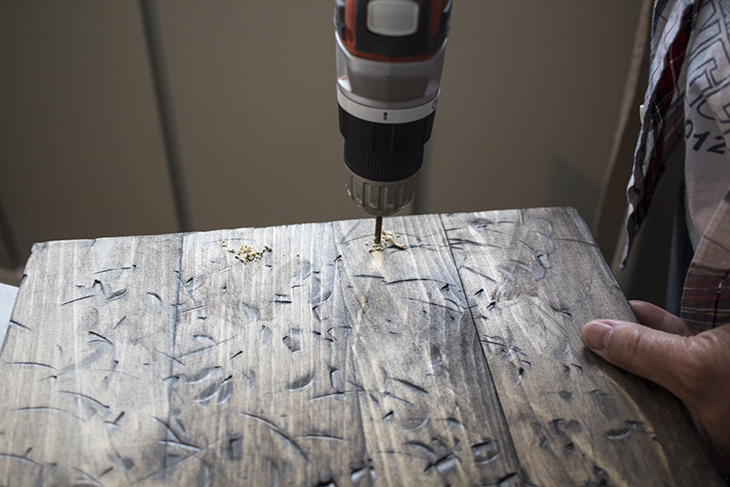
Drill holes for the cabinet handles at 5″ and 8″ from the top of each door. Attach the handles, then spray-paint hinges (if needed) to match. Position hinges 2″ from the top and bottom of each door and screw them in place.
Step 6: Attach Doors to the Shelving Unit
Mark and drill pilot holes on the shelf where the hinges will attach. Screw the doors to the shelving unit, ensuring they open smoothly. Install magnetic catches inside the shelving unit to keep the doors closed.
Finishing Touches
For added flair, consider attaching hairpin legs, swivel casters, or a custom backing like wood planking or tread plate. These small details can take your rustic cube shelves to the next level.
FAQs
The total cost will vary depending on the supplies you already have. On average, expect to spend $50–$100 for materials.
Absolutely! Choose a stain color that complements your home’s decor.
Not at all! Take your time marking hinge placements and drilling pilot holes to ensure a smooth fit.
A brad nailer is faster and provides a cleaner look, but you can use screws if you don’t have one.
More DIY Furniture
- DIY Industrial Wood and Metal Shelves
- DIY Brickmaker’s Coffee Table
- DIY Balustrade Coffee Table + Where to Get Balustrades!
- Ikea Hack: DIY Rustic Cube Shelves
- How to Make a Reclaimed Wood Headboard With New Wood For Less Than $50
- DIY Blanket Ladder Made with 2 x 4s
- DIY Faux Fireplace Mantel
- How to Build a Faux Mantel Shelf (DIY Mantel Shelf Tutorial)
Step-by-Step Guide: How to Add Doors to an IKEA Kallax Shelf
Turn a basic IKEA Kallax shelf into a stunning storage piece with rustic wooden doors. Learn how to DIY this easy and stylish hack!
Materials
- IKEA Kallax shelving unit (16 1/2" x 57 7/8")
- Knotty pine one-by-fours (6 ft long, 5 pieces)
- 3-inch cabinet handles (4)
- 1 1/2-inch narrow fixed pin hinges (8)
- Magnetic catches (4)
- Wood glue or adhesive
- 1 1/4-inch brad nails (128)
- Dark walnut stain
- Foam brush
- Lint-free rag
- Oil-rubbed bronze spray paint (optional)
Tools
- Table saw
- Miter saw
- Brad nailer
- Drill and drill bits
- Sander and sandpaper
- Measuring tape
- Hammer (and other tools for distressing wood)
Instructions
- Assemble the Kallax Unit
- Follow the IKEA instructions to assemble the shelf. Set aside. - Cut the Door Materials
- Cut 16 pieces of knotty pine to 13 1/16" for door fronts.
- Rip 4 of these pieces into narrower 1-by-3 boards.
- Cut 8 additional pieces (13 1/16") for the door backing. - Assemble the Doors
- Arrange 3 full-width boards and 1 narrow board to form a door.
- Glue and nail the backing pieces horizontally.
- Repeat for all doors, alternating the placement of narrow boards for a rustic look. - Distress and Stain the Doors
- Use a hammer or screwdriver to distress the wood.
- Sand edges and fronts.
- Apply dark walnut stain with a foam brush, let sit for 5–10 minutes, and wipe off excess. Let dry. - Add Handles and Hinges
- Drill handle holes at 5" and 8" from the top of each door.
- Attach handles and hinges (spray-paint hinges if needed).
- Position hinges 2" from the top and bottom of each door. - Attach the Doors
- Mark hinge placement on the shelf and drill pilot holes.
- Screw doors to the shelf.
- Install magnetic catches inside the unit to keep doors closed. - Optional Finishing Touches
- Add hairpin legs, casters, or a custom backing to personalize your shelf further.
Adding rustic wooden doors to an IKEA Kallax shelf is such a rewarding project! It’s a quick and affordable way to create custom furniture that fits your style and storage needs. Whether you’re updating a room or just want to try your hand at an IKEA hack, this project is a great place to start. I’d love to hear about your Kallax makeovers or any IKEA hacks you’ve tried—share your favorites in the comments!

Want to see more content like this in your Google searches?
This button tells Google that Home Made Lovely is a source you like, so it can show you more of it.