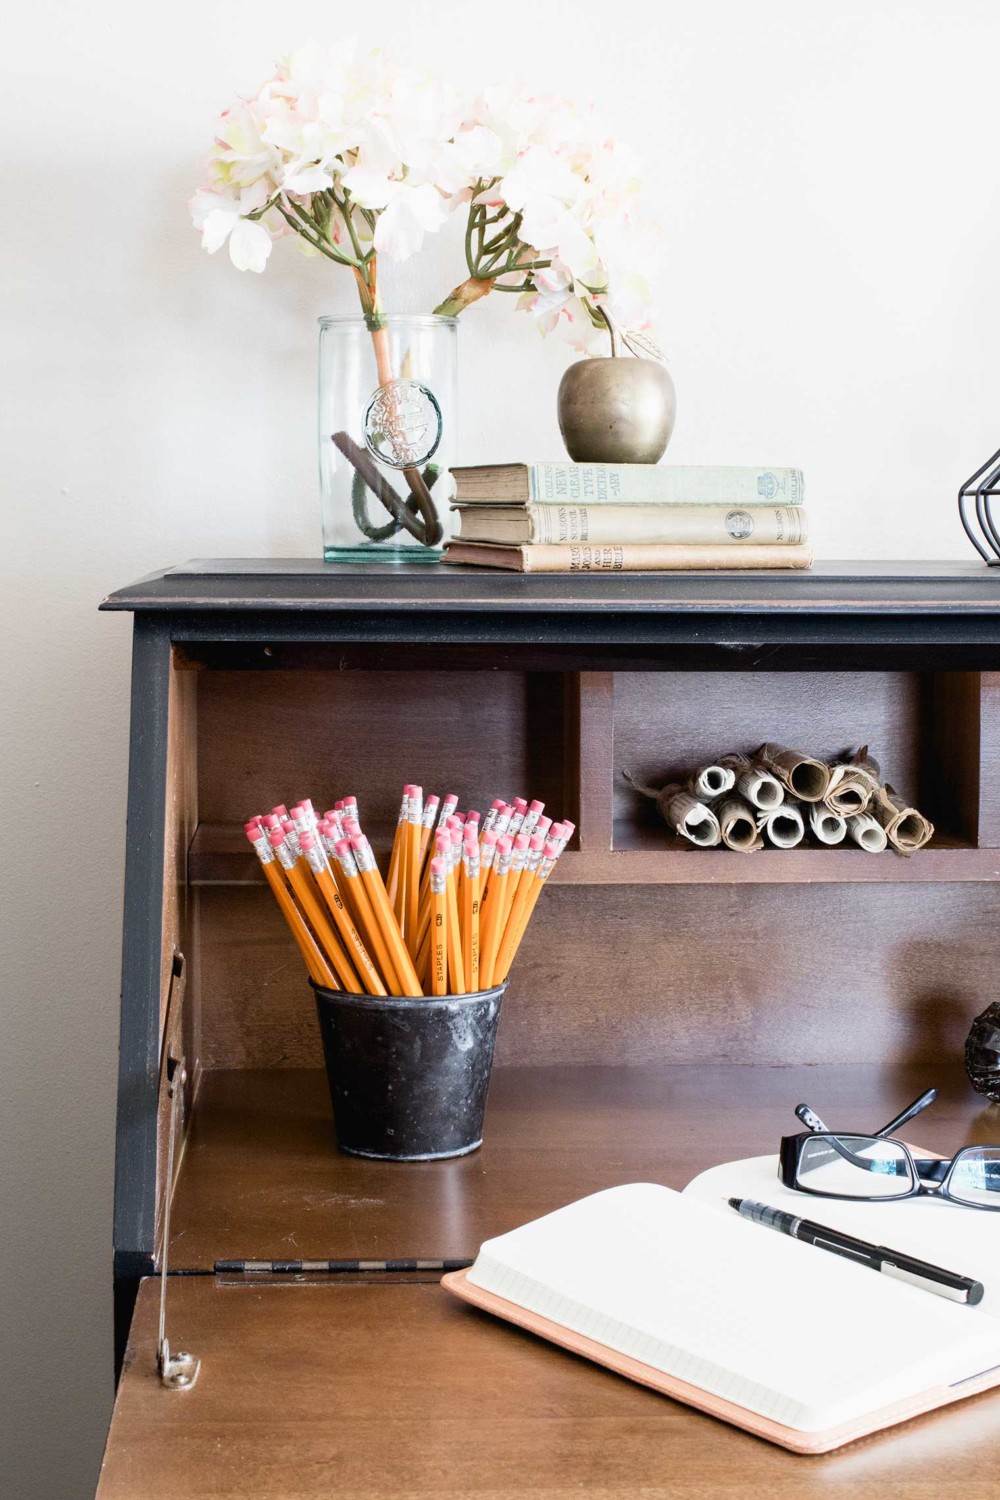
Painting furniture is one of the easiest and most affordable ways to transform a piece you already own—or a thrift store find—into something beautiful and uniquely yours. I know how overwhelming it can feel when you’re just starting out (trust me, I’ve been there!), but with a little guidance, you can turn almost any piece into a showstopper.
In this guide, I’ll walk you through how to paint furniture step by step, covering everything from prep to the final protective coat. Whether you’re tackling a hand-me-down dresser or giving a secondhand buffet a fresh look, I’ve got you covered!
If you’re ready to dive in, don’t miss my how to stain wood tutorial, which is a great companion to this post. Between painting and staining, you’ll have all the tools to makeover furniture like a pro!
Why Paint Furniture?
There’s nothing quite like giving a worn piece of furniture new life. Painting is:
- Affordable: A can of paint and a good brush cost far less than buying new.
- Creative: You can customize the color, finish, and style to fit your home.
- Sustainable: Save old furniture from the landfill and create something you’ll love.
When you learn how to paint furniture the right way, you open up a world of possibilities for personalizing your home.
How to Choose the Right Piece to Paint
Not all furniture is created equal, so it’s important to pick a piece that will give you the best results.
- Look for Solid Wood: It holds paint well and lasts longer.
- Avoid Structural Damage: Skip pieces with major cracks, warping, or missing parts.
- Good Bones Matter: Focus on the shape and style—paint can’t fix bad proportions!
- Laminate or Veneer: You can paint these too, but they require extra prep (see below).
Tools and Materials You’ll Need
Before you start, gather everything you need:
- Sandpaper (medium and fine grit) or an orbital sander.
- Tack cloth or lint-free rags.
- Primer (I love Kilz or Zinsser).
- Paint: Latex, chalk, or mineral paint.
- Brushes: Synthetic for water-based paints; natural for oil-based.
- Topcoat: Wax or polycrylic for protection.
Pro Tip: High-quality brushes like Purdy will give you a smoother finish and last longer.
Step-by-Step: How to Paint Furniture
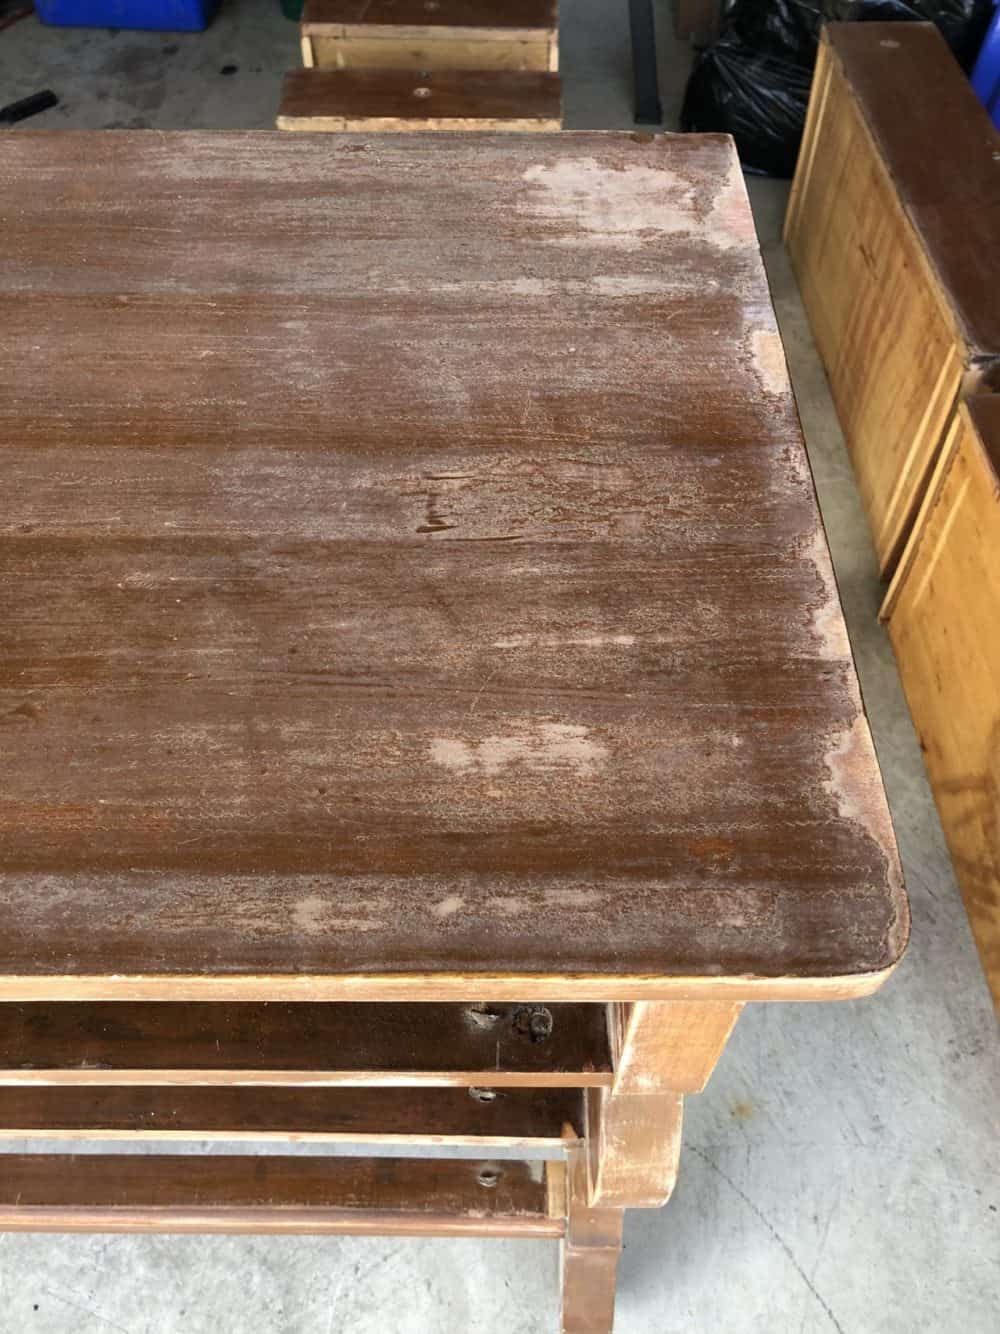
1. Prep the Furniture
- Remove hardware, doors, and drawers.
- Clean the piece thoroughly with dish soap or Murphy’s Oil Soap to remove grease and grime.
- Test for lead if it’s an older piece (pre-1978).

2. Sand the Surface
- Lightly sand to remove any gloss and roughen the surface.
- Use medium-grit sandpaper (150-180), followed by fine grit (220).
- Wipe away all dust with a tack cloth.
3. Repair Any Damage
- Fill cracks or holes with wood filler and let it dry completely.
- Sand smooth and wipe clean again.
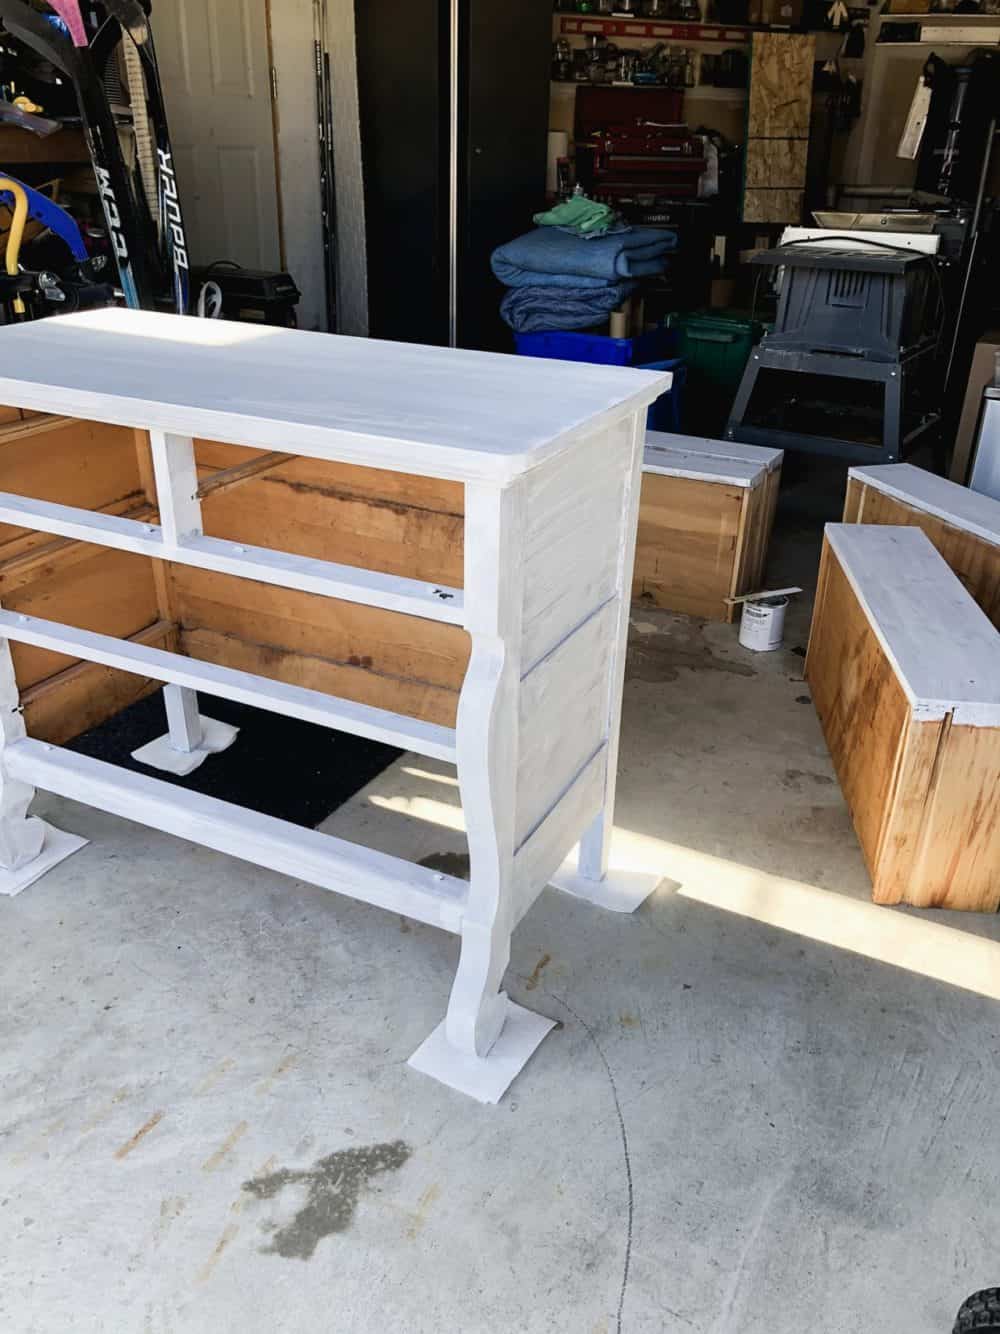
4. Prime the Furniture
- Apply a high-quality primer for better adhesion and color coverage.
- Use a brush for detailed areas and a roller for flat surfaces.
- Allow to dry fully before moving on.
5. Paint
- Use even, thin coats of paint, brushing with the grain.
- Allow each coat to dry fully, sanding lightly between coats for a smooth finish.
- Repeat until you achieve the desired color and coverage.
6. Protect the Finish
- Apply a topcoat to seal and protect your work.
- Use wax for light-use furniture (side tables, decor pieces).
- Opt for polycrylic for high-use furniture (dining tables, desks).
Painting Tips for a Professional Finish
- Always paint in the direction of the wood grain for a smoother look.
- Don’t overload your brush—several thin coats are better than one thick coat.
- Invest in good brushes or rollers to avoid bristle marks or bubbles.
- Sand lightly between coats for a flawless finish.
Common Mistakes to Avoid
- Skipping sanding or cleaning—it will cause peeling paint.
- Using the wrong primer or skipping it altogether.
- Not allowing enough dry time between coats.
- Forgetting the protective finish—it’s essential for durability.

FAQs About Painting Furniture
It’s possible with high-adhesion primer, but sanding ensures the paint adheres properly and lasts longer.
Latex paint is versatile and durable, while chalk and mineral paints are beginner-friendly.
Yes, but you need to sand lightly and use a primer designed for slick surfaces.
Sand lightly between coats and apply thinner layers of paint. Use a high-quality brush or foam roller.
If you want the best results, yes! A topcoat protects your painted furniture from wear and tear. If you need help choosing see The Best DIY Wood Finishes: Transform Your Projects with Style post.
More Paint Finish Tutorials
- How to Paint Kitchen Cabinets: Complete Step-by-Step Guide
- Grey Wash Wood Finish
- How to Get the Lime Wash/White Washed Wood Finish without Blue Undertones!
- How to Stain Wood – Step-by-Step Tutorial for Beginners
- How to Whitewash Stain (Plus FAQ & Staining with Minwax Pickling)
- How to Paint a Sideboard: Step-by-Step Guide for a Stunning Makeover

How to Paint Furniture
Materials
- sander and sandpaper
- lint-free rag/tack cloth
- flat paint (I used the Duration line by Sherwin Williams)
- quality brush (like Purdy)
- furniture beeswax (I used Miss Mustard Seed beeswax I had on hand) or finishing paste (like Minwax)
- clean cloth
- painter's tape is optional (I used FrogTape on the glass)
Instructions
- Remove doors, drawers, and hardware.
- Sand well. You don't have to sand down to bare wood or anything. Just get the shine off.
- Wipe off dust with a lint-free cloth. Get rid of all the dust you just sanded off.
- Prime with a quality primer.
- Paint a base coat with a quality brush and quality paint in the direction of the wood grain. Let dry.
- Sand with fine-grit sandpaper and paint a topcoat.
- Optional: Distress edges if desired using sandpaper.
- Wax or finish with a protective coating and a clean cloth. I used Miss Mustard Seed's Furniture Wax and Antiquing Wax because I really like it and had some on hand. But you could (and I have) use Mixwax's Finishing Paste in Regular and Dark, which are fabulous too.
Notes
- I used a good quality paint from a line called Duration at Sherwin Williams - it's wipeable and durable.
- Use FLAT paint for a nice finish.
- Be sure to test “paint and primer in ones”. A lot of them are more like thick, gloppy paint. Which means they won't go on well and won't go as far.
- Use clear wax/paste first and then use the darker was/paste on top. If you end up with a look that's too dark add some more clear wax and buff off some of the darkness.
Painting furniture doesn’t have to be intimidating—it’s all about the right prep, tools, and techniques. With a little effort, you can turn an old, tired piece into something fresh and fabulous for your home. I hope this guide gives you the confidence to start your next furniture painting project. Be sure to share your results in the comments or tag me on Pinterest—I’d love to see what you create!
