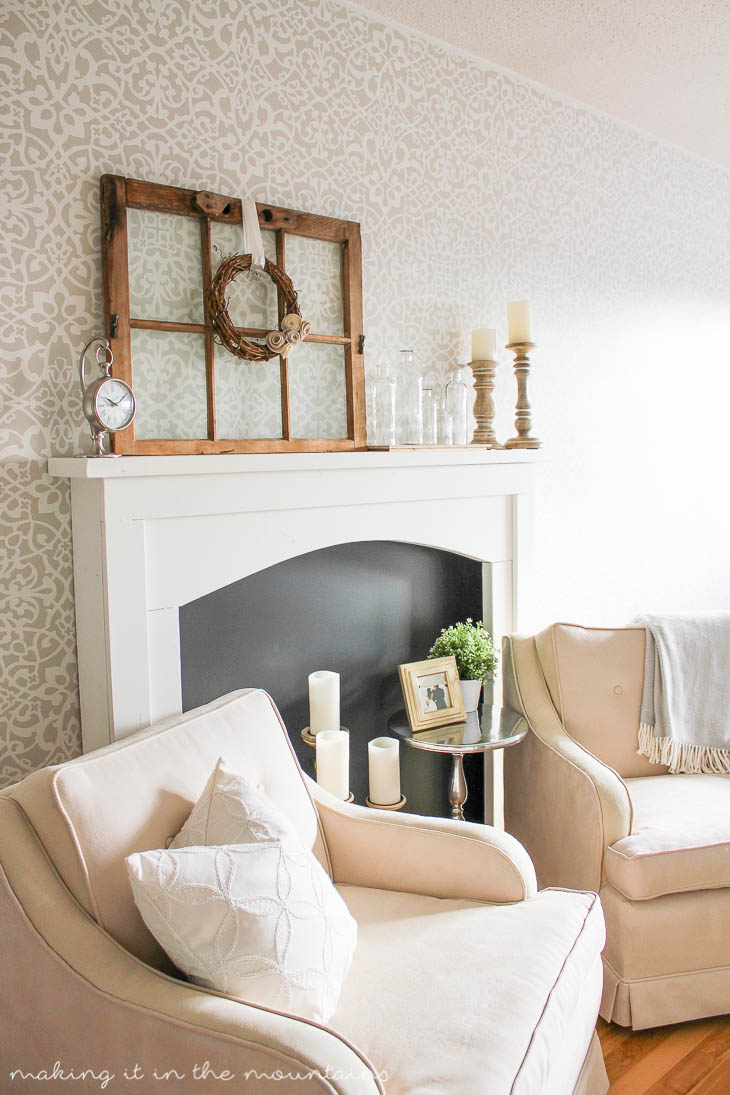
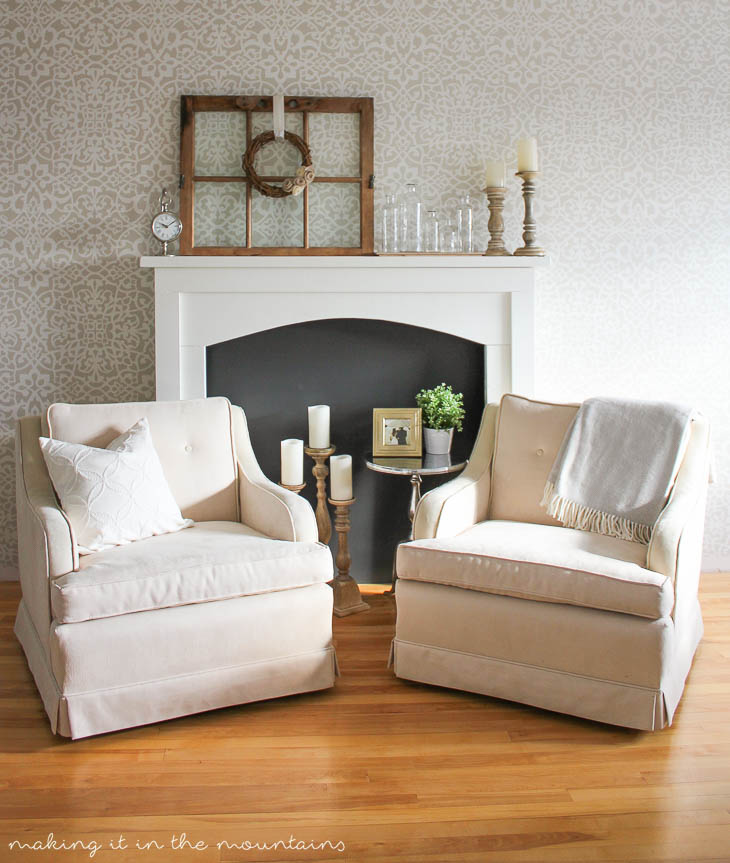
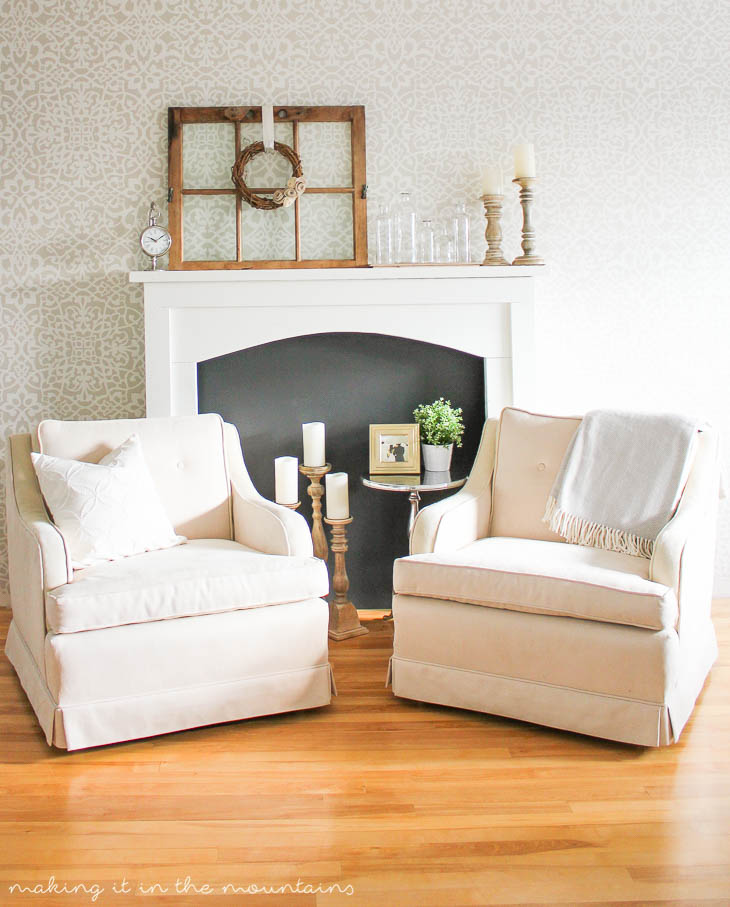
Have you ever dreamed of having a fireplace to decorate for the seasons, but it’s just not in your budget or space? This DIY faux fireplace mantel tutorial, shared by my friend Kristi from Making it in the Mountains, is the perfect way to bring charm and warmth to your room without the expense or hassle of installing a real fireplace. With just a little time and effort, you can create a stunning focal point that’s both functional and beautiful.

If you love the idea of seasonal decorating but don’t need a full faux fireplace, check out my post on how to Build a Faux Mantel Shelf For YOUR House to Decorate Each Season! It’s another easy project that lets you enjoy all the fun of a mantel in a smaller, more versatile way.
DIY Faux Fireplace Mantel: Step-by-Step With Pictures
Materials
- 2 – 2×6 cut to 48″
- 2 – 2×6 cut to 36 3/4″
- 2 – 1×2 cut to 48″
- 1 – 2×12 cut to 50 1/2″ (with a 4″ deep arch at its peak)
- 1 – 2×8 cut to 58″
- 2 – 1×3 cut to 44 3/4″
- 1 – 1×3 cut to 54.5″
- 1 – 50 1/2″ x 47 3/4″ (or cut to fit back) piece of 1/4″ MDF
- Wood screws
- Finishing nails
- Sandpaper
- Wood filler
- Paint
Tools
- Jigsaw
- Measuring tape
- Drill
- Paintbrush
Instructions
1. Create the Arch
- The first step was cutting an arch into that 2×12. My husband came up with the most brilliant idea for this – he drew a rectangle onto the front of the board outlining where he wanted to create the arch, making it 4″ tall all the way along and stopping 5 1/2″ in from either end (where it would meet with the sides of the fireplace).
- Then, to turn the rectangle into an arch, he used a nail at either end and one in the middle to hold and bend a thin piece of wood (we used a spare piece of trim) creating a perfect arch shape to trace.
- Then, he simply cut along this line with a jig saw making a perfect arch. There’s probably some fancy tool that does this very job, but I thought my hubby’s creative arch-making idea was super smart!

2. Assemble the Front
- With the arch made, it was time to start assembling the front. We started by attaching a 48″ 2×6 to the outside edge of one of the shorter 36 3/4″ 2×6’s, matching the bottom edges and securing it with several screws through the side, creating an “L” shape.
- We then matched the top of the shorter 2×6 to the bottom of the arch. After securing that all with a few more screws through the side into our 2×12, we were left with a front and side to our fireplace.
- We also added in a screw at an angle through the inside of the shorter 2×6 into the bottom of the 2×12, just outside the arch to help hold everything straight.
- Repeat on the other side.

3. Add Trim
- Next up was adding some 1×3 trim along the top and sides to cover the joining of the 2×6’s underneath. Nailing the long piece along the top and the shorter 1×3’s down each side, left everything looking much more polished.


4. Attach the Backing
- Next up we added a 1×2 piece to the back of our fireplace on the inside of each 2×6 side creating a spot to fasten the backing to.
- After cutting a piece of 1/4″ thick MDF to size (ours turned out to be 50 1/2″ x 47 3/4″), we simply nailed it to the back of our fireplace, into the 1×2’s on the inside of the sides.
Tip: Painting the fireplace is infinitely easier before putting this backing on!

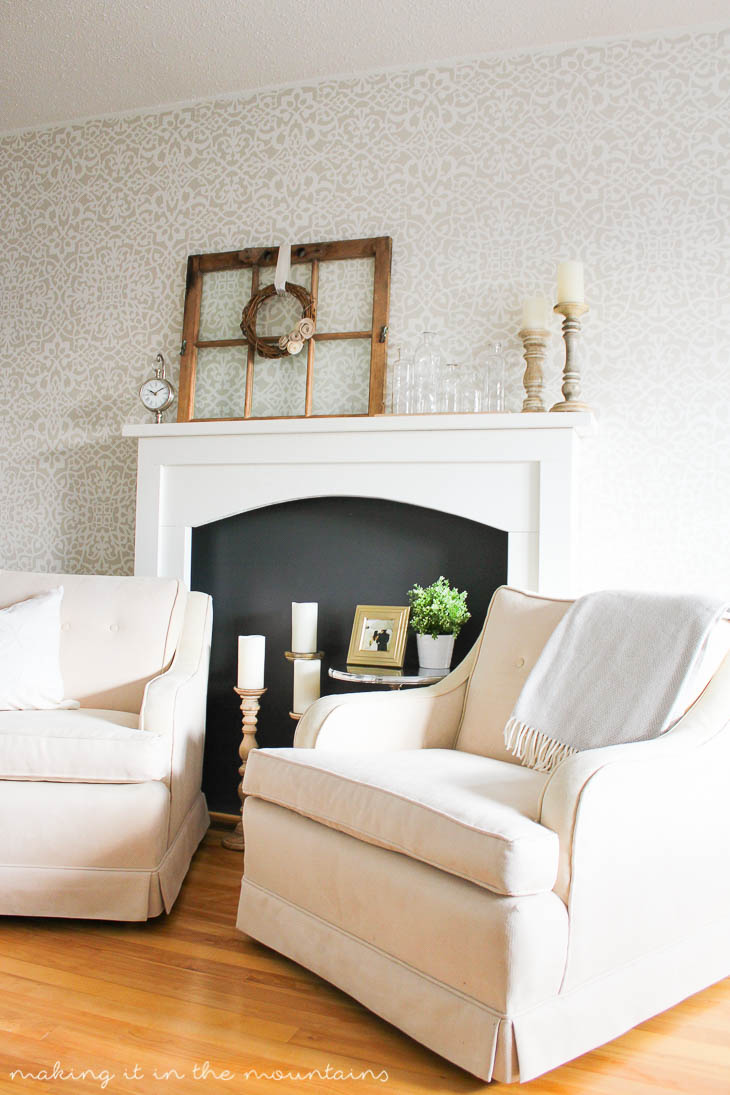
5. Add the Mantel
- Finally it was time to add on our 2×8 mantel and, after several screws in through the top, we had ourselves a fireplace!

6. Finishing Touches
- To finish it all off, we puttied up all of the screw and nail holes and added a few coats of paint. In hindsight, I wish we would have filled the gaps where the 1×3’s joined together on the front too, so hopefully I can save you from making the same mistake.
7. Secure to the Wall
- Use L-brackets to anchor the fireplace to wall studs for stability and safety.

FAQs
Yes! While power tools make the process faster, you could use hand tools like a coping saw for cutting the arch and a hammer instead of a drill.
For safety, use L-brackets to anchor the fireplace to the wall. Attach the brackets to the underside of the mantel and secure them to wall studs.
A durable latex or chalk paint is ideal for a faux fireplace. Choose a finish that complements your room’s style, such as matte for a farmhouse look or semi-gloss for a more polished feel.
Absolutely! The measurements in this tutorial are a guide. Adjust the size to suit your room’s needs, ensuring proportions remain balanced.
Seasonal decor works wonderfully—think garlands, candles, or framed artwork. You can also lean a mirror or wreath against the wall for a layered look.
More DIY Furniture
- DIY Industrial Wood and Metal Shelves
- DIY Brickmaker’s Coffee Table
- DIY Balustrade Coffee Table + Where to Get Balustrades!
- Ikea Hack: DIY Rustic Cube Shelves
- How to Make a Reclaimed Wood Headboard With New Wood For Less Than $50
- DIY Blanket Ladder Made with 2 x 4s
- DIY Faux Fireplace Mantel
- How to Build a Faux Mantel Shelf (DIY Mantel Shelf Tutorial)

DIY Faux Fireplace Mantel Tutorial
Transform any space with this DIY faux fireplace mantel! Add charm and character to your room with this easy step-by-step tutorial.
Materials
- 2 – 2×6 cut to 48"
- 2 – 2×6 cut to 36 3/4"
- 2 – 1×2 cut to 48"
- 1 – 2×12 cut to 50 1/2" (with a 4" deep arch at its peak)
- 1 – 2×8 cut to 58"
- 2 – 1×3 cut to 44 3/4"
- 1 – 1×3 cut to 54.5"
- 1 – 50 1/2" x 47 3/4" (or cut to fit back) piece of 1/4" MDF
- Wood screws
- Finishing nails
- Sandpaper
- Wood filler
- Paint
Tools
- Jigsaw
- Measuring tape
- Drill
- Paintbrush
Instructions
- Create the Arch:
Use the 2×12 for the fireplace front. Draw a rectangle 4" tall at its peak and 5 1/2" in from each side to mark the arch. Use a flexible trim piece to bend into an arch shape and trace it. Cut the arch with a jigsaw. - Assemble the Front:
Attach a 48" 2×6 horizontally to one 36 3/4" 2×6 vertically to form an “L” shape. Attach the shorter piece to the bottom of the arch, securing with screws. Repeat for the other side to complete the fireplace front. - Add Trim:
Nail 1×3 trim along the top and sides of the fireplace front to cover the edges of the 2×6 boards. - Attach the Backing:
Cut the MDF backing to size (50 1/2" x 47 3/4" or to fit). Attach 1×2 supports to the back of each vertical side, then nail the MDF backing into place. Tip: Paint the fireplace before attaching the backing for easier finishing. - Add the Mantel:
Secure the 2×8 mantel board to the top of the fireplace structure with screws. - Finishing Touches:
Fill screw and nail holes with wood filler, sand everything smooth, and paint. Be sure to paint any visible edges of the MDF backing. - Secure to the Wall:
Use L-brackets to anchor the fireplace to wall studs for stability and safety.
A huge thank you to Kristi from Making it in the Mountains for sharing this beautiful project with us! Her DIY faux fireplace tutorial is the perfect way to add character and warmth to a space without the hassle or expense of installing a real one. I hope you’ve been inspired to give it a try!
If you have any questions about the process, leave a comment below—we’d love to hear from you!

So pretty!
Thank you so much!!!
Lovely!
Thank you!!!
Ahh I love how this turned out! We don’t really need a real fireplace here in Florida, but I’ve always wanted a mantel to decorate. I’m already trying to figure out if I have a spot to make this work in my master bedroom…
Awwwww, you should totally do it Jenna! It’s so cold here for so much of the year that I can’t even imagine what it would be like to not NEED a fireplace … this really would be the perfect solution!!!
I love it. The only spot I could put it has hot water baseboard heat running across the wall. Any ideas how to modify it to accommodate the bump out for the heat cover?
Thanks!
Thank you Carol! We actually have to cut a notch out of the back of ours to fit around our baseboard, would the same work for you around your baseboard heater? You could also add some sort of metal screen as backing to let the heat through if you needed to – I’ve seen beautiful ones at Hobby Lobby. Hope this helps, let me know if you have any more questions.
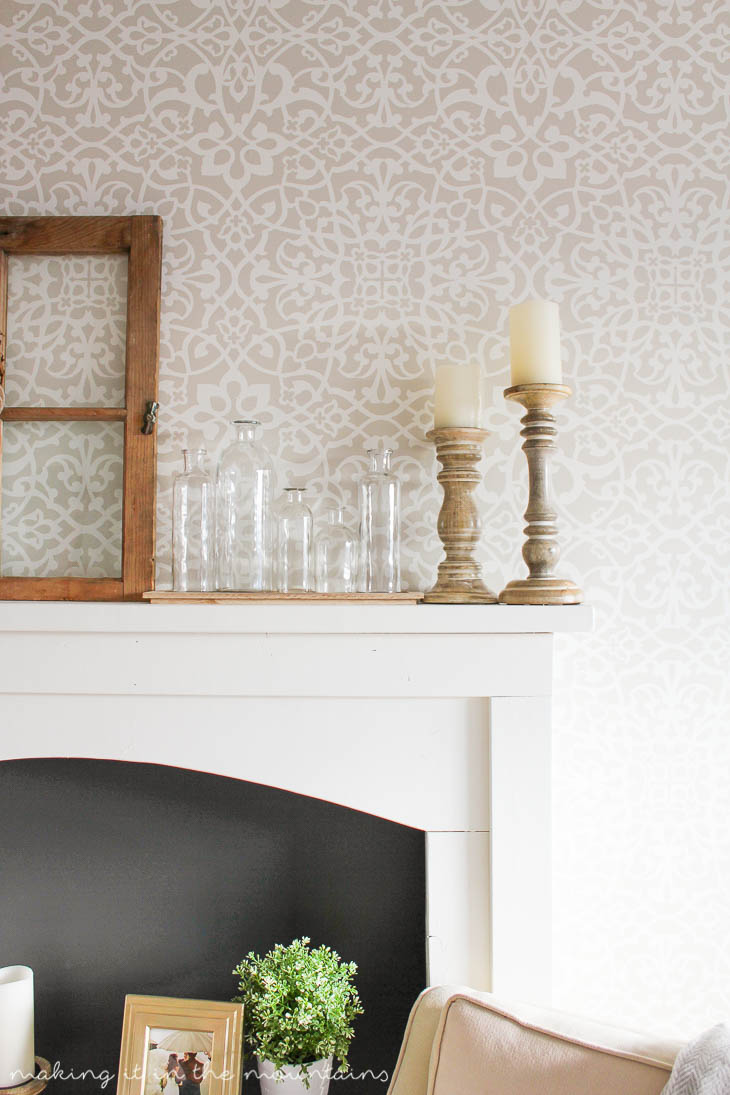
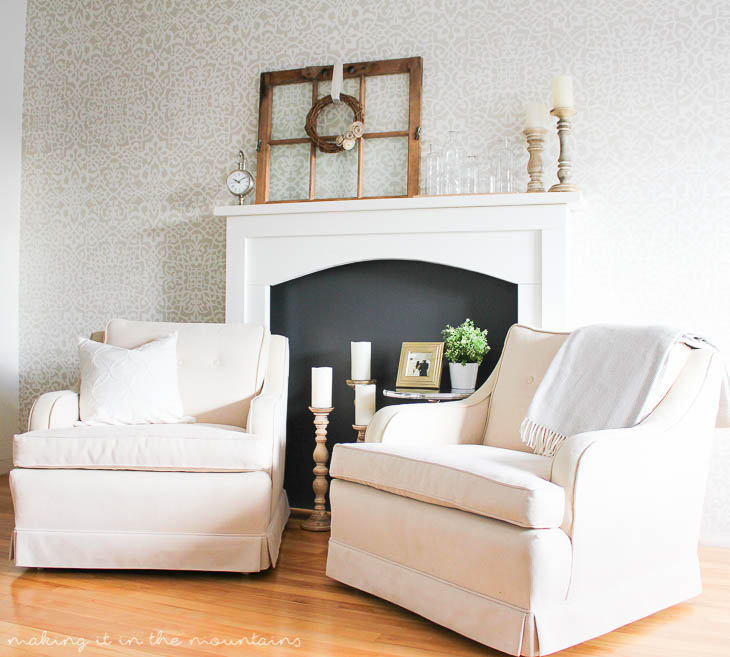
Just gorgeous! And that stenciled wall! Smitten!
Awwww, you are just the sweetest! Thank you SO much Peggy!!!
Wow, you guys did an awesome job on this Kristi! It looks perfect against your gorgeous stenciled wall. Swooning over the armchairs in front of the fireplace too. I can’t wait to see the BIG reveal!
Thank you SO much Marie! I’m so, so happy with how it turned out! Those armchairs belonged to my husband’s grandparents and are absolutely beautiful! Thanks again!!!
This is just so cool!!
Thank you SO much Shawnna! It’s definitely a great way to add some charm and character to our space!
I love this idea, thanks for all info on cutting the wood. The fireplace really turned out well. I am going to use the instructions to build a real mantle for our family room. Currently we only has a wooden board, and need to make the room look more finished and cozier
Thank you SO much Jackie! I’m so happy you found it helpful! If you’re just working on your mantel, there are a ton of options for trim that you could use to add even more impact once you build it up. Wishing you luck! I’m sure it will look beautiful!!!
This looks gorgeous, Kristi! I’d love to work more with wood, but I’ve got to build up my collection of power tools (the first thing I’ve done with the blog that I won’t have to cajole my husband into doing). ;0) I’m pinning this for future reference. Good luck with the rest of this room! I can’t wait to see it complete!
Thank you SO, SO much Tiffany! Hubs has a huge part in all of the DIY projects around here too! Thanks again!
Kristi
This is such a brilliant way to add some romance to any room, and your tutorial is totally do-able.
Thank you.
<3
Pia
Awwww, thank you SO much Pia! I couldn’t be happier with how it turned out and can’t wait to see how it looks in our finished room!
So pretty! I do have a quick question on it though – what are the final dimensions?
Thanks so much Amy! The final measurements were: 54″ wide, 49.5″ tall & 6.5″ deep (with 2″ sticking out on either side with the mantel). Hope this helps!
BRAVO AND THEN SOME, what a beautiful job your hubs did. Isn’t it wonderful to have talented and knowledgeable hubs. It looks fantastic. Wish we had room for one in our room.
Happy week
Thank you SO, SO much JaneEllen! I’m absolutely thrilled with how it turned out and cannot wait to see it in our new master bedroom! Wishing you a wonderful week as well!
Hi! Thanks so much for the great idea and the detailed “recipe”. We are in the middle if assembly right now and I’m a bit unsure how the 1×2’s attach to the back. Can you draw me a sketch or anything? I can’t quite tell from the pictures what is what and what exactly I’m looking at. So excited to finish this for the holidays!!
Our contributor Kristi wrote this tutorial. I believe she’s referring to this image: . She affixed those pieces to the back of the fireplace with small nails.