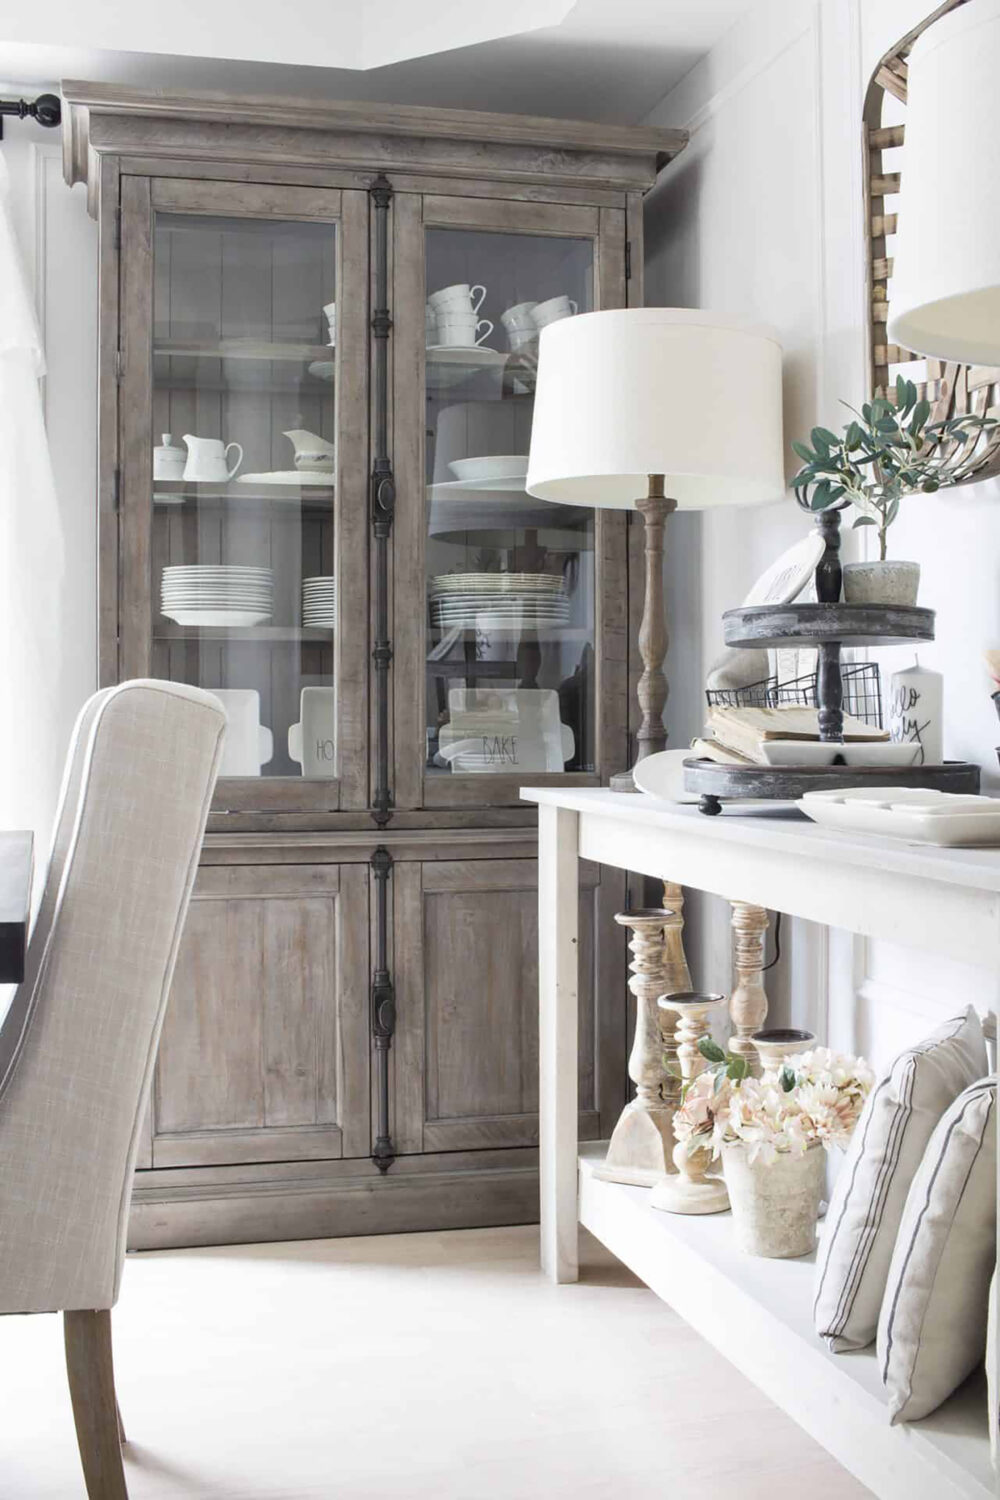
If you’ve ever wanted to give your furniture or wood decor a timeless lime wash wood finish but found that most techniques leave a cool, blue undertone, I’ve got great news. After some trial and error, I discovered a method that creates the warm, neutral tones you’re looking for—and it’s easier than you might think!

If you enjoy this kind of wood transformation, you might also love my tutorial on how to create a grey wash wood finish. It’s perfect for adding a rustic, weathered charm to your home.
Step-by-Step Guide to a Perfect Lime Wash Wood Finish
Materials
- Wood table or piece to finish
- Water
- Varathane® Wood Grain Enhancer in White
- Varathane® Ultimate Wood Stain in Sun Bleached (optional)
- Wax or sealer (optional)
Tools
- Wire brush
- Lint-free rags (several)
- Fine grit sandpaper
- Gloves (optional)
Instructions
1. Prepare Your Wood Surface
Depending on the look you’re aiming for, you might want to start by staining your wood piece. I recommend using Varathane® Ultimate Wood Stain in Sun Bleached for a subtle, aged effect. This step is optional but adds depth to the final lime wash wood finish.
2. Dampen the Wood
Using a lint-free rag, apply water along the grain of the wood. This helps the wood grain enhancer absorb more evenly and prevents streaks.


3. Texture the Wood
Take your wire brush and gently brush it along the wood grain. This adds texture and opens up the wood grain, allowing the enhancer to penetrate better.

4. Apply the Wood Grain Enhancer
With a clean lint-free rag, generously apply Varathane® Wood Grain Enhancer in White against the grain of the wood. Let it sit for 1–2 minutes to allow the wood to absorb the product.

5. Wipe Off Excess Enhancer
After the enhancer has set, use another clean rag to wipe off any excess, following the direction of the grain this time. This step ensures a consistent lime wash wood finish without blotches.
6. Let It Dry Completely
Allow the piece to dry fully. This could take a few hours depending on the humidity and temperature.
7. Lightly Sand the Surface
Once dry, use fine-grit sandpaper to lightly sand the surface. This smooths out any roughness and helps the finish look more professional. Wipe away any sanding dust with a clean rag.
8. Seal the Finish
To protect your newly finished piece, apply a clear wax or sealer. This not only adds a subtle sheen but also preserves the lime wash wood effect you’ve achieved.

Why This Lime Wash Wood Method Works
Traditional white wash or pickling finishes often result in cool blue undertones due to the pigments used. By using Varathane® Wood Grain Enhancer in White and optionally starting with a sun-bleached stain, we create a warm, neutral finish that highlights the natural beauty of the wood without those unwanted blue tones. This method is flexible and allows you to adjust the level of whiteness and texture to suit your specific project.
FAQs
This method works best on bare or stained wood. Painted wood won’t allow the enhancer to penetrate the surface properly.
Absolutely! This method works well on most types of wood, whether it’s a softwood like pine or a hardwood like oak. Just make sure the wood is clean and properly prepped.
Staining is optional. If you want a deeper, more layered look, staining the wood first can add richness to the final finish. If you prefer a lighter, more natural look, you can skip the staining step.
You can layer the White and Black Wood Grain Enhancers for a dramatic look. Experiment with darker stains underneath for even more impact.
You can apply additional layers of the Wood Grain Enhancer to achieve a more opaque white look. Just make sure to let each layer dry completely before applying the next.
Yes, sealing protects the finish from wear and tear, especially for high-traffic pieces like tables or shelves.
To keep your piece looking its best, dust it regularly and clean with a soft, damp cloth as needed. Avoid harsh chemicals or abrasive cleaners.
More DIY Finishing Ideas
- Painting Furniture: How to Paint Furniture
- How to Whitewash Stain
- How to Stain Wood – Step-by-Step Tutorial
- How to Get the Lime Wash Washed Wood Finish
- Grey Wash Wood Finish
- How to Make Wood Look Old in 3 Simple Steps
- How to Protect a Restoration Hardware Dining Table
- Best DIY Sealers and Protectants for Beautiful, Durable Projects
- The Best DIY Wood Finishes: Transform Your Projects with Style

How to Lime Wash Wood
Learn how to achieve a warm, neutral lime wash wood finish with this easy DIY method. No blue undertones—just timeless charm!
Materials
- Wood table or piece to finish
- Water
- Varathane® Wood Grain Enhancer in White
- Varathane® Ultimate Wood Stain in Sun Bleached (optional)
- Wax or clear sealer (optional)
Tools
- Wire brush
- Lint-free rags (several)
- Fine-grit sandpaper
- Gloves (optional)
Instructions
- Prepare Your Wood Surface:
Stain your wood piece (optional) with Varathane® Ultimate Wood Stain in Sun Bleached for a deeper finish. Let it dry completely. - Dampen the Wood:
Use a lint-free rag to apply water along the wood grain to ensure even absorption. - Texture the Wood:
Brush the surface with a wire brush, following the wood grain, to create subtle texture. - Apply Varathane® Wood Grain Enhancer in White generously against the grain using a clean rag. Let it sit for 1–2 minutes.
- Wipe Off Excess:
Wipe off the excess enhancer with another lint-free rag, this time following the wood grain. - Allow to Dry:
Let the wood dry completely, which may take 3–4 hours depending on humidity. - Sand the Surface:
Lightly sand with fine-grit sandpaper for a smooth finish. Wipe away sanding dust with a clean rag. - Seal the Finish:
Apply a clear wax or sealer to protect the finish and enhance its durability.
Creating a lime wash wood finish is a simple yet impactful way to elevate your furniture or decor. With the right materials and a little time, you can achieve a warm, neutral look that complements any space. I hope this tutorial inspires you to try it for yourself! Let me know in the comments if you have questions or want to share your own projects—I’d love to hear from you.

Want to see more content like this in your Google searches?
This button tells Google that Home Made Lovely is a source you like, so it can show you more of it.