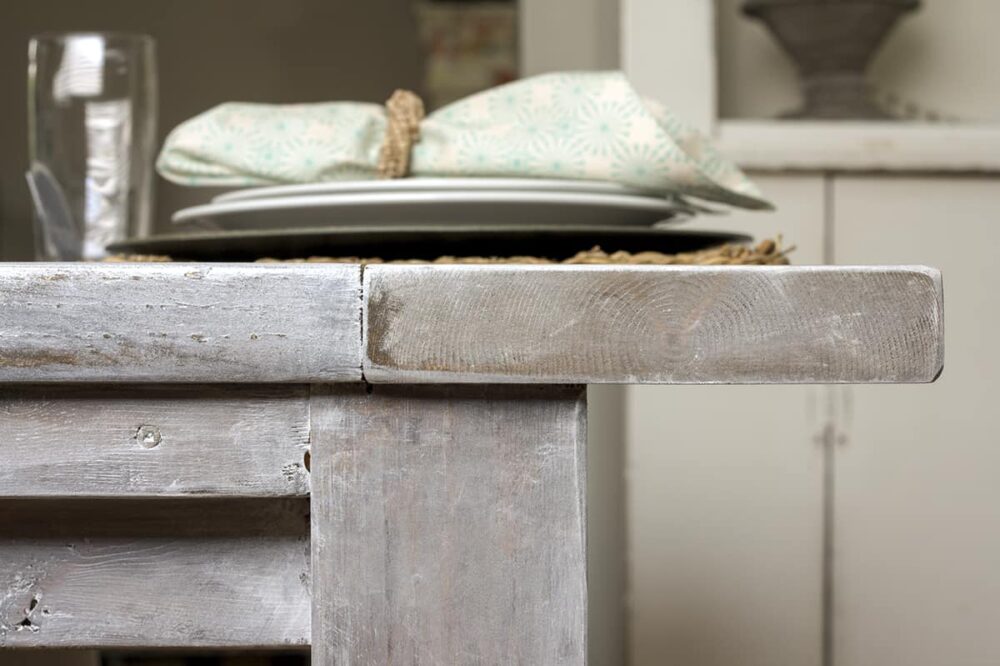
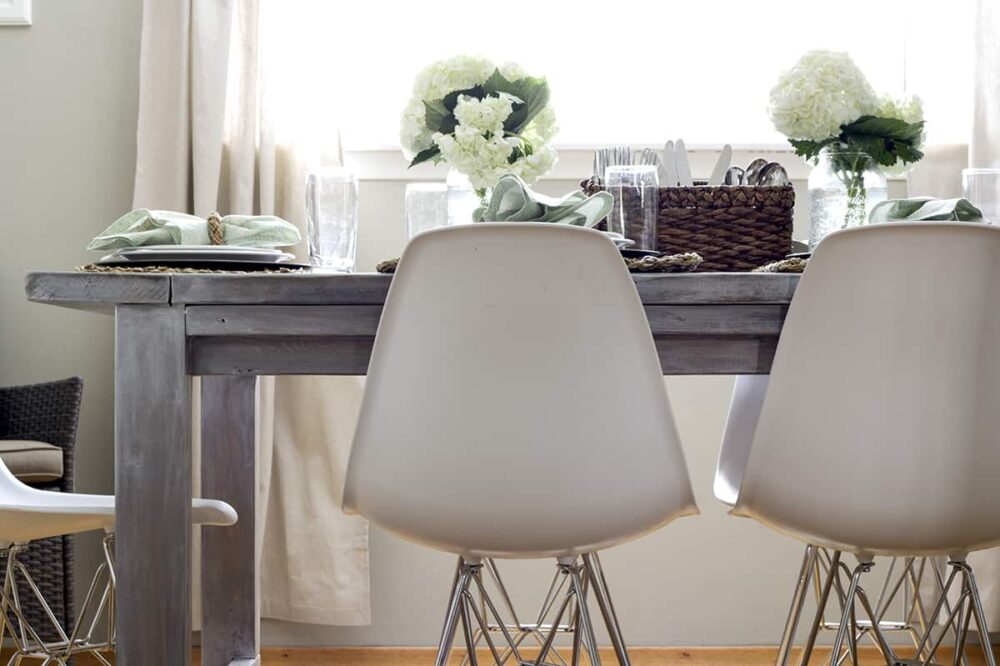
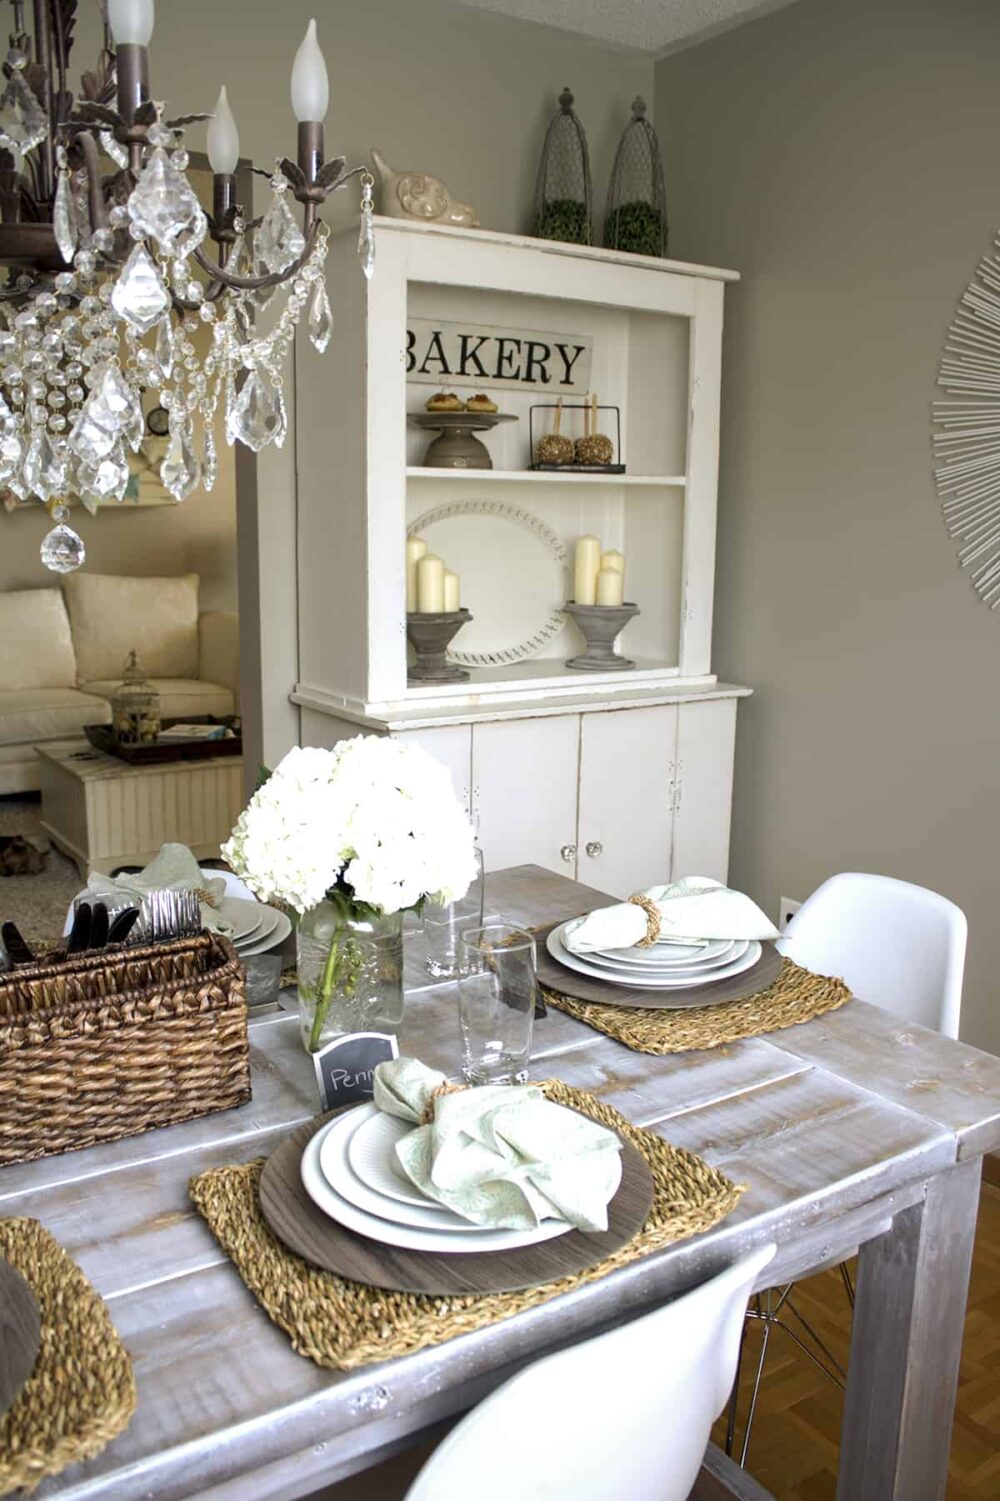
When I first learned how to white wash over stain, I was amazed at how it transformed the look of wood projects. This simple technique adds a light, airy finish while preserving the natural beauty of the wood grain. It’s an easy way to update furniture or decor pieces and give them a soft, rustic charm. If you’re looking to try it out, you’re in the right place!
If you enjoy experimenting with finishes, you might also love my guide to creating a Grey Wash Wood Finish. It’s another favorite of mine for achieving a weathered, vintage-inspired look.
How to White Wash Over Stain Using Minwax White Wash Pickling Stain

Supplies
(List contains affiliate links)
- Raw pine wood – in this case we were finishing a DIY table
- Minwax Pre-Stain Wood Conditioner
- Minwax Clear Tint Base – tinted in American Walnut
- Minwax White Wash Pickling
- Minwax Polycrylic in Satin Finish
- Purdy Paint Brush
- lint free cloth
- fine grit sandpaper
Instructions
1. Prepare the Wood
- If the wood has a protective topcoat (like varnish or polyurethane), lightly sand it to remove the sealant.
- Clean off all sanding debris with a vacuum or lint-free cloth.
2. Apply Pre-Stain Conditioner
- (Optional) Brush on Pre-Stain Conditioner if the wood is raw or uneven. Let it dry completely.

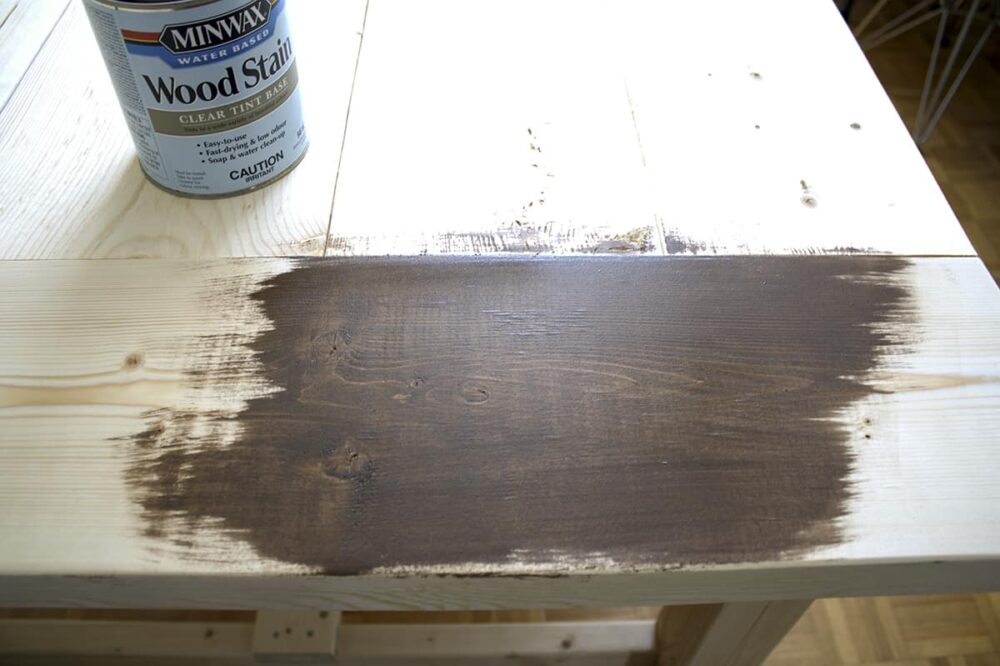
3. Apply the Base Stain
- If your piece isn’t already stained, apply a base stain (like Minwax Clear Tint Base tinted in American Walnut). Let it sit for a few minutes, then wipe off the excess with a lint-free cloth. Allow it to dry completely.
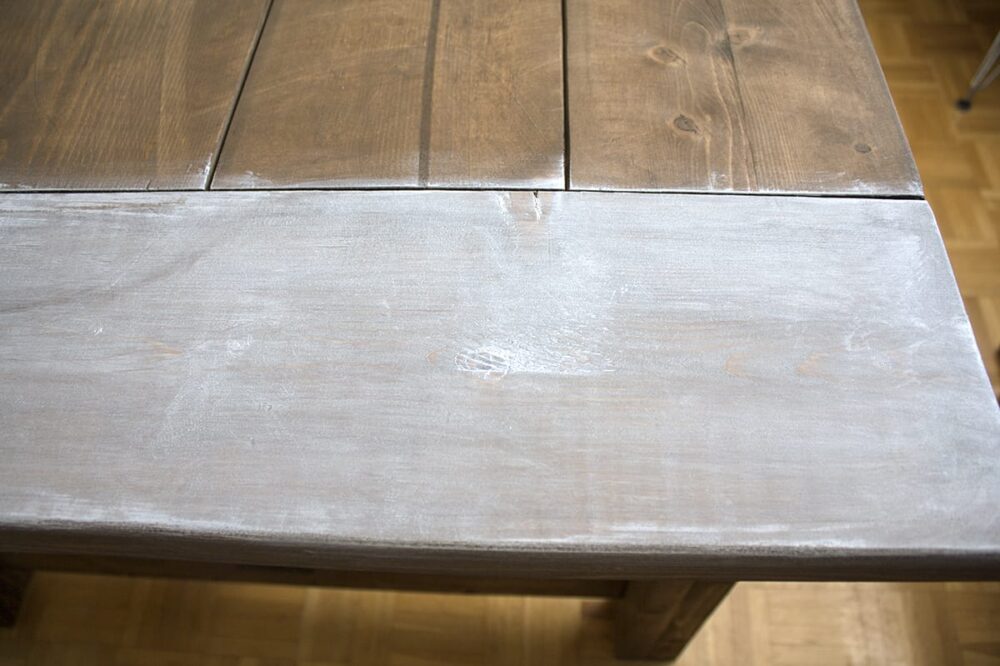
4. Apply the White Wash
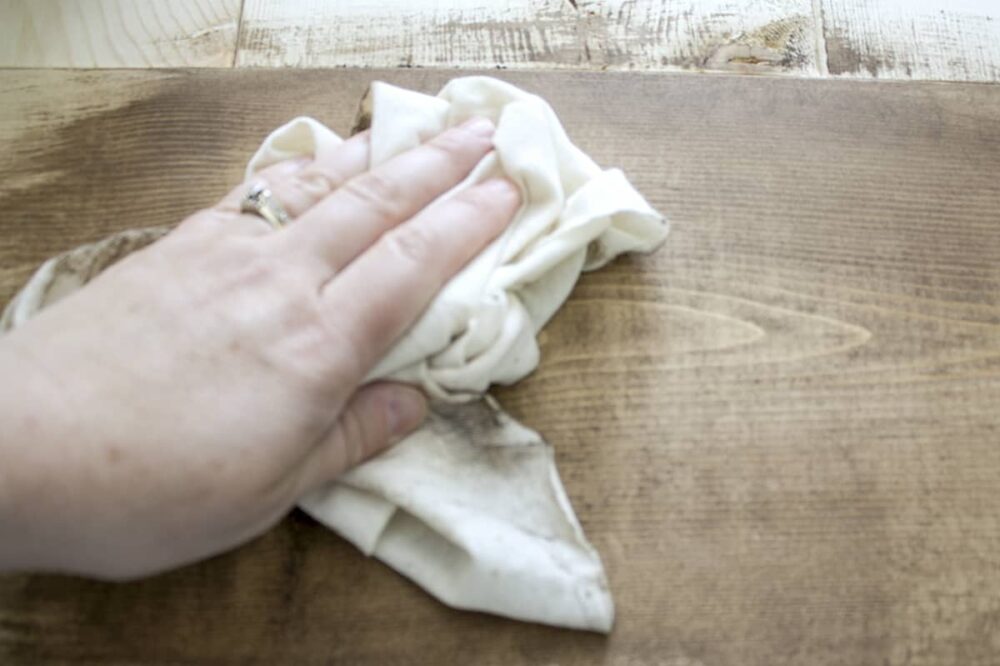
- Brush Minwax White Wash Pickling liberally onto a small section.
- Quickly wipe off the excess with a clean, lint-free cloth to achieve the desired transparency.
- For more opacity, leave the stain on slightly longer before wiping.
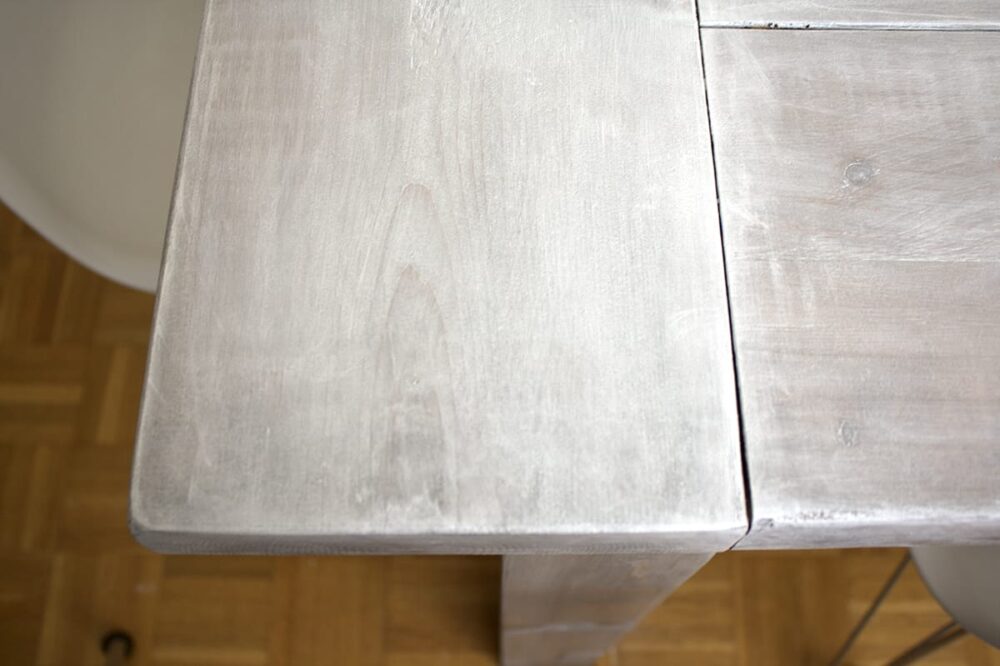
5. Blend and Adjust
- If areas look too white, gently sand or buff with a dry cloth.
- Test your technique on a scrap piece of wood to refine your process before starting your main project.

6. Seal the Finish
- Protect your project with two thin coats of Minwax Polycrylic in Satin. Let each coat dry thoroughly before applying the next.

More White Washing Tips
- Choose the right wood: White washing works best on lighter woods like pine or birch. Darker woods can also be used but may require extra effort to balance the tones.
- Seal it right: Avoid oil-based sealers, as they can yellow your white wash finish. Stick with a water-based topcoat like Polycrylic.
- Practice first: Always test on a scrap piece to get the look you want before starting on your main project.
- DIY alternative: Create your own white wash by mixing white paint with water (3 parts water to 1 part paint). Adjust the ratio for more or less transparency.
FAQs
Not without sanding. White wash needs to soak into the wood, so you’ll need to remove any topcoat like varnish, polyurethane, or wax first.
Yes! White washing over a dark stain can create a dramatic, high-contrast finish. Just wipe off the white wash quickly to avoid excessive opacity.
Absolutely. White wash is decorative, not protective, so you’ll need a topcoat like Polycrylic to safeguard your project.
Yes! Mix water and white paint to create your own white wash. Test it on a scrap piece of stained wood to get the ratio just right.
More Paint Finish Tutorials
- How to Paint Kitchen Cabinets: Complete Step-by-Step Guide
- Grey Wash Wood Finish
- How to Get the Lime Wash/White Washed Wood Finish without Blue Undertones!
- How to Stain Wood – Step-by-Step Tutorial for Beginners
- How to Whitewash Stain (Plus FAQ & Staining with Minwax Pickling)
- How to Paint a Sideboard: Step-by-Step Guide for a Stunning Makeover
How to Whitewash Stain Video Tutorial

How to Whitewash Over Stain
Materials
- Raw pine wood – in this case we were finishing a DIY table
- Minwax Pre-Stain Wood Conditioner
- Minwax Clear Tint Base – tinted in American Walnut
- Minwax White Wash Pickling
- Minwax Polycrylic in Satin Finish
Tools
- Purdy Paint Brush
- lint free cloth
- fine grit sandpaper
Instructions
- Thoroughly sand your pine project. Start with a coarse grit sandpaper and move to a finer grit until you have a smooth finish.
- Apply Minwax water-based Pre-Stain Conditioner over every surface. Let dry according to directions on package. The Pre-Stain Conditioner simply allows for even coverage on all parts of the wood, including knots, etc.
- Apply tinted stain to one area at a time using a brush – for example one board at a time. Let sit for a few minutes then wipe off with a lint free cloth or rag. Let dry according to directions on the package.
- Lightly sand the stained pine surface with fine grit sandpaper. Wipe off all sanding debris with a clean cloth or vacuum clean.
- Using a brush apply whitewash liberally to one area at a time. Working quickly, wipe off with a clean lint free cloth or rag. Of the whole project, this is the trickiest step to get just right. If your brush is too dry, your finish will be too white. I suggest practicing on a spare board. Once you’re finished white washing the entire table, let dry according to directions on the package.
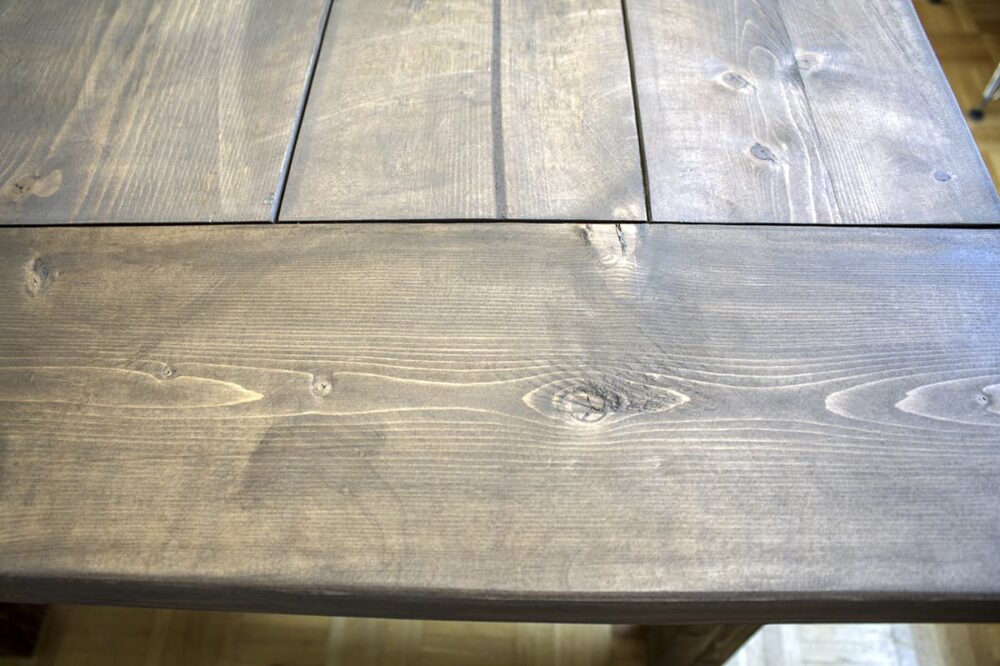
- For a rustic looking imperfect table top, gently sand with low grit sandpaper and a palm sander. This also helps to tone down the slightly blue tinge of the white wash pickling.
- Using a clean quality brush, apply a thin coat of Polycrylic in Satin finish for protection from food stains and spills. Let dry. Repeat once.
White washing over stain is a simple yet transformative technique that adds elegance and character to wood projects. It’s one of my go-to methods for updating furniture and decor in my home, and I love how versatile it is. If you give this technique a try, I’d love to hear how it turns out—leave a comment or share your results!

Want to see more content like this in your Google searches?
This button tells Google that Home Made Lovely is a source you like, so it can show you more of it.