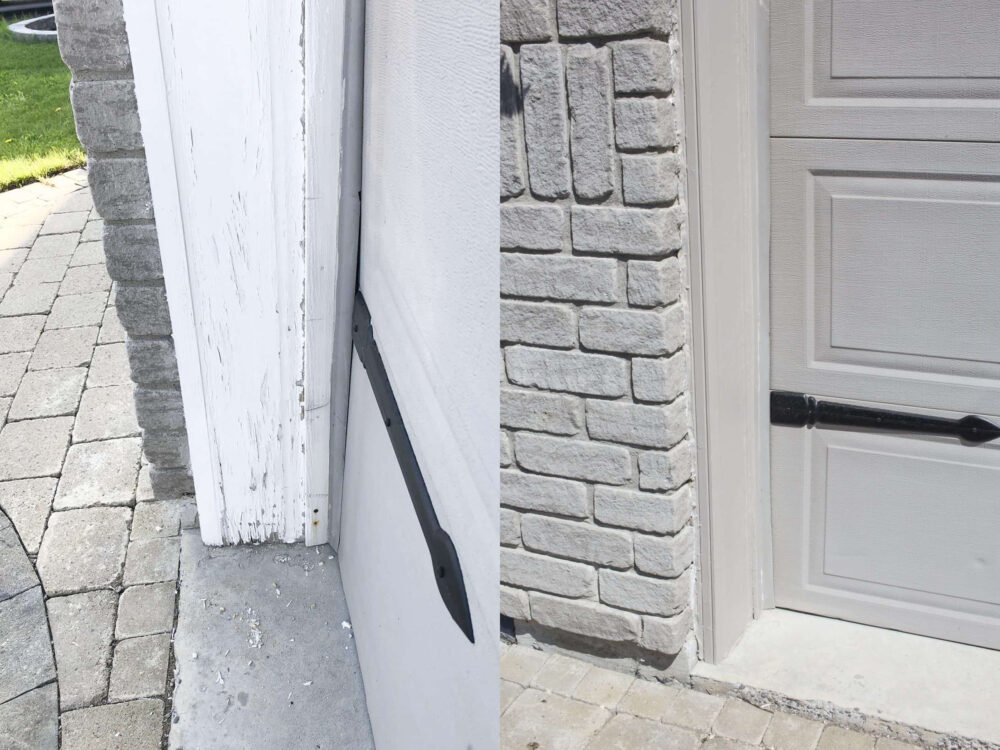
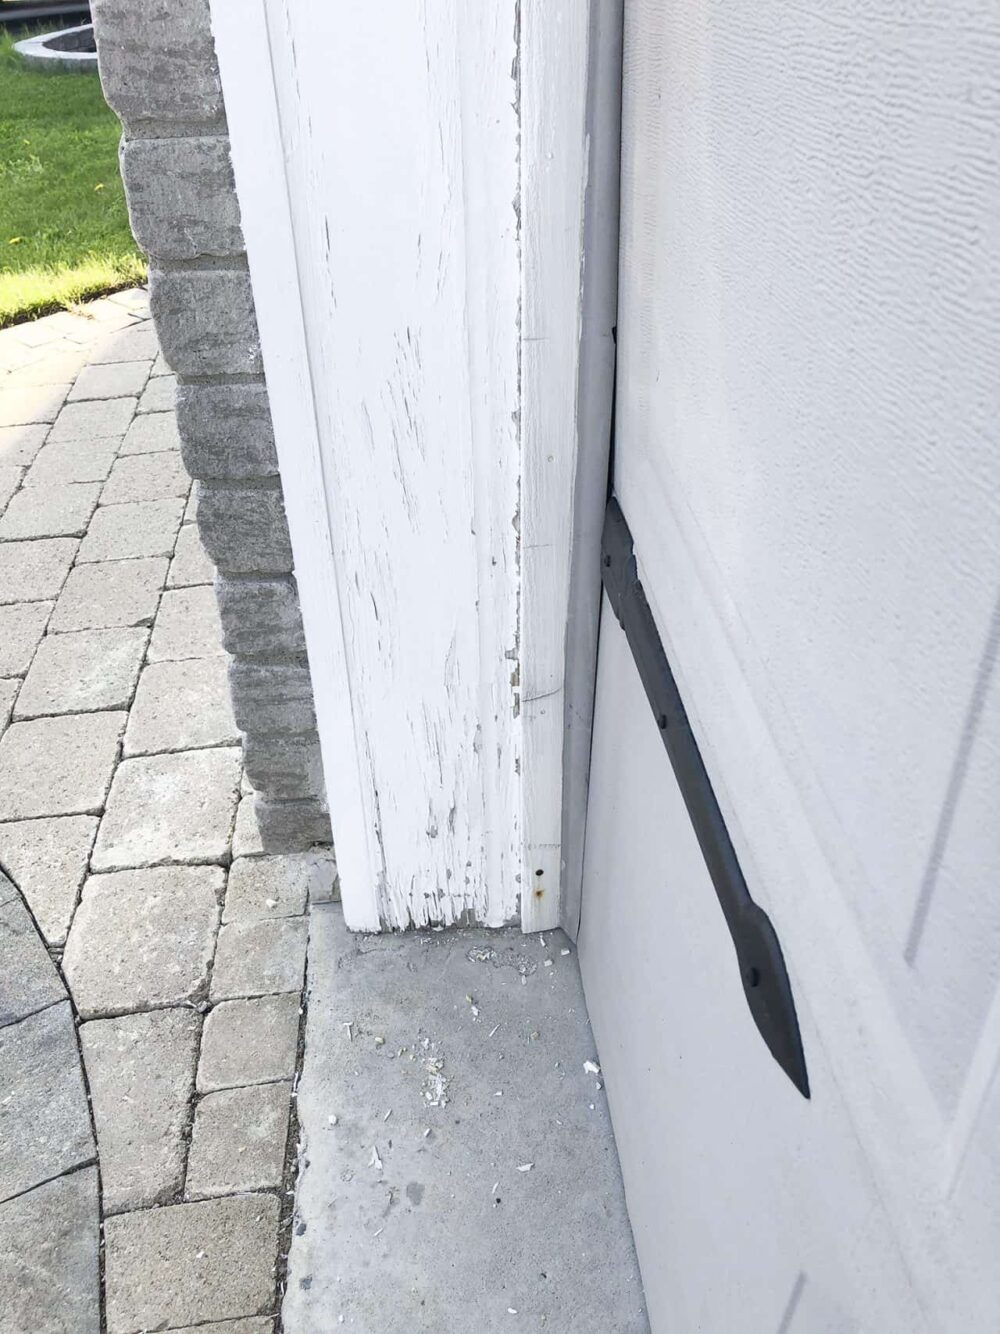
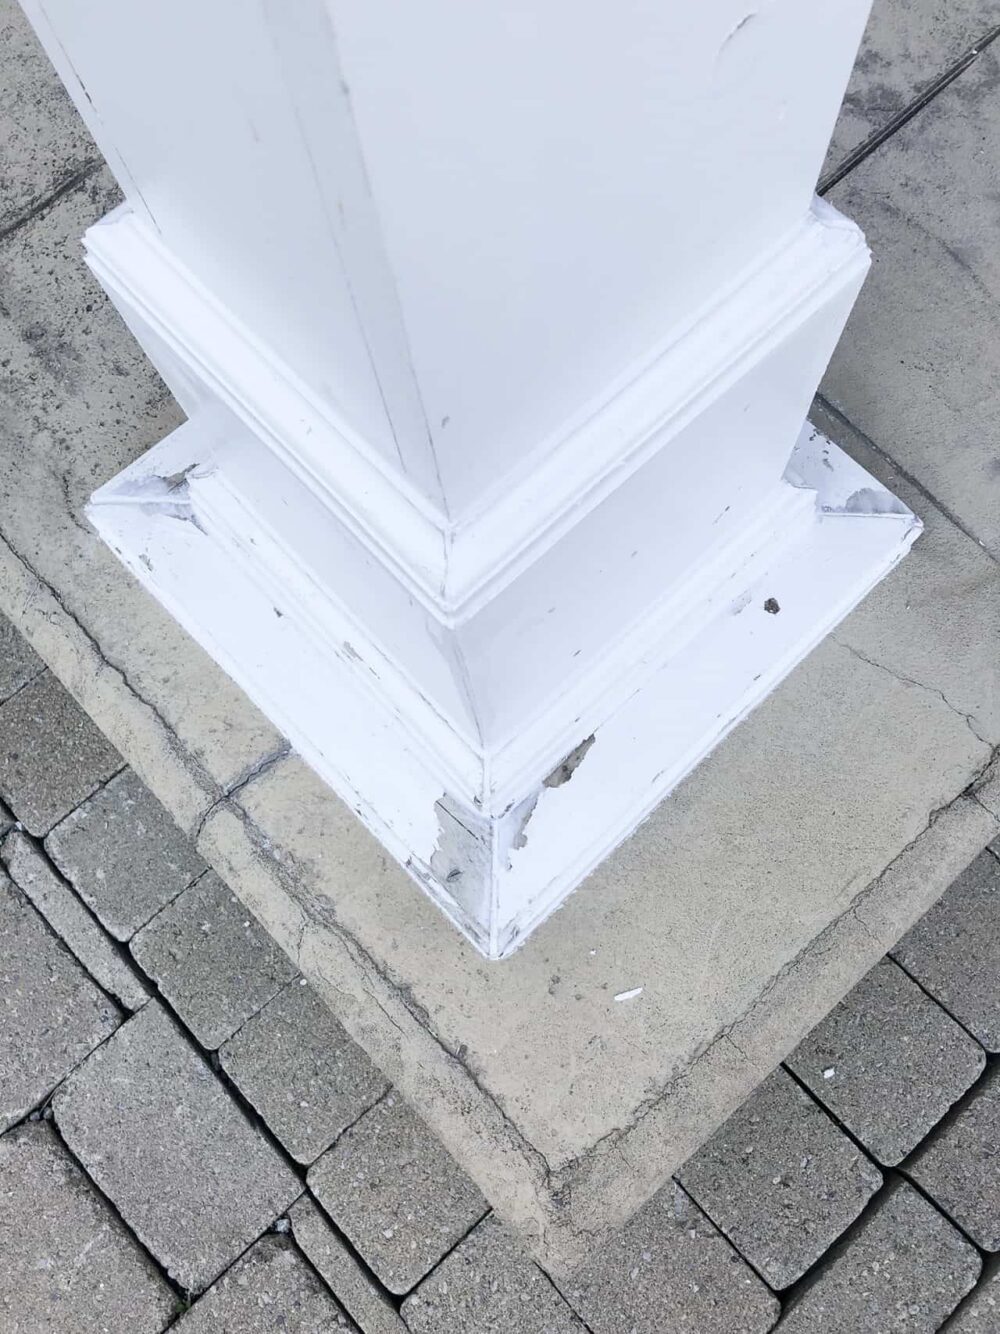
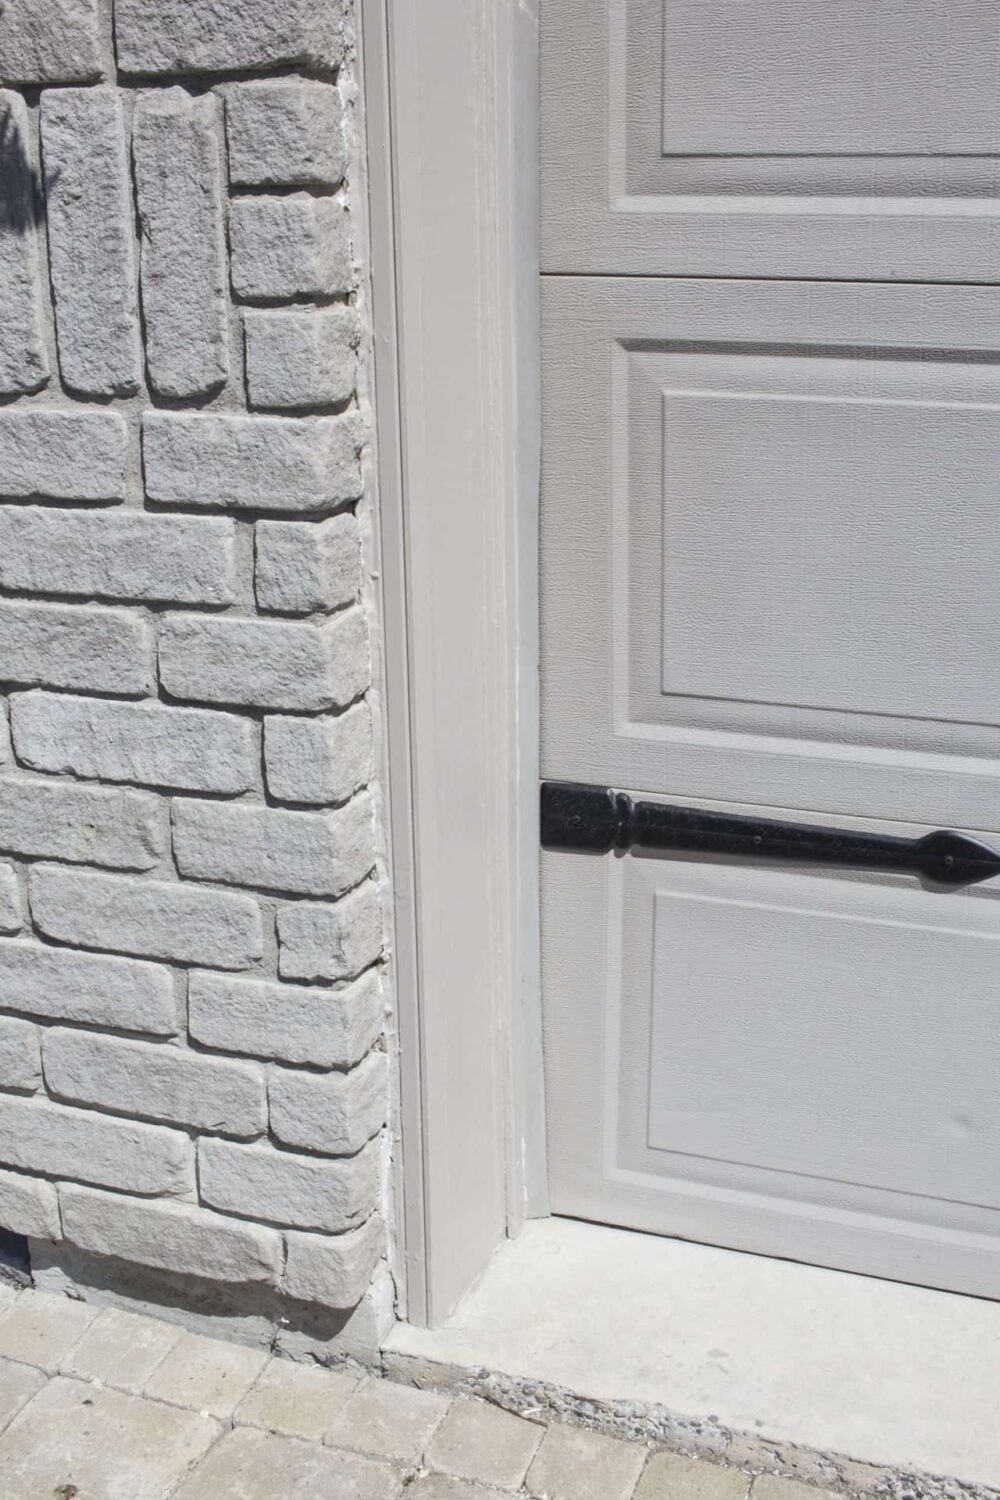
Peeling exterior trim can make even the prettiest home look run down, and believe me, I’ve been there! When I noticed our trim around the garage door, porch pillar, and front doors flaking away, I was worried we’d have to scrape and sand every inch. Thankfully, I found a solution that bought us a few extra years of curb appeal without all the elbow grease!
If you’re working on refreshing your home’s exterior, you might also love my post about How to Install a Flagstone Walkway. It’s packed with ideas to make your home shine!
Why Exterior Trim Peels and How to Fix It
Wood trim is charming, but years of exposure to the elements can lead to cracking, flaking, and peeling paint. While a full-scale scrape and sand job is inevitable at some point, using a product like Rust-Oleum’s Zinsser Peel Stop Plus can buy you time and make the process much simpler.
Here’s how we tackled our peeling trim in just a few simple steps:
Materials Needed
- Zinsser Peel Stop Plus (High Build Binding Primer)
- Exterior Paint (We used Sherwin Williams Perfect Greige, but choose a color that suits your home)
- Mild Detergent (For cleaning the trim)
- Water (For rinsing the trim after cleaning)
- Painter’s Tape (To protect adjacent surfaces)
Tools Needed
- Paintbrushes (For detail work and hard-to-reach areas)
- Small Roller (Optional, for faster application of primer and paint on larger surfaces)
- Bucket or Spray Bottle (For cleaning the trim)
- Rags or Sponge (For washing and drying the trim)
- Drop Cloths or Plastic Sheeting (To protect surrounding areas from drips)
Step-by-Step Instructions: Painting Exterior Trim That’s Peeling
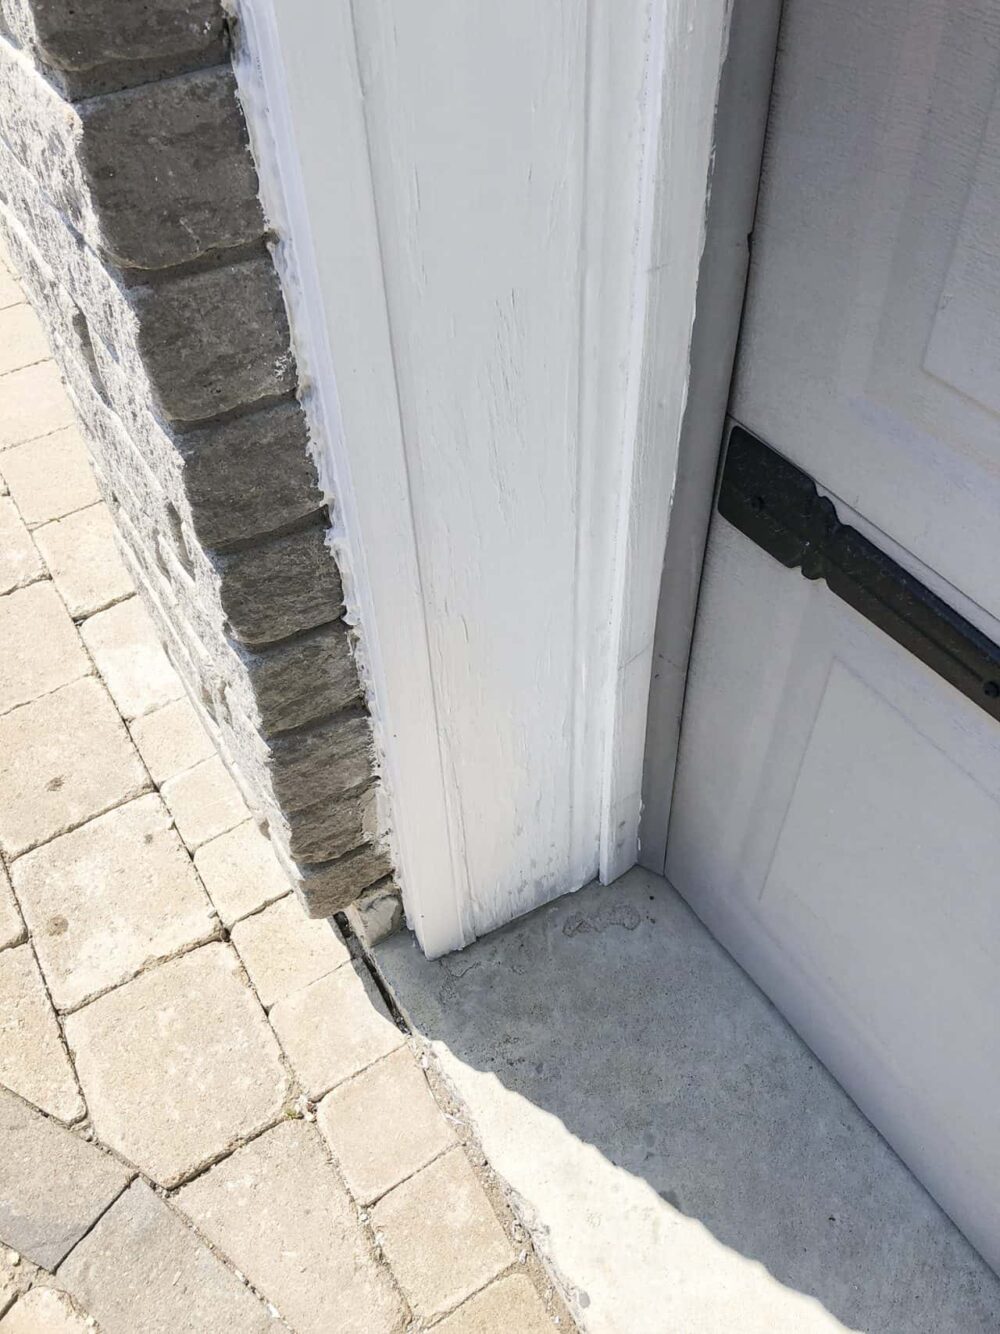
1. Inspect the Trim
Look for areas where the paint is peeling or flaking. Clean the surface with a mild detergent and let it dry completely.
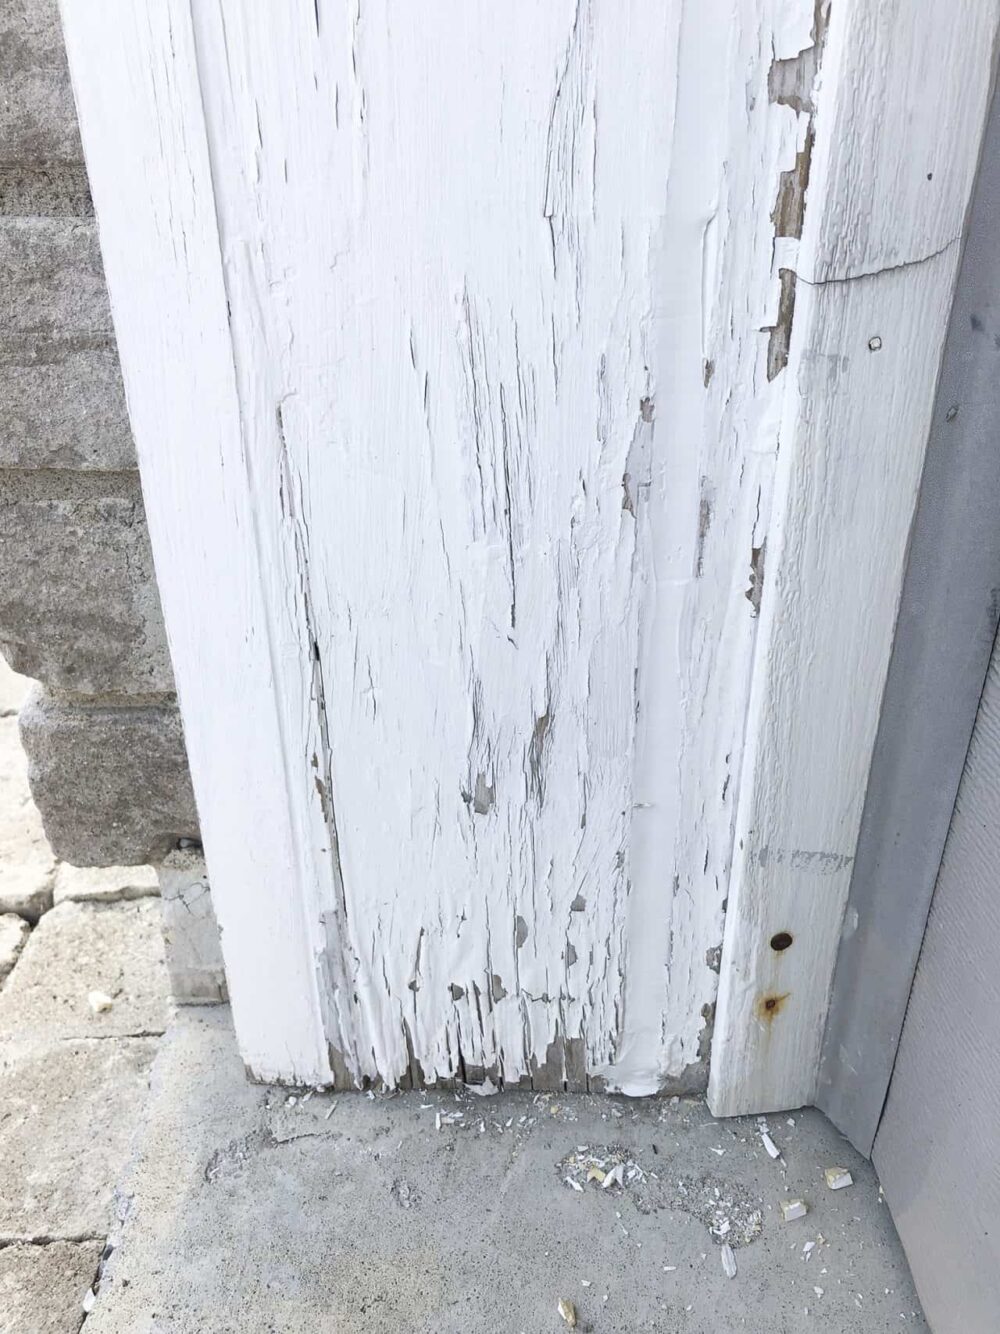
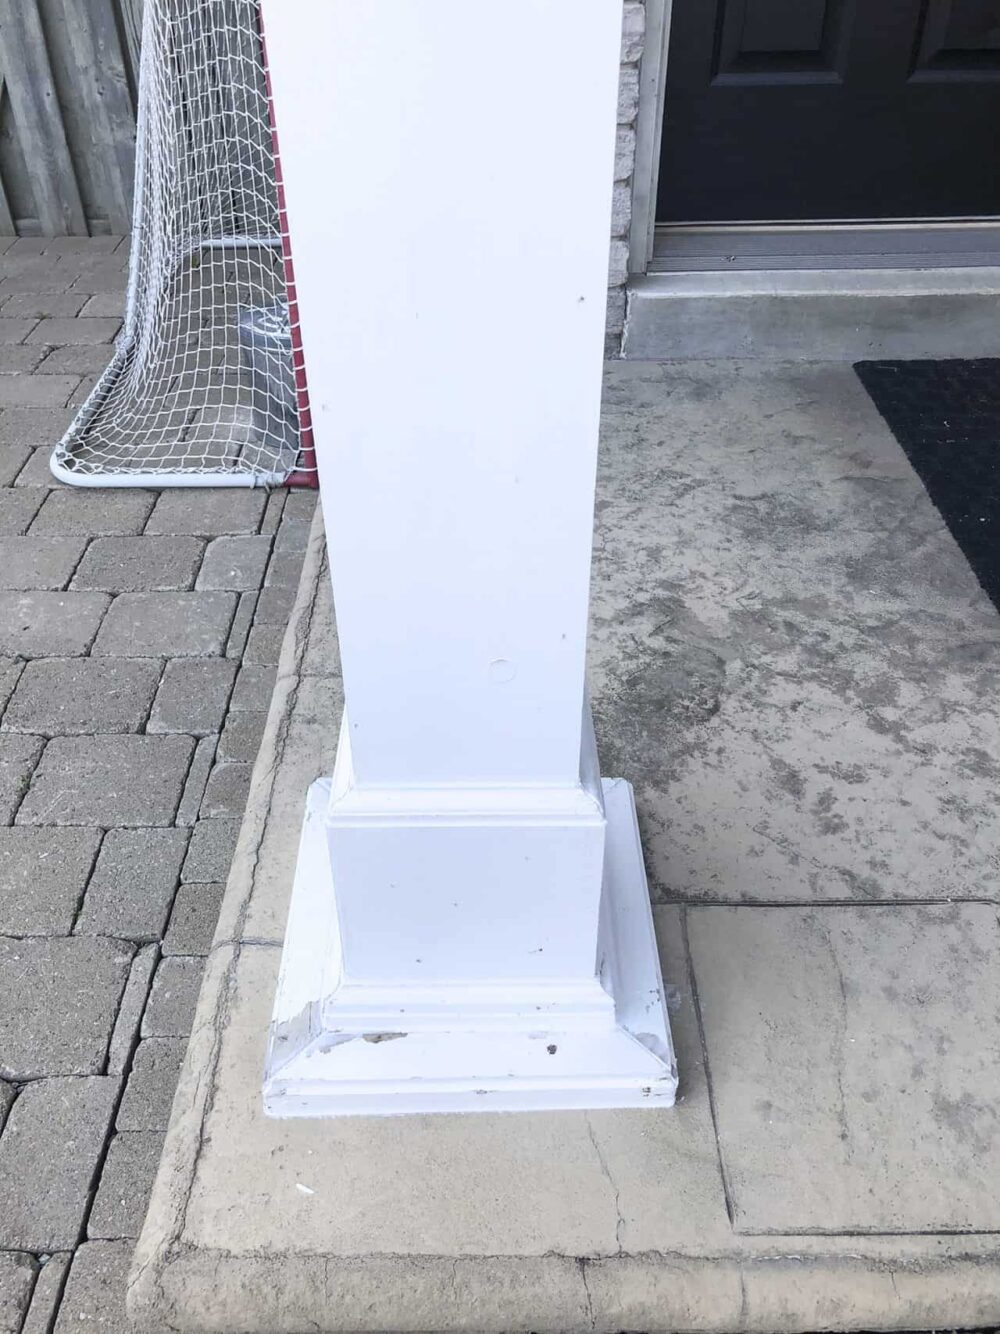
2. Apply Zinsser Peel Stop Plus
This thick, water-based primer locks down peeling edges and creates a smooth surface for painting. Apply it with a brush or roller. No need to scrape or sand beforehand!
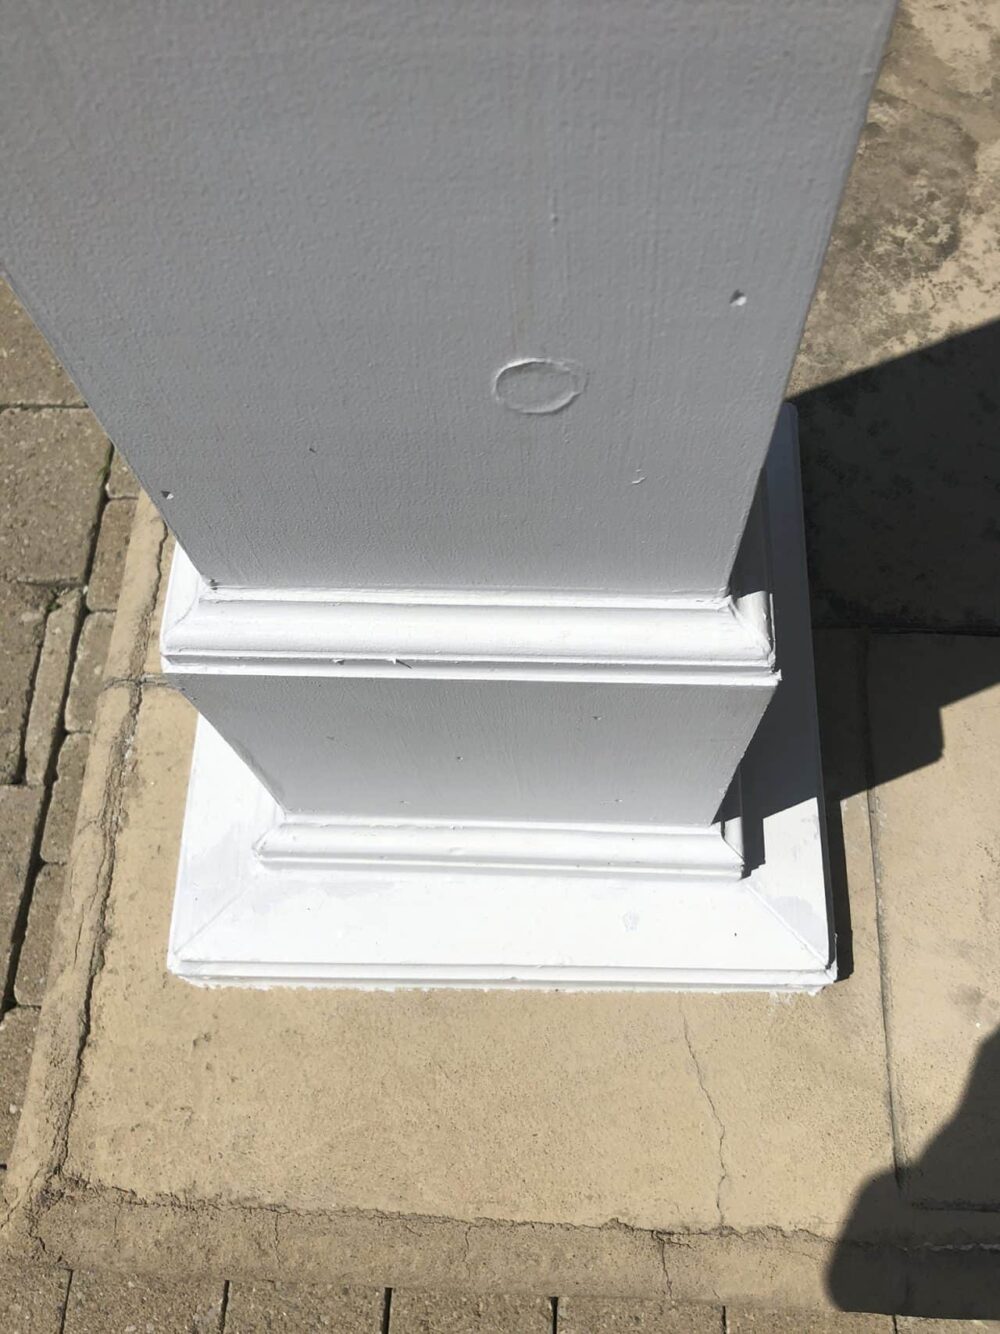
3. Let It Dry
Allow the primer to dry as per the manufacturer’s instructions. This ensures the top coat adheres perfectly.
4. Paint Over the Primer
Once the primer is dry, apply your chosen exterior paint. We used Sherwin Williams Perfect Greige to coordinate with our brick and window trim.

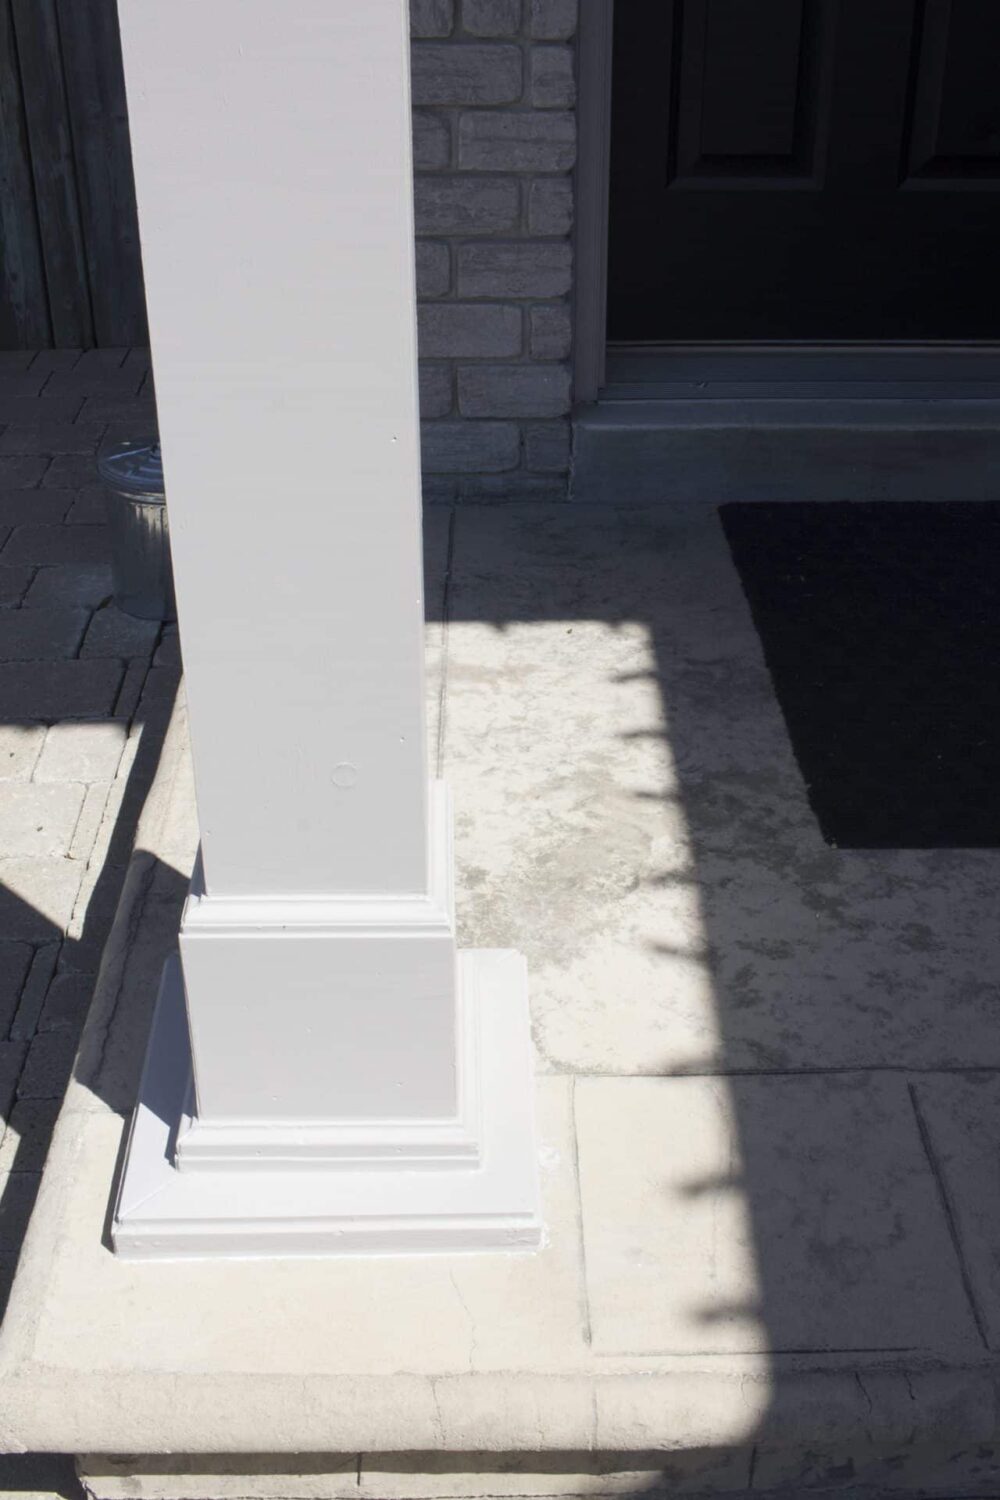
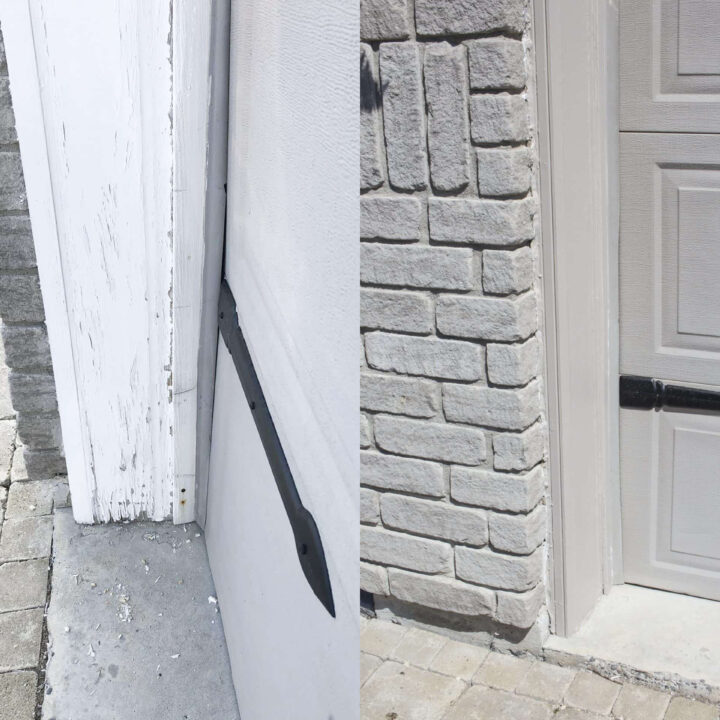
5. Enjoy the Results!
Your trim will look refreshed and polished, adding years to its life without the back-breaking prep work.
Where to Buy Peel Stop Plus
You can find Peel Stop Plus at The Home Depot (US and Canada) or Amazon. (List contains affiliate links.)
- The Home Depot (US)
- The Home Depot (Canada)
- Amazon (US)
- Amazon (Canada)

FAQs About Painting Peeling Exterior Trim
This product is best for wood, but it can also be used on masonry and other porous materials. Always check the label for compatibility.
This method can extend the life of your exterior paint by several years, though the longevity depends on weather conditions and maintenance.
No, the product creates a smooth surface, eliminating the need for additional sanding.
Yes, Peel Stop Plus is low-VOC and safe for indoor and outdoor use.
More DIY Projects
- How to Build Your Own DIY Vertical Garden Wall
- Foundation Refacing – How to Cover a Cinder Block Foundation
- DIY Vintage Window Flower Box
- How to Install a Flagstone Walkway
- 3 Easy Summer Porch Updates That Make a Big Impact
- 10 Best Pool Deck Ideas to Make Your Space Stylish and Private
- How to Paint Exterior Trim That’s Peeling Without Scraping or Sanding
How to Paint Exterior Trim That's Peeling Tutorial
Learn how to paint exterior trim that’s peeling without scraping or sanding. Use this easy method to refresh your home’s curb appeal today!
Materials
- Zinsser Peel Stop Plus (High Build Binding Primer)
- Exterior paint (e.g., Sherwin Williams Perfect Greige or your chosen color)
- Mild detergent (for cleaning the trim)
- Water (for rinsing the trim)
- Painter’s tape
Tools
- Paintbrushes
- Small roller (optional, for larger areas)
- Bucket or spray bottle (for cleaning)
- Rags or sponge (for washing and drying)
- Drop cloths or plastic sheeting
Instructions
- Inspect and Clean the Trim
- Look for areas of peeling or flaking paint.
- Mix mild detergent with water in a bucket or spray bottle.
- Clean the trim thoroughly with a rag or sponge to remove dirt, grease, and peeling flakes.
- Rinse with clean water and let dry completely. - Protect Adjacent Surfaces
- Use painter’s tape to cover areas like glass, brick, or siding near the trim.
- Lay down drop cloths to protect the ground or surrounding surfaces from drips. - Apply Zinsser Peel Stop Plus
- Stir the primer thoroughly.
- Using a brush or small roller, apply a generous coat of Zinsser Peel Stop Plus directly over peeling paint.
- Ensure all edges of peeling paint are well covered to "lock down" the loose areas.
- Let it dry according to the product instructions (typically 2-4 hours). - Paint Over the Primer
- Once the primer is fully dry, apply your chosen exterior paint.
- Use a brush for precise areas and a small roller for larger surfaces.
- Apply 1-2 coats as needed, allowing proper drying time between coats. - Clean Up
- Remove painter’s tape while the paint is still slightly tacky to avoid peeling.
- Wash brushes and tools immediately with soap and water. - Enjoy Your Refreshed Trim
- Step back and admire your freshly painted exterior trim!
Painting peeling exterior trim doesn’t have to be a nightmare. With the right products and a simple process, you can give your home a polished look without hours of scraping and sanding. This quick fix has made such a difference for our home, and I’m sure it can for yours, too!
What’s the trickiest part of your outdoor painting project? Let me know in the comments—I’d love to help!

Want to see more content like this in your Google searches?
This button tells Google that Home Made Lovely is a source you like, so it can show you more of it.
Amazing!
Gonna get me some of this product to knock another job off the to do list!!!
i read your letter on peeling paint with great interest.. anything that makes my maintenance easier. my problem is I live by Atlantic ocean and I have rust stains bleeding through my white paint. It is from the nails or deck screws that my late husband used when he rebuild our verandas. I wonder if this sealer would help me with the problem. it makes my house curb appeal ugly.
Hello, Pearl. I think you could use this to “glue down” the peeling paint, and then use one of the Zinsser primers that is formulated for blocking rust stains. Try the Rust Oleum contact form here to ask them specifically what they’d recommend for your situation. 🙂
That looks like almost a “see it to believe it” product….and thanks to you, I was able to see it in action! I’m in!
Could this be used on a porch railing that needs repainting?
Probably! I would make sure to let it cure for the time recommended on the paint can so that you know it will be durable!
Awesome! Thank you for this info. I have the same problem, so I’m going to do this in the spring!
Sounds like a great plan!!
What brand and color of your front door? It looks great!
Hi Laurie,
The doors are painted Sherwin Williams Tricorn Black. ☺️
would the peel top product work on outdoor wood decks that are peeling (stained over 2 years ago
Hi Gerald, I’m not sure. It would likely be best to ask Rust Oleum that question, since we haven’t used it in that instance.
I was shopping online yesterday for some ceiling paint and saw this product, and now that I’ve seen how well it works, I’m going to get some. Thanks!
Awesome! Good luck with it!
Outstanding paint. My quest is….Which type of paint brush did you use?
I don’t remember specifically, but we almost always use Purdy, so it was likely that.
Very Nice! Thank you. I have not heard of this. Can they tint this Peel Stop? If it ever stops raining here, I have to paint my trim. I would like it to go from a peeling to appealing. Pun intended.
As far as I know, no the Peel Stop cannot be tinted. We painted over it with regular paint in the color we love!
Can you provide an update on this project? Wondering how durable it is…do you need to repaint every year?
Hi there, Colleen! By way of a quick update…it has held up quite well. We originally did it two years ago and only just touched up parts of it this weekend. We also used it on the deck and part of the fence this time too. I will try to get an update posted with photos, etc. soon. But the short of it is, we are still really happy with the product and no, ours didn’t need repainting every year.
What is the brand and paint color on the exterior brick?
Hi, Nina. The exterior brick is not painted. That’s the actual color of the brick. 🙂
Where did you get the faux windows and hinges for your garage door?
Hi there, Jo-Anne! The faux windows and faux hinges on the garage doors are from Coach House Accents and we have a whole post about them here: https://homemadelovely.com/curb-appeal-part-1/
I have the same problem with my deck, stained 2 years ago and it’s peeling something terrible, I don’t know what to do, any suggestions?
I’m not sure about over stain. Was it oil-based or water based?
Where can I purchase this paint
Most hardware stores have it I believe. But check here for where it’s available: https://www.rustoleum.ca/product-catalog/consumer-brands/zinsser/primer-sealers-water-based/peel-stop-plus-high-build-binding-primer
Wow, it looks awesome in your pictures! It’s been two years, now, so how is it holding up? Does it still look as good as when you first painted?
Hi Lisa,
I’m working on an update. We live in an area with four very distinct seasons and extreme temperatures. This spring, we re-applied the Peel Stop Plus to the bottom portion of both the pillar and the garage door trim, where it would see the most moisture. Then we painted with the same paint as before on top. It looks almost as good as new. So, it lasted two years, in extreme weather. We also used Peel Stop Plus on our back deck this spring and painted it as well. This obviously will get more wear and use, so we’ll see if it lasts as long. Wood trim outdoors always requires more maintenance than other materials. That’s just natural!
Hope that helps!
Shannon
I love your door. What color and paint brand did you use?
Hi there, it’s Sherwin Williams Tricorn Black!
I’m in the process of painting my porch and it has old peeling paint on it,so all I need to do is buy some Peel Stop Plus.
After I paint it over the old paint and it dry then I can paint the porch.
🙂 That’s what we did. Made sure it was clear of debris like spider’s webs, etc and then used the Peel Stop Plus primer according to the package directions. Then when it was fully dry, we painted over it with outdoor paint that coordinated with our trim and house colors.
Great Find…
Do you suppose I could use this product on a deck?
Well, we used it on our deck last year. And it has bought us some time, but it is not a long-term solution. I can’t see it lasting more than a couple of years. But we also live in Canada and get massive extremes of weather!
Is there a product like this for indoors?
I’m honestly not sure that there is.