I don’t know about you, but I’m always looking for ways to make my home more cozy—especially when it comes to creating spaces where my kids can hang out and relax. That’s why I love these DIY no-sew floor pillows! They’re oversized, colorful, and incredibly easy to make, even if sewing isn’t your thing.
If you’re all about making your home stylish and comfy without breaking the bank, you’ll also want to check out my DIY Easy Envelope Pillows tutorial. They’re perfect for adding a touch of personality to your sofa or bed, and you can whip them up in no time!
How to Make No-Sew Floor Pillows
Supplies for Two Large Pillows
(List includes affiliate links)
- 2 large pillow forms
- 1-2 yards/meters outdoor fabric
- hem fuse tape
- scissors
- iron
- straightening iron
Instructions
1. Measure your pillow forms. Note the dimensions and set them aside.

2. Cut the fabric. Lay your fabric flat and measure out squares or rectangles two inches larger than your pillow form on all sides. For example, for a 24″x24″ pillow, cut 26″x26″. Repeat for four pieces of fabric.

3. Prepare the edges. Fold over each edge about ¼” to ½” and press with an iron to create a clean edge.

4. Assemble the pillow cover. Place two fabric pieces together with the right sides facing out. Align the edges, then slide hem fuse tape between the hemmed sides. Press with an iron to fuse. Repeat for three sides of the cover.
5. Stuff and finish. Insert the pillow form, then carefully fuse the final open edge with more hem tape. A hair straightener works wonders for this step if the pillow is too bulky to fit on an ironing board.
Choosing Fabric and Filling
- Fabric: For durability and vibrant color, outdoor fabrics work great. Look for prints that complement your room’s color scheme, or try mixing patterns for a playful look. For more on mixing patterns, check out my How to Mix Throw Pillows and Patterns with Style guide!
- Filling: You can repurpose large sofa pillows or use polyester fiberfill. Choose a size that suits your family’s needs—common dimensions are 36″x36″.
Video Tutorial: How to Make No-Sew Floor Pillows
FAQs
Outdoor fabric is ideal—it’s durable, stain-resistant, and comes in vibrant prints that hold up well to wear and tear.
Of course! If you’re comfortable sewing, a simple straight stitch will make your pillows even more durable.
Yes, if properly fused with heat. For high-use areas, reapply tape as needed or opt for a sewn edge. Although if your floor pillows will be used by kids, I’d suggest sewing them for the most durable results.
Standard floor pillows are 36″x36″, but you can customize the size to fit your family’s preferences and available space. To avoid a seam in the middle of your diy floor pillows, choose to make them a size that is smaller than your fabric width.
To make these floor pillows, I actually used two really large pillows that came as extras with our sofas. But you could use any kind of stuffing, like polyester fiber fill, to stuff your pillows.
Since these are made with hem tape, spot cleaning is best. If they’re machine washed, be prepared to re-iron any edges that come loose or apply additional hem tape as needed. For long-term durability, consider dry cleaning.
DIY Now-Sew Floor Pillows Tutorial
Make DIY no-sew floor pillows with this easy tutorial! Oversized, colorful, and perfect for lounging—no sewing machine needed.
Materials
- 2 large pillow forms
- 1-2 yards/meters outdoor fabric
- hem fuse tape
Tools
- scissors
- iron
- straightening iron
Instructions
1. Measure your pillow forms. Note the dimensions and set them aside.
2. Cut the fabric. Lay your fabric flat and measure out squares or rectangles two inches larger than your pillow form on all sides. For example, for a 24″x24″ pillow, cut 26″x26″. Repeat for four pieces of fabric.
3. Prepare the edges. Fold over each edge about ¼” to ½” and press with an iron to create a clean edge.
4. Assemble the pillow cover. Place two fabric pieces together with the right sides facing out. Align the edges, then slide hem fuse tape between the hemmed sides. Press with an iron to fuse. Repeat for three sides of the cover.
5. Stuff and finish. Insert the pillow form, then carefully fuse the final open edge with more hem tape. A hair straightener works wonders for this step if the pillow is too bulky to fit on an ironing board.
These floor pillows would be awesome in a family room or other similar hang out space – or in they’d make a great addition to these 9 Ways to Make Your Rental Feel Like Home!
What do you think? Will you try these fun no-sew pillows for your home? I’d love to hear how yours turn out! Share your tips and tricks in the comments below.

Want to see more content like this in your Google searches?
This button tells Google that Home Made Lovely is a source you like, so it can show you more of it.
Shannon, I’ve been thinking of trying the no sew pillows. Does the hem fuse tape hold well I love the flat iron trick, lol. I have used the no sew method on cafe curtains.
Well we will see how it holds up – I’ve done it on curtains before too. 🙂
I have used Sunbrella fabric for chair covers, outside, as well as for curtains. I last used an outdoor fabric to make pillow covers for our sectional. Looks awesome!! I am going to try the tape trick and not be such a perfectionist in the future 🙂
It’s tough to let go of the perfectionism, isn’t it?
Anytime I can make something quickly that makes a huge impact to a room- I’m all over it. LOVE these!
I know, right!?!
I have a slight (could possibly be considered unhealthy) obsession with pillows. These are adorable…and so easy! Love this idea, Shannon!
LOL. Me too! I always try to figure out where else I can possibly put them when I find one I love!
Great tutorial! Loving these pillows! Thanks for joining the Monday Funday Link Party!
Those pillows are gorgeous! And I never would have thought to use hem tape! Thanks for the inspiration!
I think that laziness is the mother of invention! 🙂
These are awesome Shannon – I love how the hem tape gives that crisp edge. Beautiful! Pinned:)
Hi Shannon! Wow…I love these pillows! I saw them while browsing through the Link Party Palooza link ups and had to come read more about these adorable pillows! Great blog and great post!!!!
I’ve also used hot glue for no sew pillows and cushions–it works great!
I just made pillows this way using four large napkins from Home Goods…after a few minor burns ironing the fourth edge…the heating iron is the way to go ! Will use that next time ! Thanks for the good idea.
A total cheat to be sure – but it does save the fingers!
Instead of using a pillow form, would this work with pillow filler?
Absolutely!
Okay I just bought all of the things I need to do this. I’m making giant floor pillows! But I bought pillow filler. Will pillow filler work?
Do u have to use outside fabric to make these pillows using the hem tape?
Nope. I just used outdoor fabric for it’s stain resistance and durability with the kids!
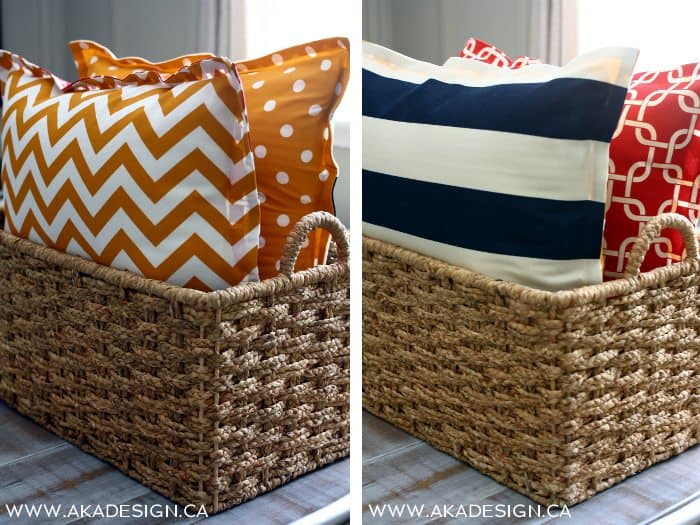
Can you tell us where the baskets are from? I totally want to have floor pillows in baskets!
The large basket was from Chapters/Indigo. I don’t believe they carry it anymore. But try Homesense/Homegoods.
Great idea on how to make a no-sew floor pillow! So glad you shared as I’ve been looking for a good tutorial that didn’t require a lot of sewing. Found your blog via Pinterest and ‘Reasons to Skip the Housework’ and am now following along. Thanks so much for sharing! 🙂
🙂 They hold up pretty good – unless your kids jump on them repeatedly! Lol. If that’s likely to happen you should use extra hem tape or actually sew them with really really good thread!
Thanks so much for the tip about the hem tape. My crew is definitely rambunctious, so repeated jumping wouldn’t surprise me one bit. Come to think of it, I should probably start stocking up on those repair materials now, lol.
Lol. Hem tape isn’t tough – but it’s easy to use and easy to fix!
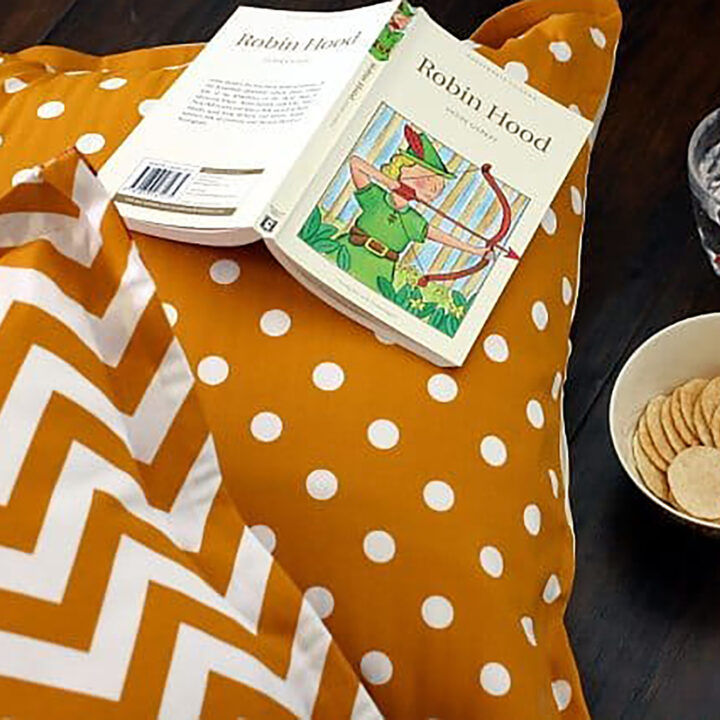
Do the pillows have a different pattern on each side?
Yes!
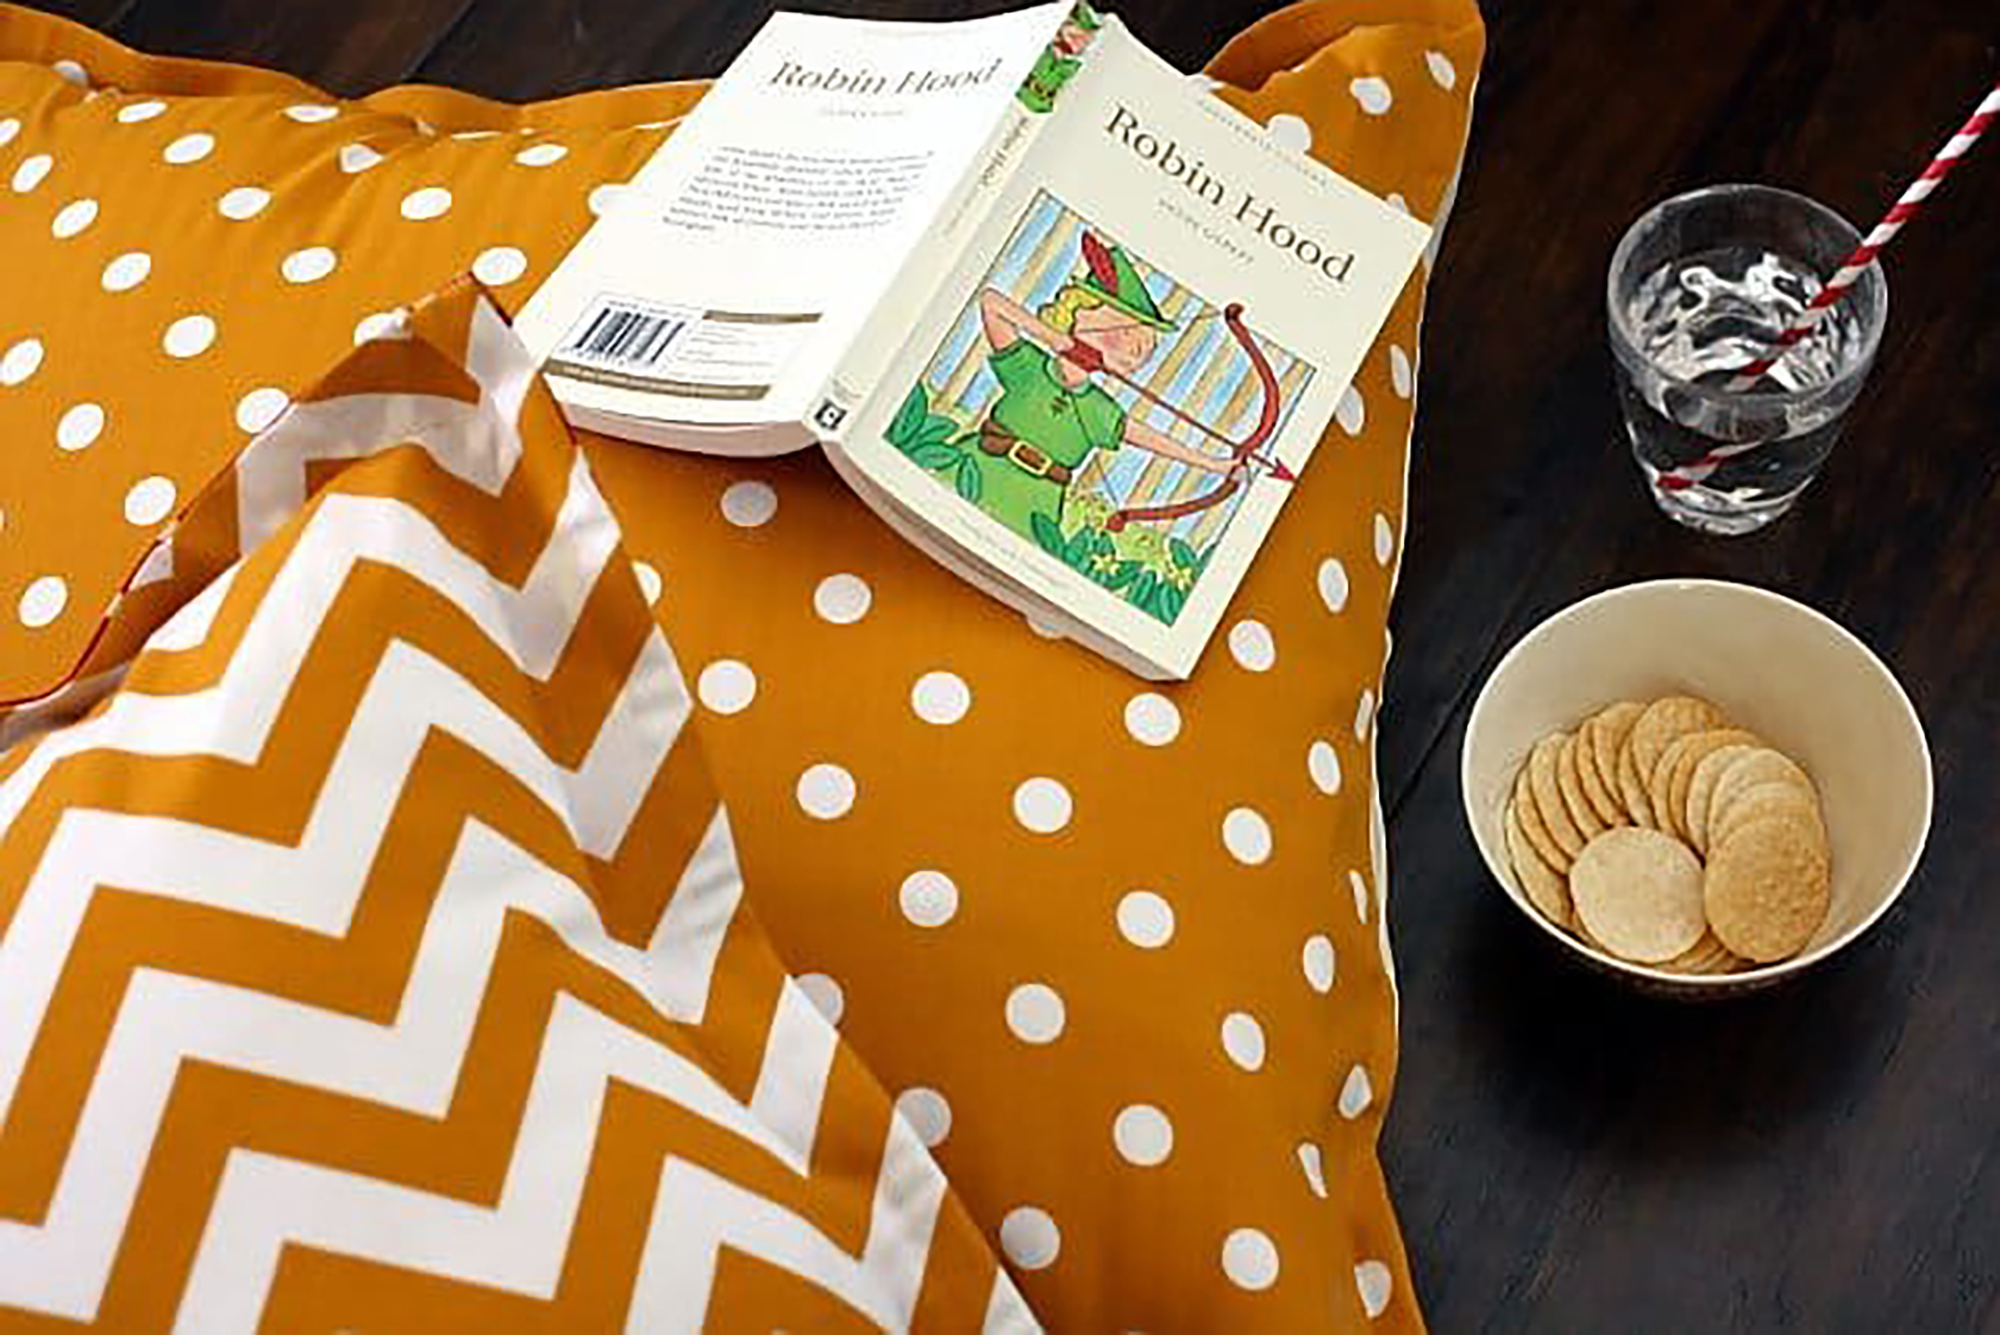
Hi Shannon, Your blog and photography are beautiful! I’m also looking to make floor pillows with outdoor fabric. I have a question about the yellow chevron & polka dot fabric: is it a mustard-ish yellow or a bright yellow? Thank you for any information you can share!
Have a good day!
Aime
It’s a bit mustard-ish. 🙂
Perfect!! I love easy quick projects like this!!
Me too!
Hi, This is a great idea that I’m considering as favors for my 15 yr old “girls-night-in” bday party and to help with sleepover arrangements. What size pillow would you suggest (20×20 or larger) and what’s a cheaper durable fabric?
Humbly yours,
Not So Crafty Mom
Hmm. 20 x 20 is good. If you can find bigger, you may want to use bigger. A cheap durable fabric is indoor-outdoor fabric. Try shopping around online?
Hello,
I’m making these for my dorm room (because it’s not big enough for chairs), and I was wondering how you clean them?
I just spot clean ours.
Nice post.