The look of aged barn wood is so timeless—grey, rustic, and perfectly imperfect. When I first fell in love with the style, I noticed it popping up everywhere from Restoration Hardware to Pottery Barn. But their price tags? Not exactly budget-friendly. That’s when I decided to figure out how to DIY this beautiful grey wash wood finish, and now it’s one of my favorite techniques to use on all kinds of projects.
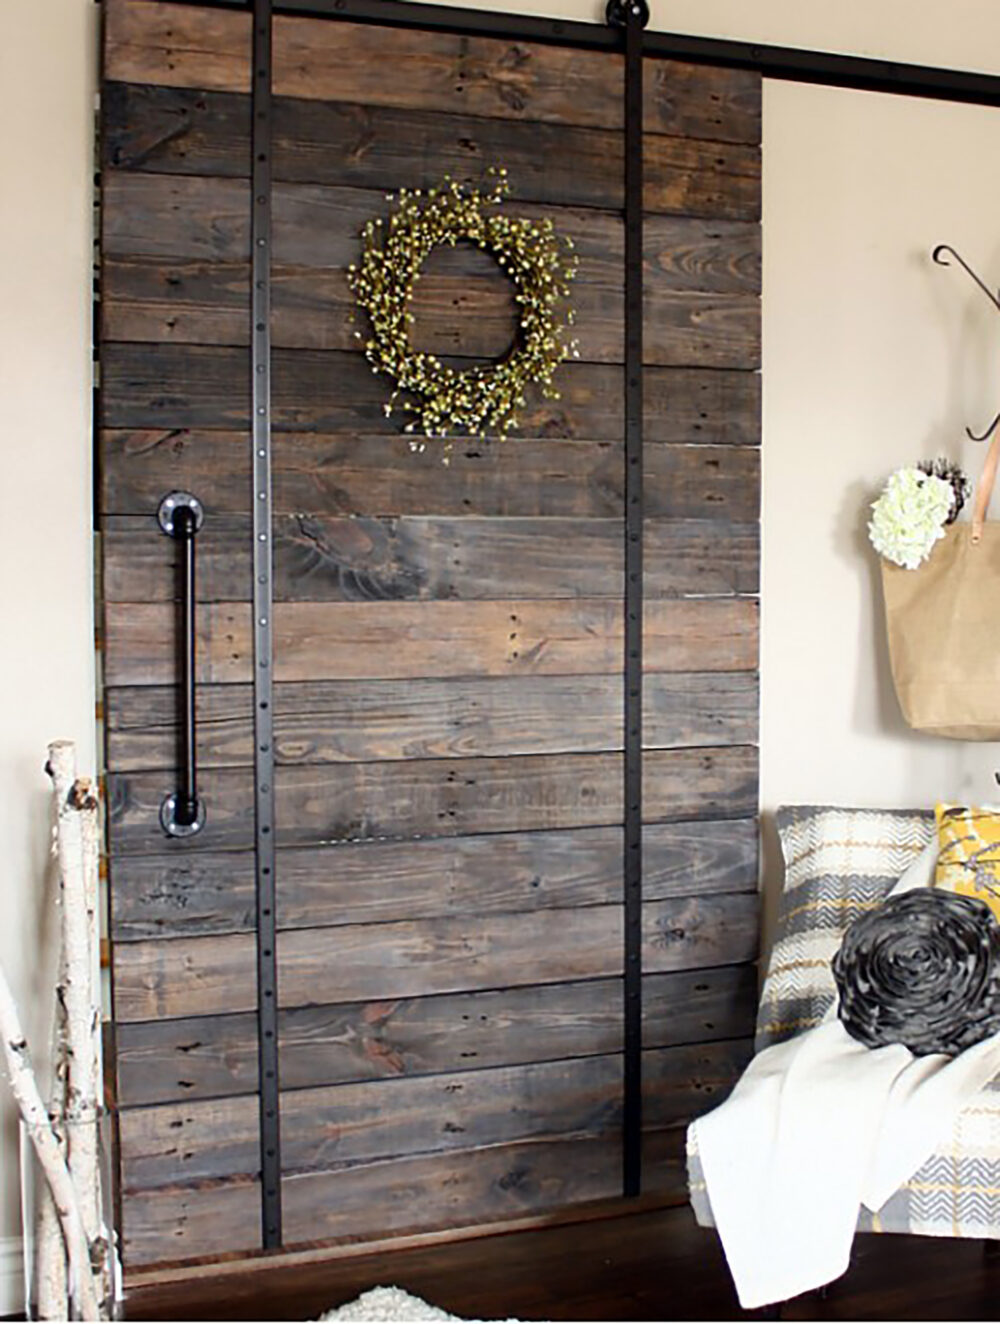
If you love DIY projects like this, you might also enjoy my tutorial for our DIY Brickmaker’s Coffee Table, where I used the same grey wash finish to create a rustic, lived-in look. It’s the perfect project for repurposing wood and adding charm to your home.
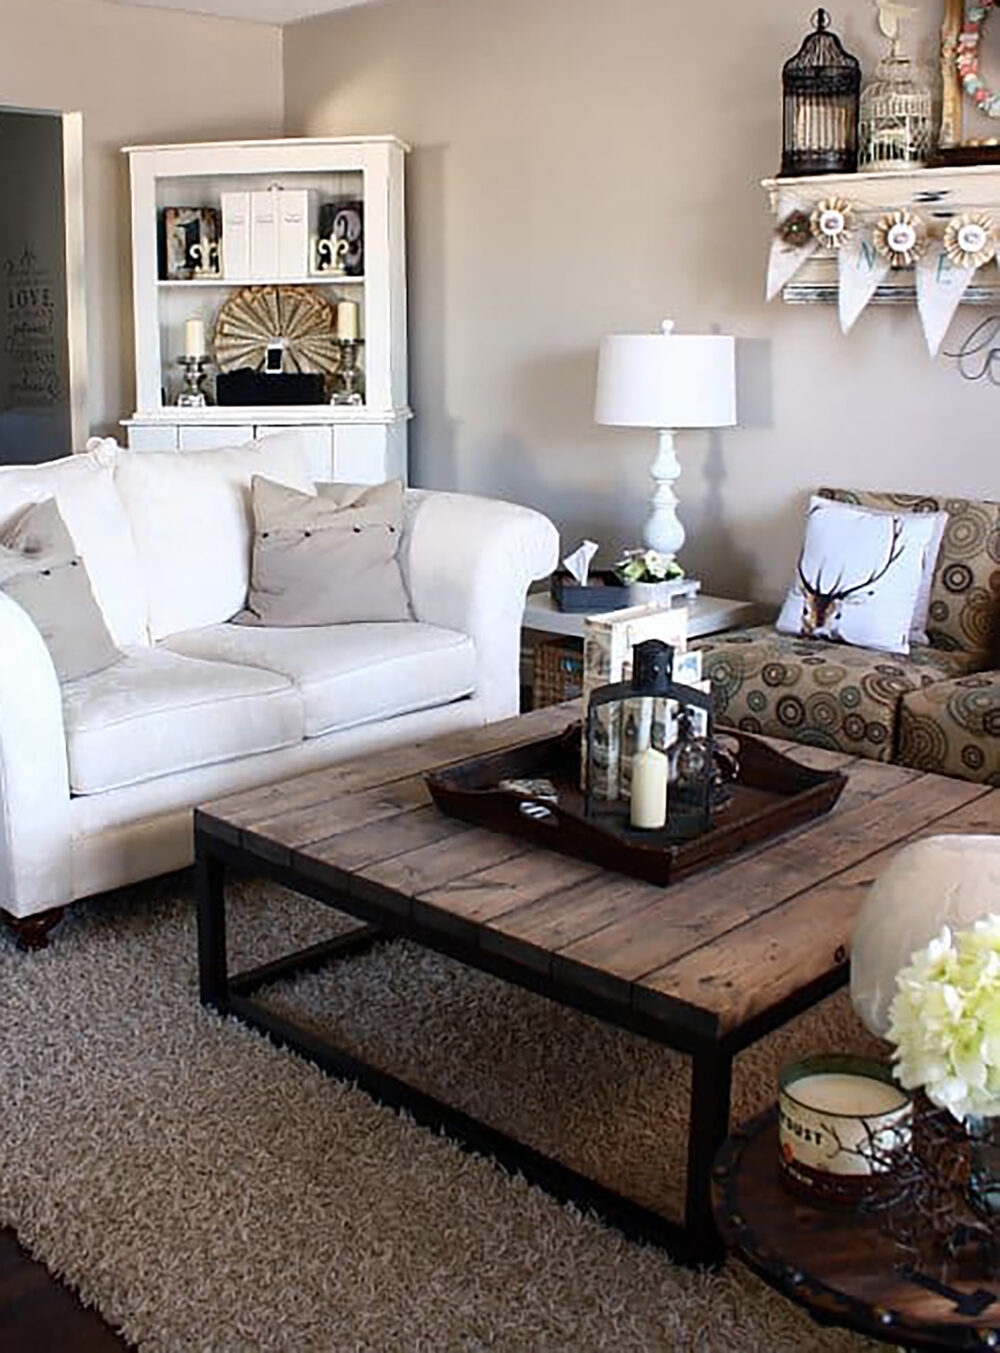
How to Get the Grey Distressed Look on Your Own Furniture
Materials
- 2″ x 6″ x 48″ long wood (qty: 15)
- Dark Walnut stain
- Grey latex paint
- Water
Tools
- Sandpaper
- Foam brush
- Lint-free cloth
Instructions
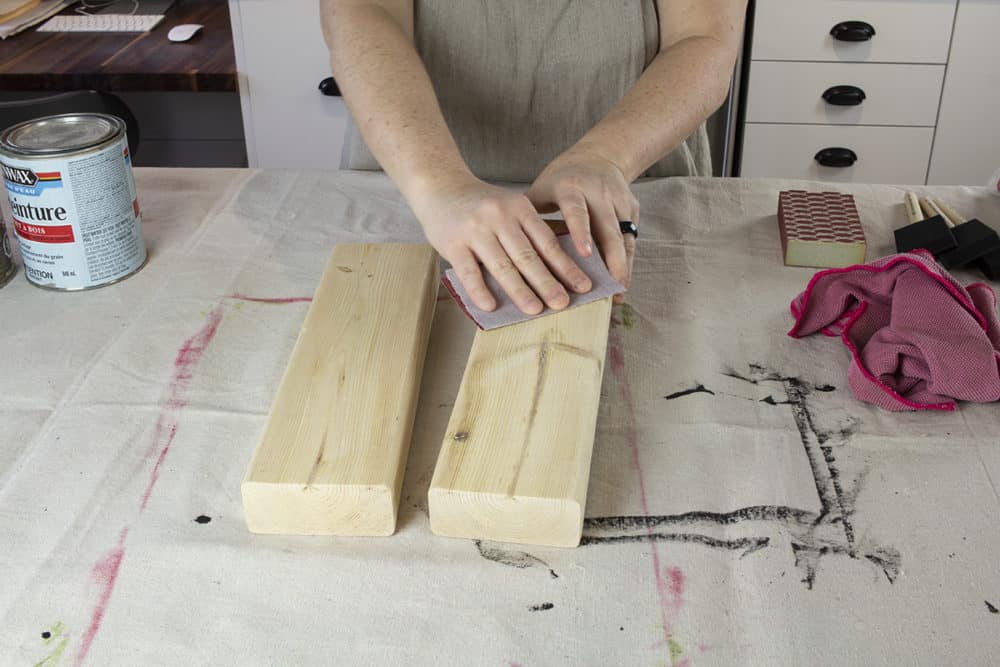
1. Sand the Wood
Start by sanding each piece of wood. Remove any rough patches, but keep those character details like knots and stamps—they’ll enhance the rustic look of the final finish.
2. Apply the Stain
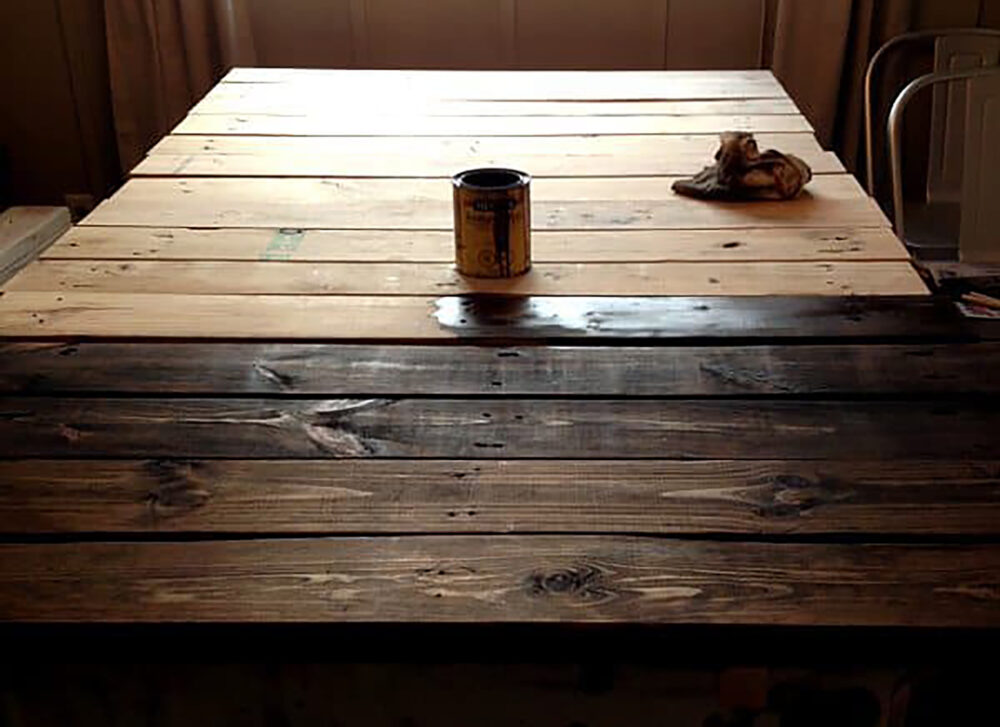
In a well-ventilated area, use a foam brush to apply Dark Walnut stain along the grain of the wood. Let it sit for about 5 minutes, then wipe away any excess with a lint-free cloth. Repeat on all sides of each piece and allow them to dry completely.
3. Create the Grey Wash
Mix a light grey latex paint with water in a plastic cup. I use a 1:4 ratio (one part paint to four parts water) to create a translucent grey wash. A sample pot of paint works perfectly for this step.
4. Apply the Grey Wash
Using a foam brush, lightly coat the stained wood with the grey wash, going over the dry stain. This will lighten the wood and give it that beautifully aged appearance. Repeat on all sides and let it dry.
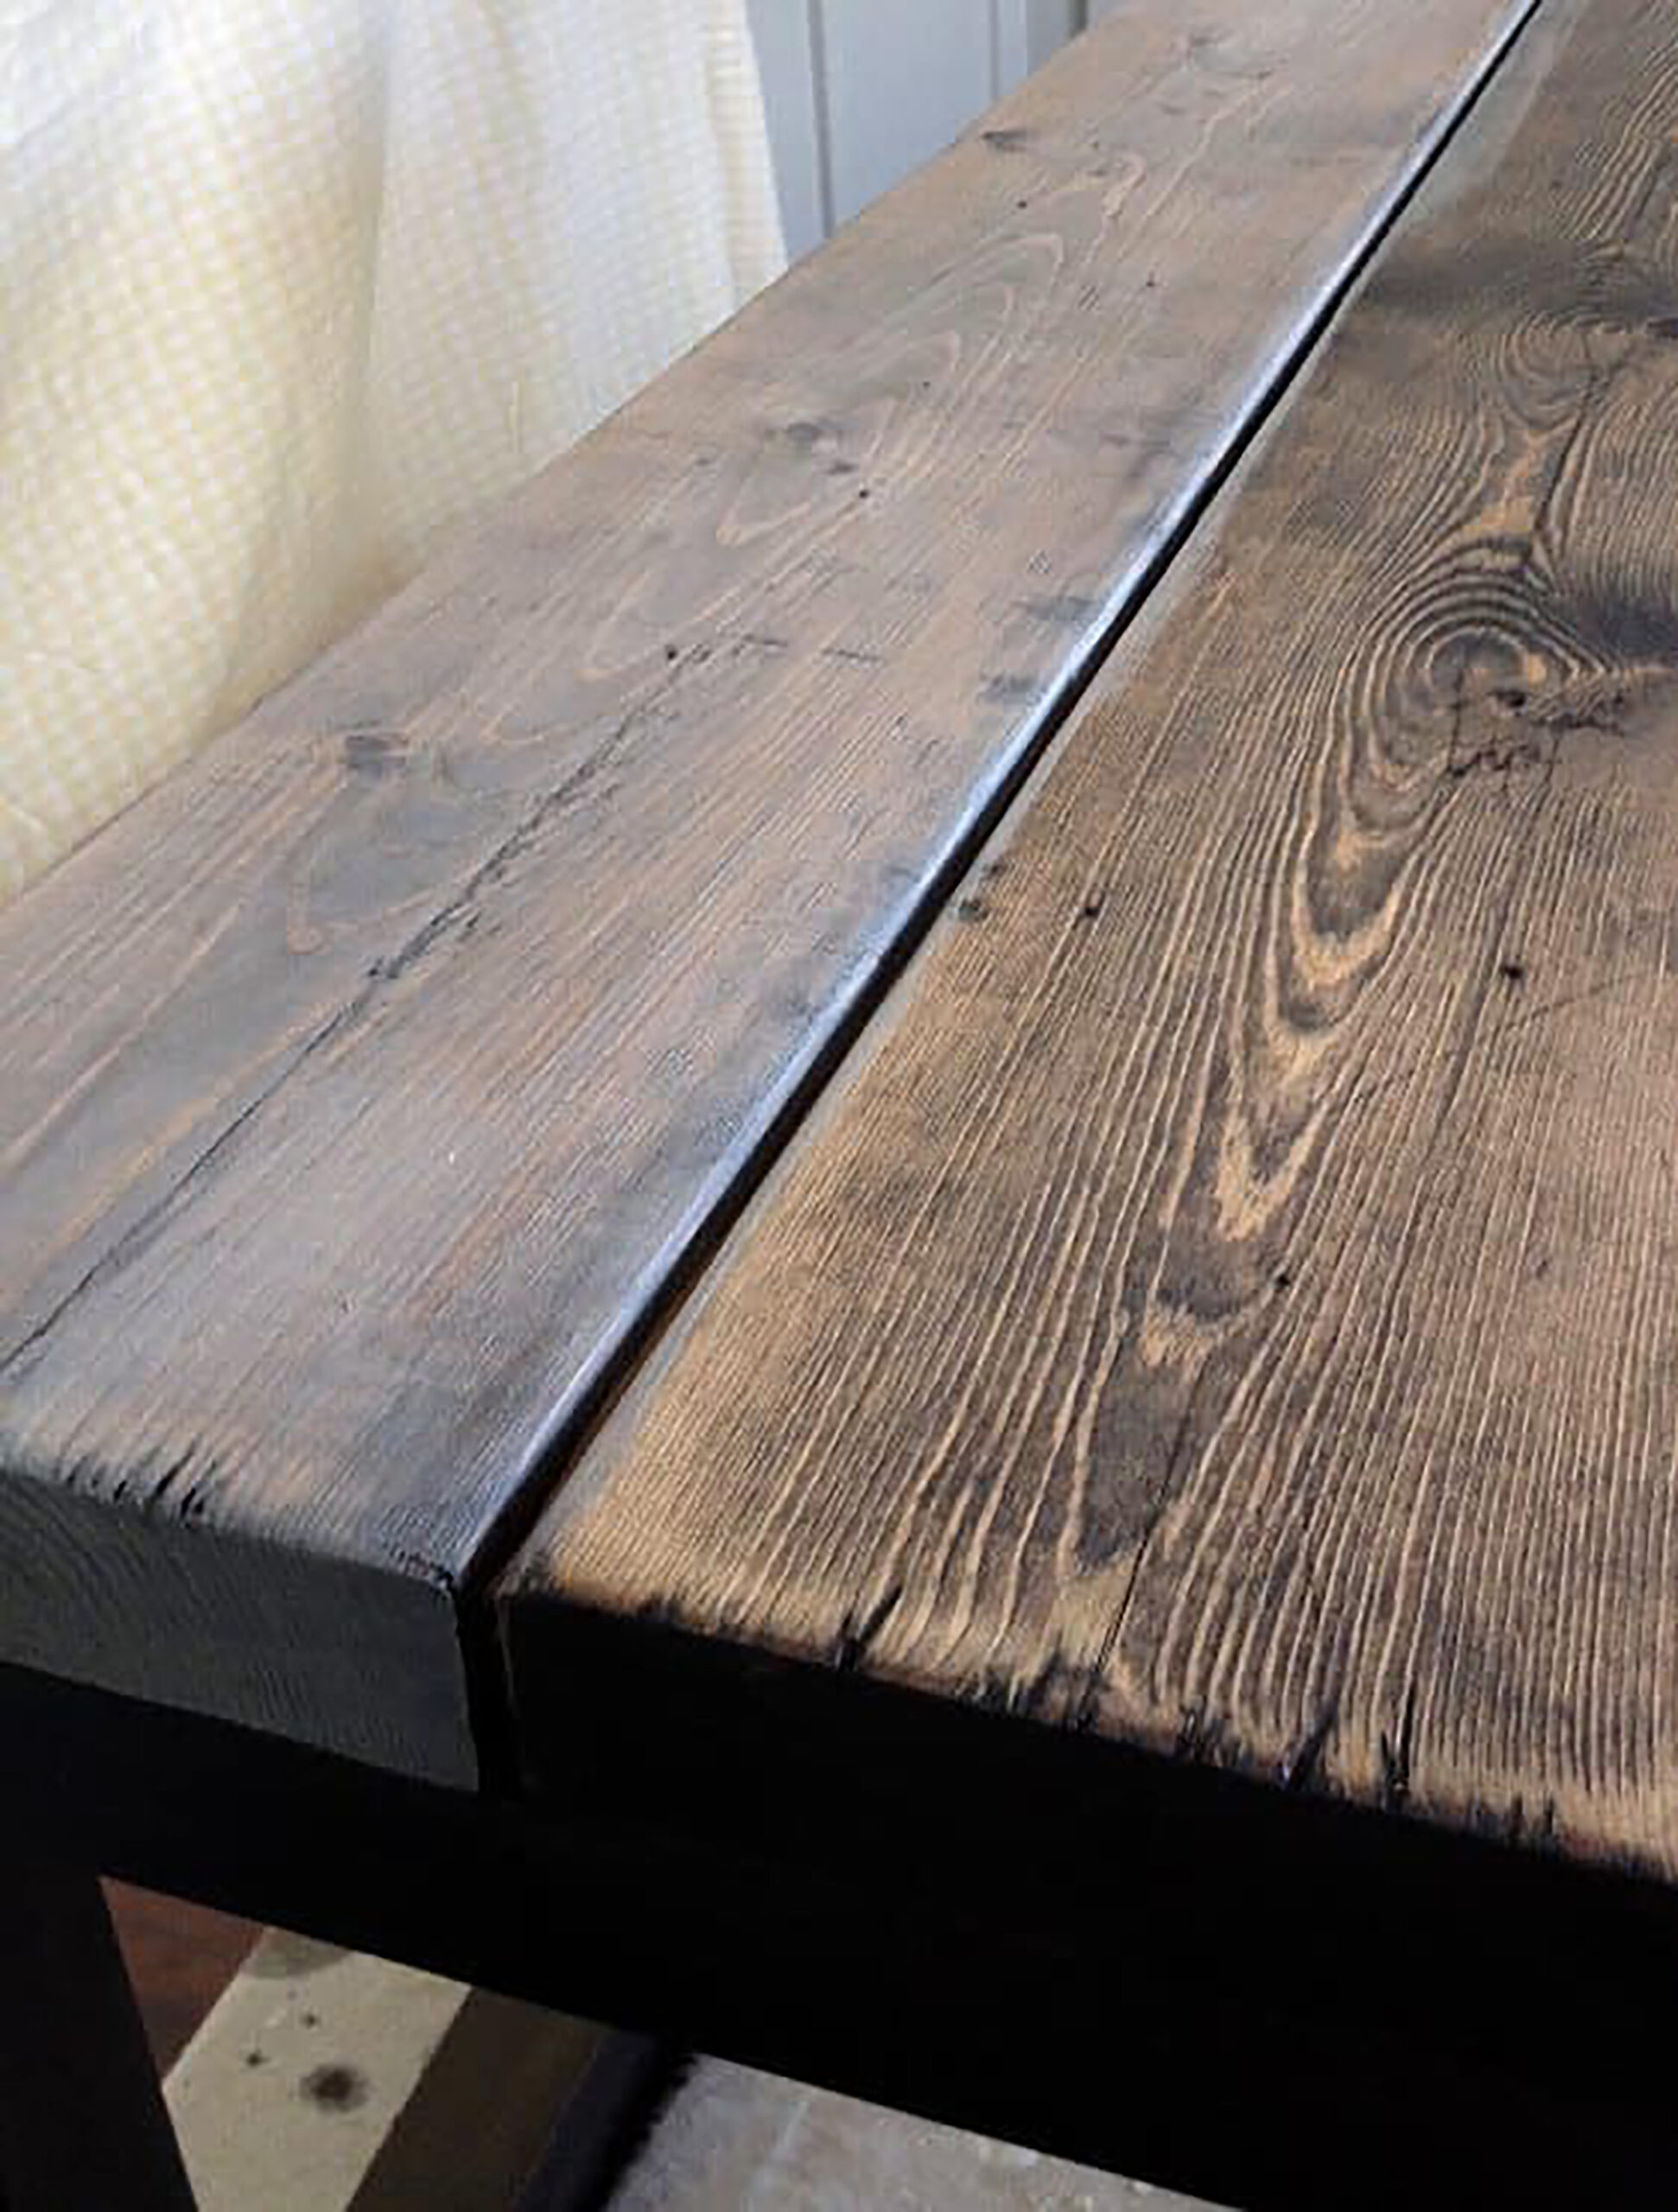
That’s it! You’re left with stunning grey-washed wood that looks just like aged barn board, perfect for your next DIY project.
FAQs
This technique works on almost any type of wood, including scrap wood, pallets, or even brand-new boards. The more character the wood has, the better it will look with this finish.
Absolutely! Dark Walnut is a classic choice, but feel free to experiment with other shades to match your project’s style.
Yes! Sanding smooths out rough areas and ensures the stain and grey wash adhere evenly.
Yes, you can seal the finished piece with a clear polyurethane or furniture wax to protect the surface while maintaining the rustic look.
More Paint Finish Tutorials
- How to Paint Kitchen Cabinets: Complete Step-by-Step Guide
- Grey Wash Wood Finish
- How to Get the Lime Wash/White Washed Wood Finish without Blue Undertones!
- How to Stain Wood – Step-by-Step Tutorial for Beginners
- How to Whitewash Stain (Plus FAQ & Staining with Minwax Pickling)
- How to Paint a Sideboard: Step-by-Step Guide for a Stunning Makeover

Grey Wash Wood Finish - How to Get the Grey Distressed Look on Your Own Furniture
Easy DIY grey wash finish. Get the look of old barn boards or refinish your furniture using this grey wash finish tutorial.
Materials
- 2″ x 6″ x 48″ long wood (qty: 15)
- Dark Walnut stain
- Grey latex paint
- Water
Tools
- Sandpaper
- Foam brush
- Lint-free cloth
Instructions
- Sand the Wood
Start by sanding each piece of wood. Remove any rough patches, but keep those character details like knots and stamps—they’ll enhance the rustic look of the final finish. - Apply the Stain
In a well-ventilated area, use a foam brush to apply Dark Walnut stain along the grain of the wood. Let it sit for about 5 minutes, then wipe away any excess with a lint-free cloth. Repeat on all sides of each piece and allow them to dry completely. - Create the Grey Wash
Mix a light grey latex paint with water in a plastic cup. I use a 1:4 ratio (one part paint to four parts water) to create a translucent grey wash. A sample pot of paint works perfectly for this step. - Apply the Grey Wash
Using a foam brush, lightly coat the stained wood with the grey wash, going over the dry stain. This will lighten the wood and give it that beautifully aged appearance. Repeat on all sides and let it dry.
There’s something so satisfying about creating your own beautiful finishes. This grey wash wood technique is easy to do, and it adds so much charm and character to any project—without breaking the bank. Whether you’re building a barn door, revamping a coffee table, or adding rustic flair to a piece of furniture, this method is sure to deliver gorgeous results.
Have you tried a grey wash finish on your own projects? I’d love to hear how it turned out! Share your experiences, tips, or questions in the comments below—I’m here to help!

Want to see more content like this in your Google searches?
This button tells Google that Home Made Lovely is a source you like, so it can show you more of it.