I’ve lost count of how many times I’ve stood in the middle of a hardware store, staring at a wall of sandpaper, feeling completely unsure about which grit to buy. It’s honestly so confusing! Those little numbers can seem like a mystery if you’re not used to them. If you’ve ever wondered the same thing—whether you’re sanding wood for the first time or trying to smooth out a DIY project—you’re not alone.
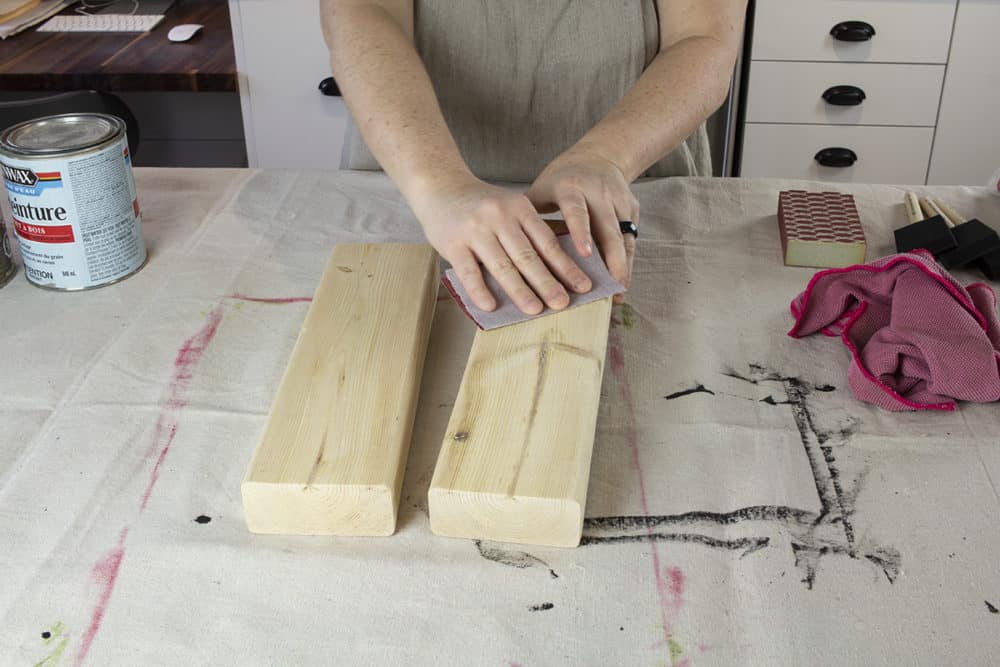
One of my favorite DIY projects involved creating a DIY Rustic Wood Headboard, and trust me, picking the right sandpaper grit made all the difference. If you’ve got a woodworking or refinishing project in mind, I hope this guide will help take the guesswork out of sanding so you can dive right in with confidence.
Sandpaper Grits and Their Uses
Knowing the basics of sandpaper grit can make your projects so much easier. Here’s a quick breakdown to help you choose the right one for your task.
The 3 Most Popular Sandpaper Grits
For most DIY projects, you can get away with keeping just these three grits on hand:
- 80 Grit: Perfect for removing finishes or roughing up a surface.
- 120 Grit: A medium grit that’s great for general smoothing and shaping.
- 220 Grit: The best choice for final sanding and prepping between coats of paint or polyurethane.
All the Sandpaper Grits & What They’re For
So you could use those three basics for most beginner DIY projects. But if you want a little more flexibility, here is a fuller picture of the sandpaper grits and their uses.
24-26 Grit
This is extra-coarse sandpaper, ideal for heavy-duty tasks. If you need fast material removal—like stripping down thick layers on hardwood flooring or doing the initial sanding on rough surfaces—24-26 grit is the way to go. It’s highly abrasive and designed for quickly leveling out tough materials.
40-50 Grit
40-50 grit sandpaper is still coarse, but a bit less intense than 24-26 grit. It’s great for rapid material removal on slightly less tough surfaces, providing a quick way to smooth rough edges, remove thick layers of material, or start prepping wood for finer sanding stages.
60-80 Grit
Medium grit sandpaper in the 60-80 range is versatile for smoothing bare wood before finishing. It’s also excellent for gentle varnish removal, providing enough abrasion to strip down surfaces without gouging the wood. Use this grit to prep bare wood surfaces for the next stages of finishing or to gradually refine a previously rough surface.
100-120 Grit
100-120 grit is considered fine grit, best used for getting bare wood ready for its finishing touches. It’s effective in giving the wood a smoother texture, but it’s not designed to remove varnish or paint. This grit is perfect for smoothing out any leftover rough patches on bare wood to create an even, finish-ready surface.
150-220 Grit
Sandpaper in the 150-220 grit range is very fine and primarily used on bare wood for final touch-ups before finishing. It’s also helpful for light sanding between coats of finish to create an even, smooth layer. Use this grit if you’re aiming for a refined surface ready for varnish, stain, or sealant.
240 Grit
With its very fine texture, 240 grit sandpaper is ideal for sanding finishes between coats. It’s gentle enough to smooth down dried layers without damaging them, giving a polished look while maintaining the integrity of each layer. It’s also effective for finishing touches on bare wood.
320-360 Grit
320-360 grit sandpaper is extra fine, marking the start of wood polishing. This level of grit is ideal for giving wood a soft, polished surface, refining any roughness left from previous sanding stages, and making it finish-ready. Use this grit for delicate, final surface prep.
400-600 Grit
Super fine sandpaper in the 400-600 grit range is perfect for the final sanding of finishes and ultra-smooth wood surfaces. This grit provides an almost glass-like feel to the surface, making it ideal for final finish layers. Use it as the last step for a mirror-like polish on wood or to create a smooth, flawless finish.
800-1000 Grit
800-1000 grit sandpaper is ultra-fine, used exclusively for polishing and final sanding of thick finishes. At this stage, sanding becomes about fine-tuning the smoothness, removing any tiny imperfections, and creating a professional-grade finish. Use this grit to achieve that ultimate polished look.

FAQs
Start with 40-60 grit for quick removal, then smooth the surface with 80-120 grit.
It’s best not to. Moving from a coarse grit to a very fine one without intermediate steps can leave scratches or an uneven finish.
Use 220-240 grit to lightly sand between coats for a smooth, professional finish.
Yes! Look for sandpaper labeled specifically for metal or plastic to avoid damaging your project or dulling your sandpaper.
More Basic DIY Tutorials
Free Printable Sandpaper Grit Cheat Sheet
To make things easier, I’ve created a handy printable chart of the most common sandpaper grits and their uses. Click on the image below to grab your free cheat sheet! Print it out and hang it in your garage or workshop—it’ll save you so much time on your next DIY project.

Sanding doesn’t have to be a mystery. With just a little know-how (and my printable cheat sheet!), you can choose the right sandpaper grit for every stage of your DIY projects. Whether you’re tackling a big woodworking project or just doing some touch-ups, having the right sandpaper on hand can make all the difference. Let me know in the comments if you’ve got any questions or favorite tips for sanding—I’d love to hear from you!

Want to see more content like this in your Google searches?
This button tells Google that Home Made Lovely is a source you like, so it can show you more of it.