Moodboards are such a fun and practical way to visualize a room makeover before diving into decorating or purchasing anything. When I’m planning a space, creating a moodboard helps me see how colors, textures, and furniture will work together. Plus, it saves me time and money by ensuring everything flows before I commit.
If you’re tackling a room makeover, you might also enjoy my post on How to Choose Paint Colors. It’s packed with helpful tips to simplify the process and ensure your color palette aligns beautifully with your moodboard vision.
How to Make a Moodboard 2 Ways
How to Use Canva to Create a Moodboard
If you are more familiar with a photo editing type of software you may find that Canva is the best mood board creating choice for you.
1. Go to https://www.canva.com and click on Create a Design -> Custom size -> 11″ x 8.5″

2. Then select Photos on the left-hand side, and search for your decor elements, or specific pieces or style.

3. Then just click or drag and drop your images to add them to your mood board.

4. Drag them around and resize as needed!
*If you’re using Canva’s images, there will be watermarks. You can purchase the images if desired to remove those. Or you can add your own images by uploading them or connecting one of your social media accounts.


5. You can also Bring Forward or Move to Back by right-clicking on the photo you want to move.

6. Finish adding photos, then share or download your finished design board!

How to Use Microsoft Word to Create a Moodboard
If you know your way around the standard word processing software, you may find Microsoft Word the easiest place to begin creating design boards.
1. Open a new document in Word. Personally, I sometimes prefer a landscape, letter-sized page for this. (You can adjust to landscape layout under File -> Page Page Setup.)

2. Go to Layout -> Margins -> Narrow to make your margins as small as possible, while still allowing proper printing.

3. Go to Insert -> Picture -> From File to upload your photos to the board document.

4. Click on the photo and then grab the corner to resize.

5. To allow for an overlap of photos:
- Select a picture.
- Click on Layout
- Then select any Position that is NOT In Line With Text
- Drag your images wherever you like on the page.
- Adjust which images are in front or behind using the Bring Forward or Send Backward tool.


6. Repeat steps 3 to 5 for all your photos until your design board looks exactly how you like it to.
Key Tips to Keep in Mind for Your Moodboards
- Look for images with simple or plain white backgrounds. They’re much easier to remove with a tool like Adobe’s free online background remover tool. If you have Canva Pro or Teams you can use the Canva background remover tool.
- To really visualize how your space will look, arrange the photos on your design board in the way the room will be arranged, and in approximate proportions. For example, put the rug under the bed, and the nightstand beside the bed. If the walls are large and will be fairly blank, make the paint color swatch on your mood board large to illustrate the expanse of the walls.
- Resize your images so they roughly represent the proportions of that thing in your space. For example, a vase will be smaller than a couch and your main paint color will be much larger than say a throw pillow. This will really help you visualize well!
- Either print or keep a screenshot of your design/mood boards on your phone. This way if you’re out shopping you can accurately see whether something will go with your space or not! I refer to these screenshots all the time with photos of our rooms when I’m shopping for accessories.
Why Create a Moodboard?
Originally, moodboards (or design boards) were physical boards where decorators pinned fabric swatches, paint samples, and photos to plan a room. Today, you can create these digitally using various tools that are both accessible and easy to use. Moodboards are perfect for:
- Seeing how different elements work together.
- Testing ideas without the cost of trial and error.
- Keeping your design vision consistent as you shop or DIY.
Important Copyright Info to Remember
If you choose to use photos that you find “on the internet” for creating your mood boards, please keep the owner’s copyright in mind. By that I mean, if you don’t have express permission to use an image that you’ve found online you cannot use it.
Personally, I don’t mind if you use my images for creating a mood board – so long as you only use them for yourself. Some other photographers and publishers feel the same. But please be discreet with this. Copyright is a huge issue and you don’t want to get into trouble using photos that aren’t yours.
Of course, if you create your mood boards using Canva’s 1 million stock images, you’re totally okay!
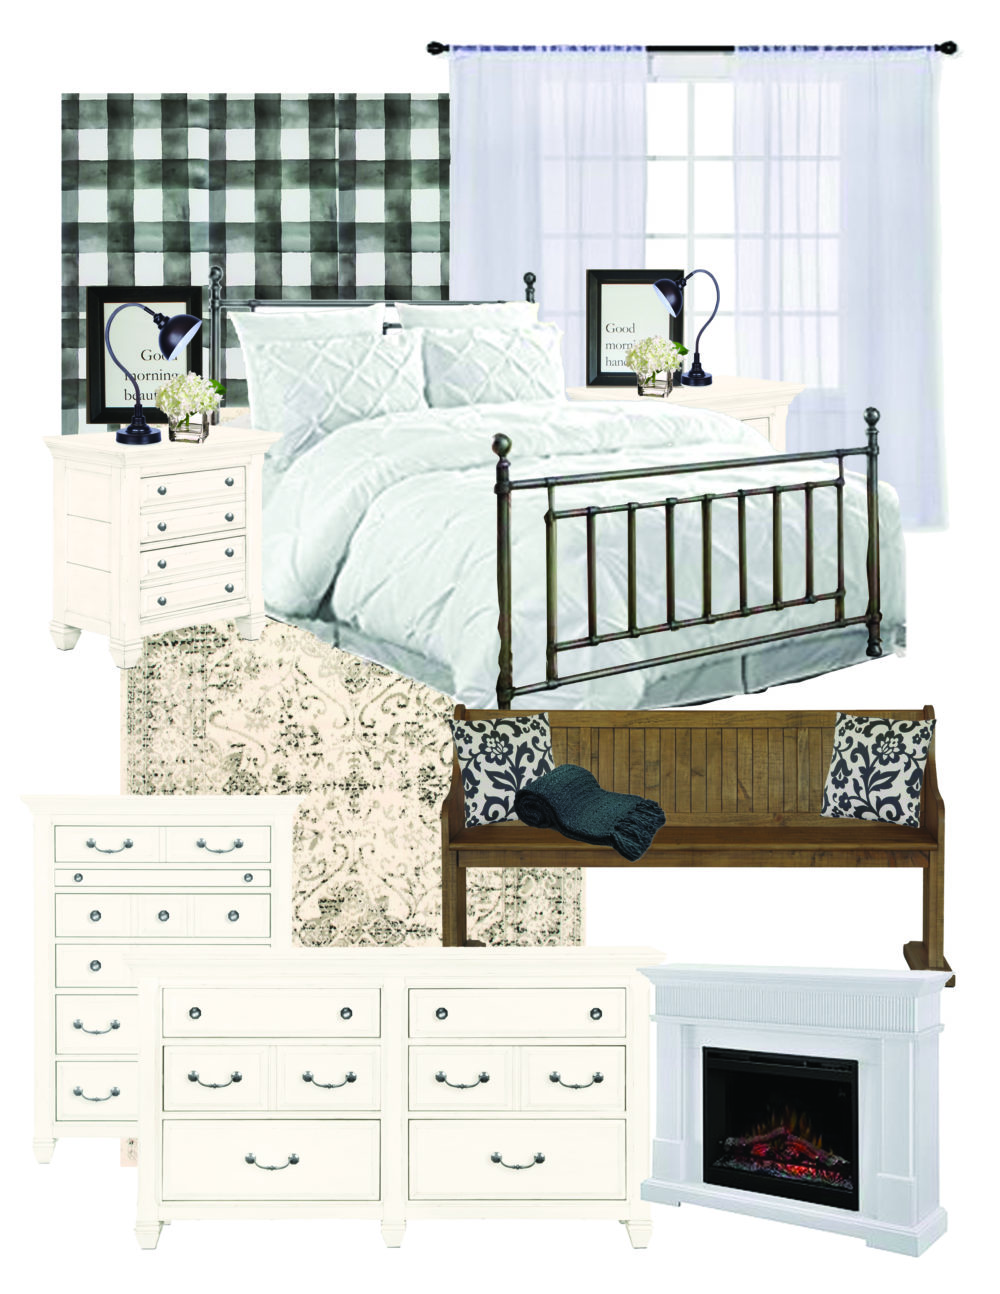
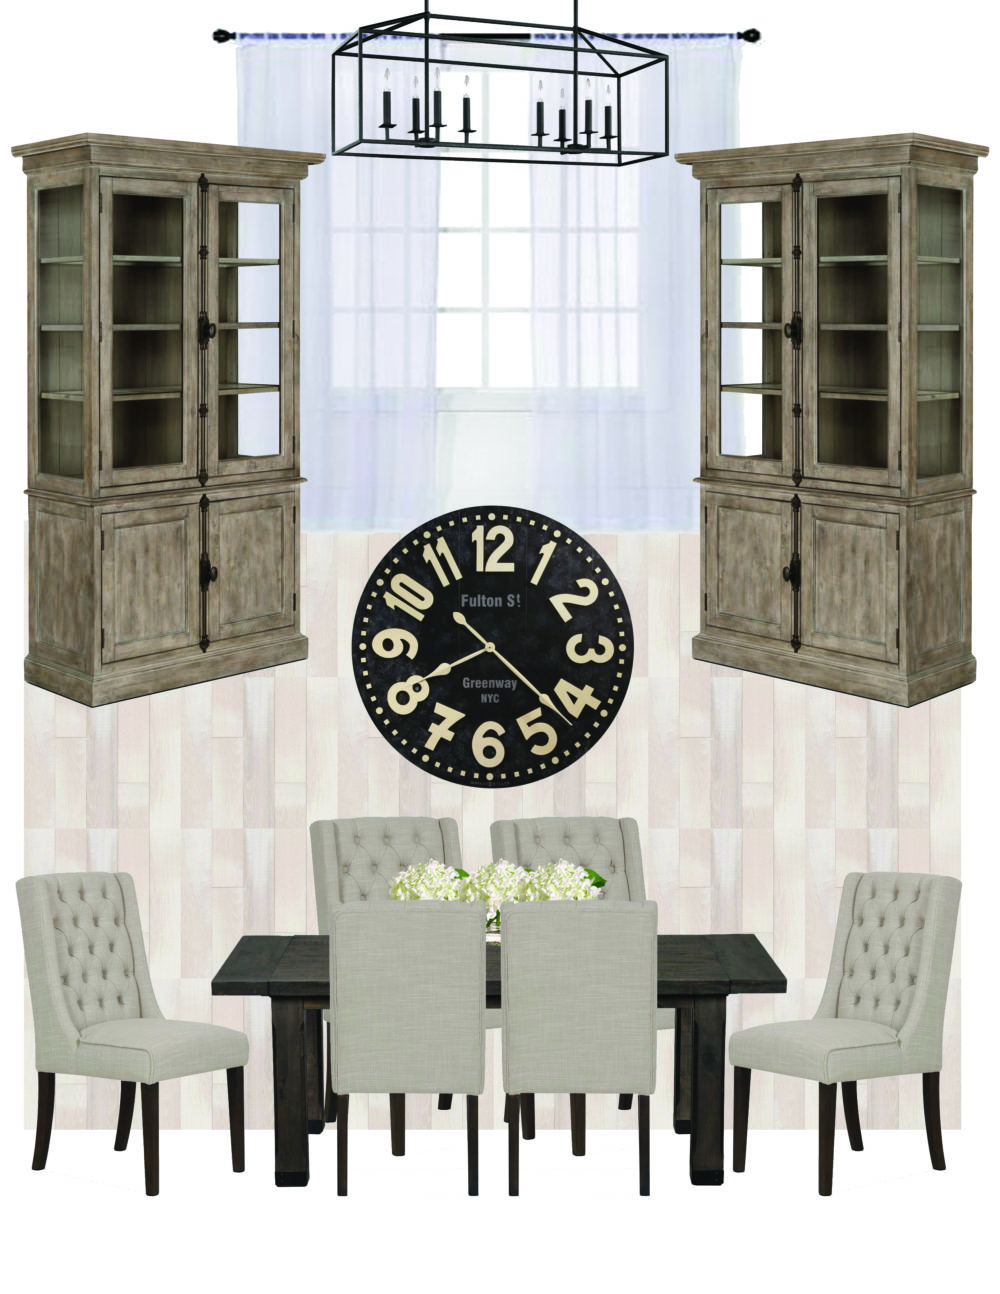
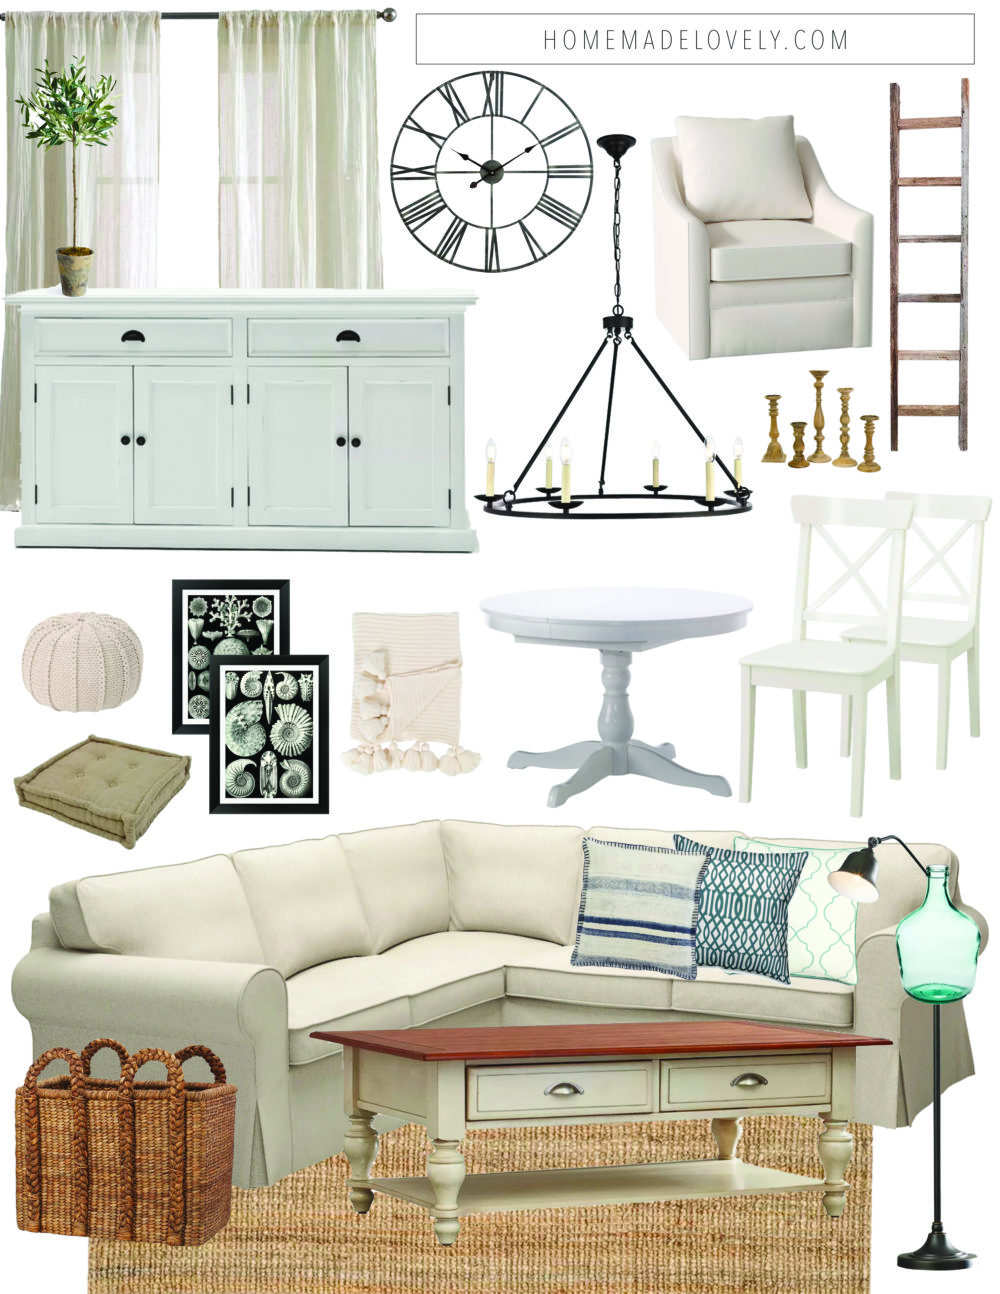
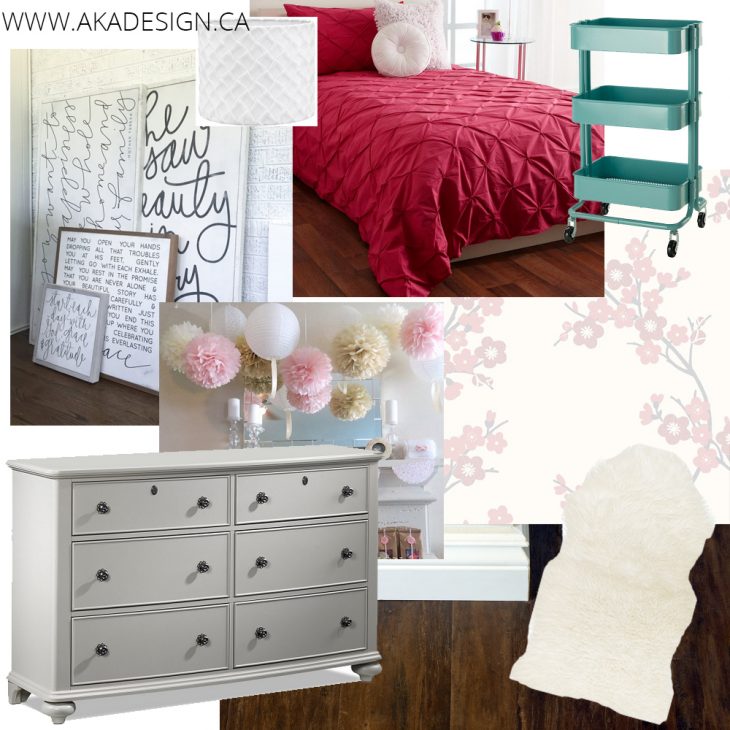
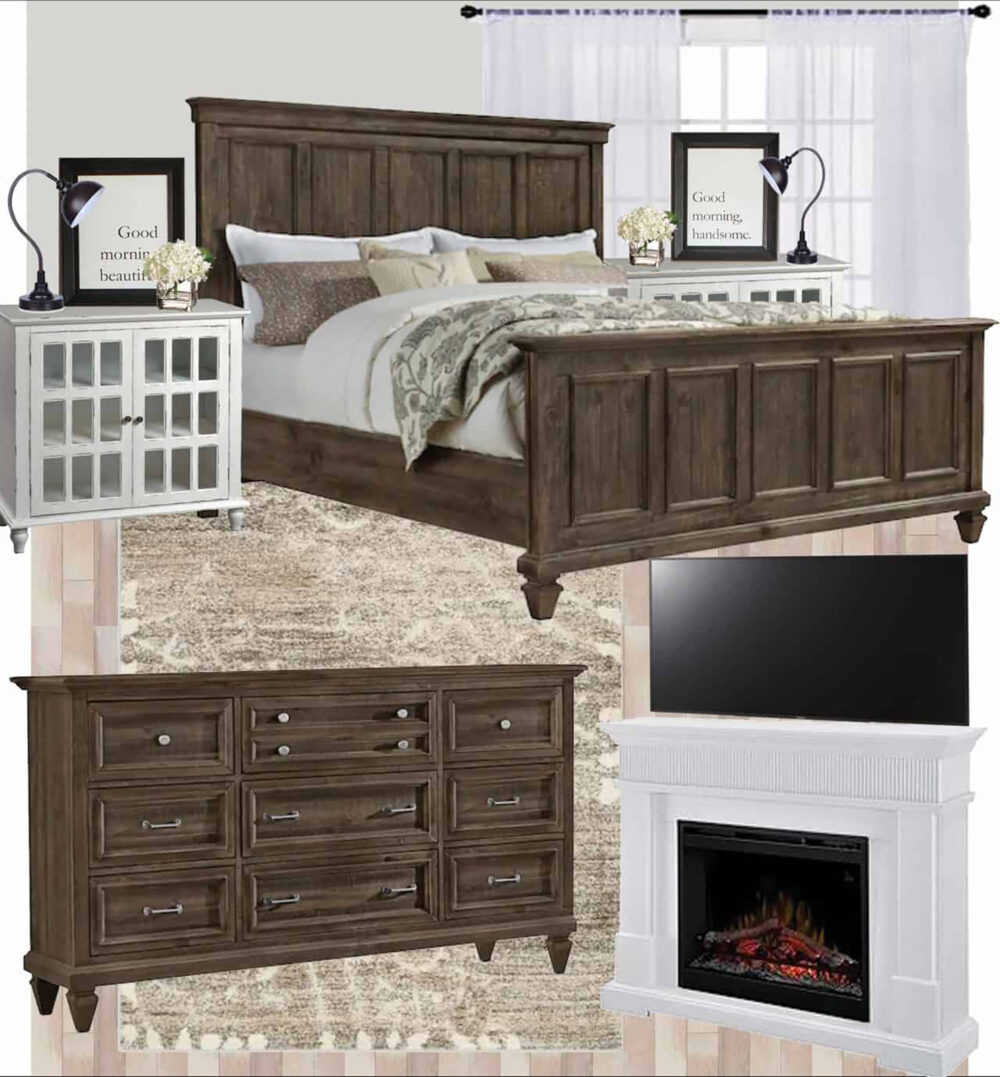
Examples of Design Boards I’ve created

FAQs About Making a Moodboard
If you’re new to making moodboards, Canva is a fantastic starting point. It’s user-friendly, free, and packed with templates and tools that make designing a breeze.
The more detailed, the better! Include all key elements like furniture, rugs, wall colors, and even accessories. Arrange them proportionally to mimic how they’ll look in your room.
Yes and no. Be sure to respect copyright laws. Use stock images from tools like Canva, or get permission from the original creators. For personal use, you can also photograph items you already own.
Printing or saving it on your phone is a great idea! Having it handy while shopping helps ensure your purchases align with your vision.
Absolutely! This is especially helpful if you’re blending styles. Create a moodboard for each style and see how the key elements can complement each other in the final design.
More Decorating Tips
- How to Decorate Your Home in 5 Simple Steps
- Embracing Imperfections in Your Home
- How to Measure for Curtains Like a Pro: A Step-by-Step Guide
- Home Decor Items List for Every Room (+ Free Checklist)
- How to Choose Your Home Color Palette: 3 Tips
- How to Choose Paint Colors
- How to Identify Undertones in Paint and Other Colors
- How to Find Your Decorating Style
- Rearrange Your Furniture: A Free Home Makeover
- 5 Decor Elements Every Room Needs to Be Complete
- How to Make a Moodboard to Plan Your Next Room Makeover
Creating a moodboard is such a valuable step in the design process. Not only does it bring your ideas to life, but it also helps you design with confidence and clarity. Whether you use Canva, Microsoft Word, or another tool, you’ll love how easy and enjoyable it is to plan your dream space. If you’ve never tried making one, I encourage you to give it a go. I’d love to hear about your experience—feel free to share in the comments below!

Want to see more content like this in your Google searches?
This button tells Google that Home Made Lovely is a source you like, so it can show you more of it.