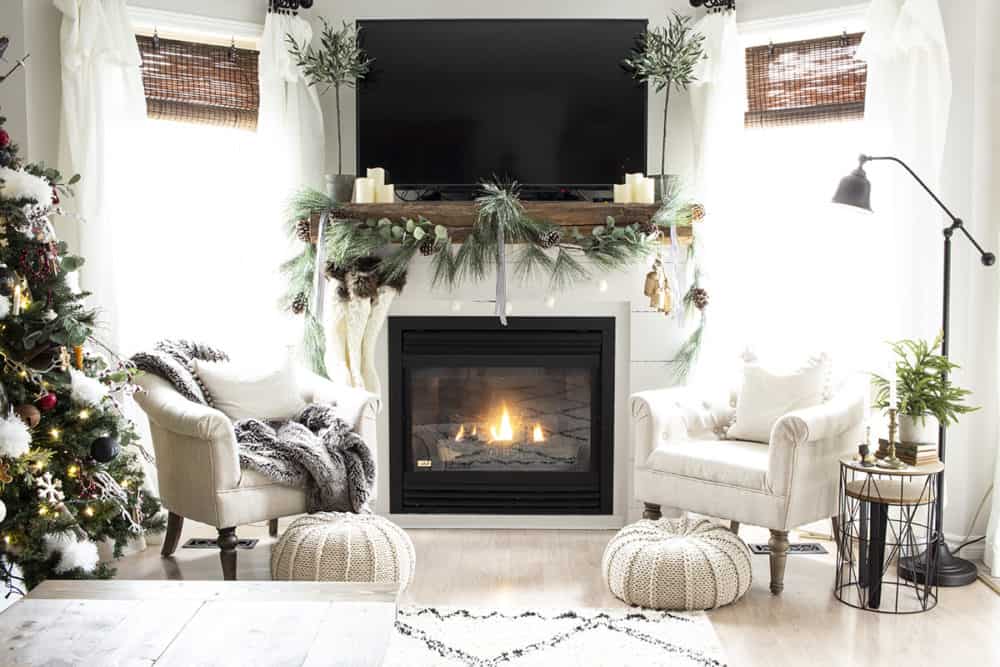
I adore the magic of a beautifully decorated Christmas mantel—especially when it sits above a crackling fire, filling the room with a warm glow. But when a TV occupies prime mantel real estate – like it does at my house – creating a festive look that doesn’t obstruct the screen can be challenging! Luckily, you can still capture that cozy holiday feel while keeping the TV functional.
In this post, I’ll walk you through simple steps to achieve a balanced, stylish Christmas mantel that complements your TV setup. I’ve also added fresh inspiration from our updated shiplap mantel to spark your creativity.
1. Keep everything short/low
First of all, you need to keep scale and height in mind when decorating a mantel with a TV above it for Christmas. You don’t want to block anyone’s view of the screen for those Christmas movie marathons!
Bonus points if you can somehow keep the sensor for the remote easily accessible.
This one I find tricky as ours is at the very bottom front of the TV (the red dot in the photo below). But since we use a Roku (and now that the TV is shiplapped, Bluetooth enabled cable, or our Amazon Firestick) most of the time, we really only need access to the sensor for turning the TV on and off and the occasional volume adjustment.
You’ll notice that as I was decorating the gray fireplace, I moved the DVD player from under the TV. I stood it on its side and tucked it in beside the TV.

2. Start with a garland
The first piece you want to put down is the main garland. Stretch it across the length of the mantel and make any necessary adjustments to the individual pieces.

Or swag it across the front of the mantel, like our finished mantel below. That really keeps the sensors clear. (Unfortunately, it also allows the cables to show – but my family is happier to not have to do even mild gymnastics to control the tv! And sometimes function beats looks.)

3. Add stocking hangers
If you will be hanging stockings on your mantel, add the hangers after the garland. This way you can get the spacing correct before the next steps. If you’d like, go ahead and add the stockings now so you can get a feel for the colors and textures of the space.


Or you can group the stocking together. This works well when they’re empty and not as well once you start to fill them.
For the shiplap mantel below, I grouped the stockings on one side of the mantel, hung on a couple of thumbtacks. You could use 3M hooks if you don’t want to damage your mantel. Ours is a legit rustic old barn beam, so I don’t mind sticking it with thumbtacks now and again.

4. Place string lights
In my opinion, fifty percent of the magic of Christmas decorating is in the string lights. I love to add them to the mantel to add to the lovely glow of the fire – or just to turn on for that glow when it’s too warm for the fireplace to be on.
Weave an appropriate length of string lights in behind the stocking hangers, and around the garland on the mantel. Use battery-powered lights if there’s no outlet on or near your mantel. (I obviously added the stockings here too.)

Or you could add battery-powered candles as I did with our shiplap mantel.
Truthfully, I wanted to add string lights to the garland, but I gave the last operational battery-powered strand in the house to my daughter for her room and I was done spending money so I didn’t want to order more.
You don’t want to use real candles as that would be bad for the tv. 😉

5. Fill in any gaps in the garland with greenery sprigs and sprays
Inevitably there will be gaps in the garland. Now that the stocking hangers and string lights are in place, you can fill in the remaining gaps with sprigs and sprays of greenery.


For the shiplap fireplace, after playing around with options, I settled on two simple eucalyptus stems – one tucked into each side of the garland – for a little more variety without overdoing it.

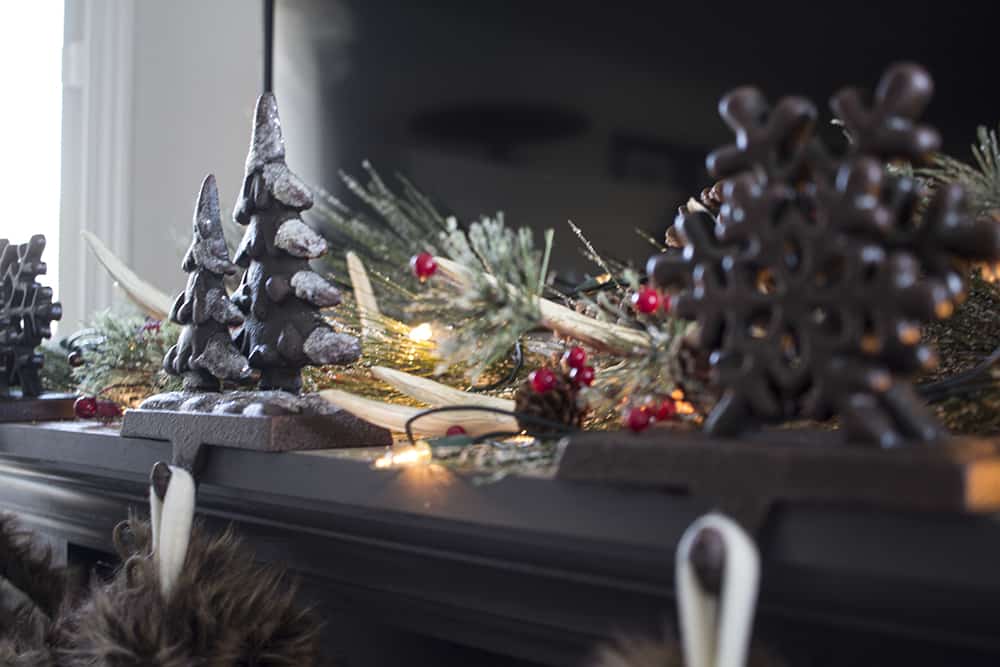
6. Add additional embellishments, as desired
If you’d like, you can add things like pine cones berry picks, or faux deer antlers into the garland to fill the spaces out even more!


Or you can add simple striped ribbons (affiliate link) and a homemade pom-pom garland like I did this year.

FAQs
Yes! Keep decorations low and use garlands, lights, and small accents.
Use a simple garland, twinkling lights, and minimal embellishments to keep the space balanced and uncluttered.
No, as long as they’re LED or battery-powered. Avoid real candles, as the heat could be harmful.
Small accents like pinecones, ribbon, or bells work well; keep it simple to avoid clutter.
Decorate symmetrically on each side of the TV, or try a low garland that runs along the base to keep the focus balanced.
More Christmas Decorating Ideas
- How to Decorate for Christmas: My Tips for a Cozy, Festive Home
- How to Decorate a Christmas Tree
- 10 Classic Christmas Decor Staples That Never Go out of Style
- 10 Christmas Decorating Mistakes to Avoid This Season
- How to Decorate a Mantel with a TV Above It for Christmas
- How My Christmas Decorating Style Evolved
- How to Decorate for Christmas Without Clutter: 7 Festive Ideas
And that’s it—an inviting Christmas mantel that’s as functional as it is festive, even with a TV front and center! With a thoughtfully arranged garland, twinkling lights, and a few personal touches, you can create a holiday-ready mantel that your family will love gathering around all season long – just like mine does! Whether you go for a simple or layered look, these tips will help you bring a cozy, Christmas spirit to your living space. Happy decorating, and enjoy the holiday magic!
What are your favorite Christmas mantel decorating ideas? Let me know in the comments below!

Great tips Shannon! Your mantel is so pretty…I absolutely love the layered garlands!
Hi, beautiful!! You know those ugly cords on the back of your tv? Well, I had those, also. I measured each side of the tv from the end of the middle frame holding the tv up to the end of the tv. Then, I cut 2 1 x 4s that measurement. I spray painted them black and hot glued to the base!!!
The one in our bedroom has legs, so I used a heavy duty Velcro dot on each side to hold them in place.
LOVE IT! Thank you
I got, this is soooo beautiful. I love everything about it. I love your fab step by step tutorial. Thanks for sharing.