Decorating the Christmas tree is one of my favorite holiday traditions. I love taking it step-by-step to build up layers, add sparkle, and create that perfect, festive look. Whether you’re a seasoned tree-decorator or this is your first go, I’ll walk you through each step to make your tree feel like a holiday showstopper. So, gather up your ornaments and lights, and let’s get started!

For even more holiday decorating tips, check out my blog post How to Decorate for Christmas for ideas on transforming your entire space into a cozy, Christmas-ready haven.
Step-By-Step Instructions: How to Decorate a Christmas Tree
Follow the step-by-step instructions to get a designer-looking tree – even if you’re a complete tree-decorating beginner!
Step 1: Fluff the Tree
Whether you’re using a real Christmas tree or a faux tree, set up your tree in its stand and fluff the branches.
Spread faux branches out to fill in any gaps.
TIP: If your tree has seen better days and has large gaps, try winding a garland or two down the trunk of the tree or between the branches to create a nice full tree.

Step 2: Add Lights (optional)
If your tree is pre-lit you can skip adding Christmas lights. If it’s not pre-lit, now is the time to add those string lights.
Weave the strands in and out of branches for depth. Add in as few or as many lights as you’d like.
Personally, for a 6-7 foot tree, I like an absolute minimum of 300 mini lights and as many as 700.
About 100 mini lights per foot-tall of a tree is a good general rule.
And I like to keep my Christmas tree lights on the warm side. I just find it adds a much nicer holiday glow, you know?
Tip: Plug your lights in as you arrange them in the tree, so you can see better where to place them.

Step 3: Add Stems
You can add sprigs or stems of greenery to fill in any gaps or just to add some texture and visual interest to your tree. Twigs or berry sprays work really well here too.
I’ve been doing this with our trees for the last few years and by buying a few new stems each year, I’ve kept the overall cost to a minimum.
And yes, the tree will look a little odd and even janky at this point. Have faith and keep going!

Tip: Keep and stems and sprays that you add parallel to the existing branches (except for the ones near the top of the tree) so they look like they’re part of the tree.
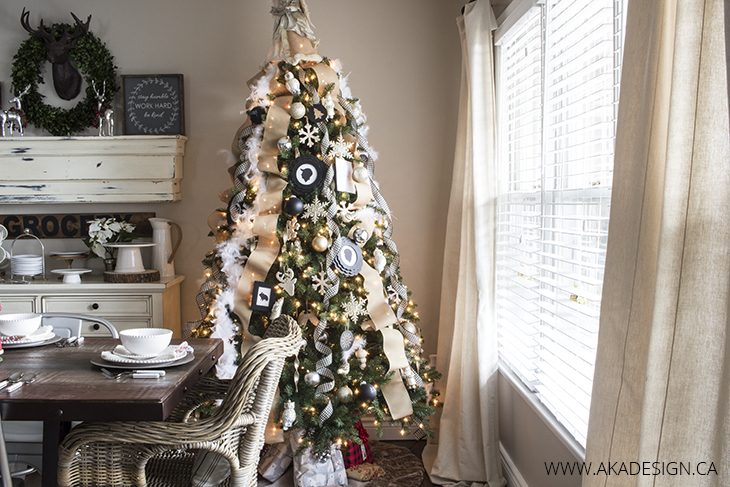
Step 4: Add Ribbons
Ribbons are a big-impact low-cost way to change color schemes and themes when the mood strikes.
To include ribbons on your tree, decide whether you’d like to wrap the ribbons around the tree or have them cascade down the tree in various ways:
- Wrapped around the tree is sort of like wearing horizontal stripes, and makes the tree look wider.
- Letting the ribbons cascade down the tree gives the appearance of a taller tree.
- You can tuck ribbons into the branches, curl them, let them hang, etc.
If you’re using multiple styles and colors of ribbon add the largest or boldest or largest first. Then move on down to the next size/color.

To get the curled ribbon, buy wired ribbon, wrap it around your hand, and then gently pull the end that is closest to your hand to make a sort of corkscrew curl. The wire will help the ribbon to stay curled.

Here’s another way to add ribbon to your Christmas tree
- Take 3 kinds of wired ribbons and cut them all to about 3 feet long (give or take).
- Lay all three pieces of cut ribbon over each other, sort of in a stack and loosely fold in half.
- About 6 inches from the fold, pinch all the ribbons together. Secure them together using a piece of floral wire or an unwound wire ornament hanger.
- Separate the folds to fashion a sort of bow, as seen below.
- Curl the “tails” around your hand and then separate, as seen below.

Tip: It’s so much easier to place ornaments after ribbons than to do it the other way around.
Step 5: Add Large Ornaments
Add any really large or bold ornaments or decorations you have next, spreading them out visually on the tree.
It’s much easier to do it at this stage than to try to find a good place for these large ornaments later.

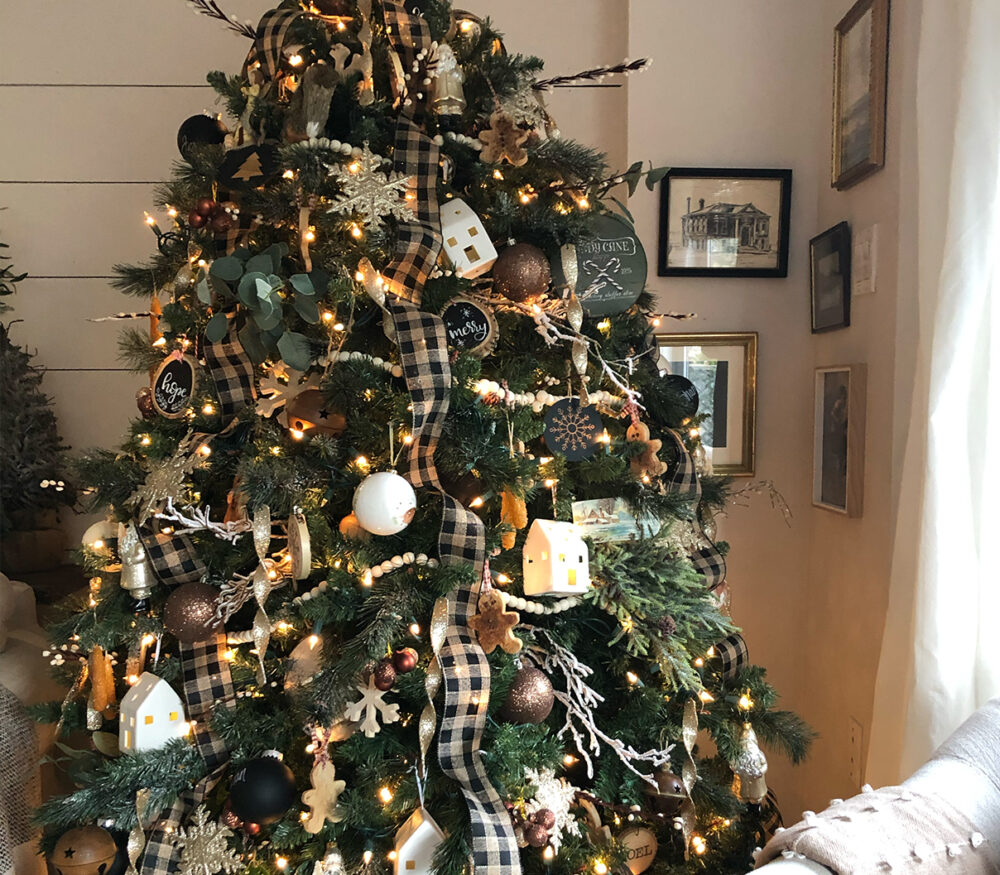
Step 6: Add Sets of Ornaments
Add any multiples or sets of ornaments, one set at a time, by style or color.
Space them out all over the tree for visual balance, stepping back to take a look from all angles to be sure they’re well balanced.

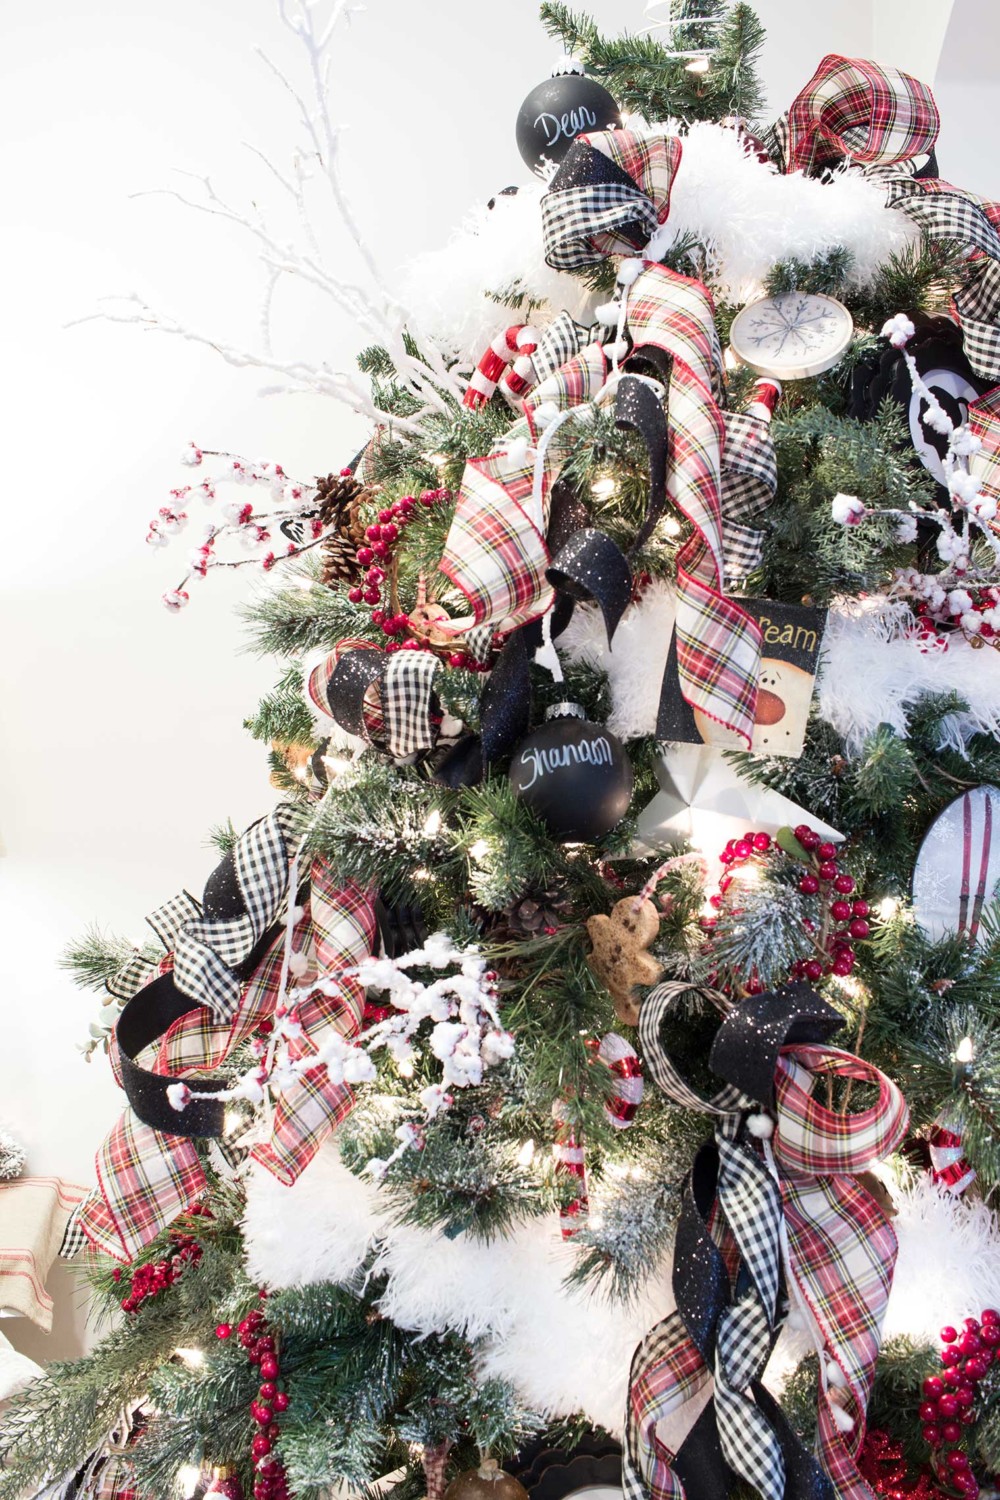
Step 7: Add Small or Special Ornaments
If you’ve got small or specific individual ornaments or keepsakes, find lovely spots for those on your tree now.
Step 8: Add the Skirt and/or Tree Collar
Once all your ornaments and ribbons are on the tree, give the area beneath the tree a sweeping or vacuum to pick up any stray bits that may have fallen off the tree as you decorated.
Then, lay down the tree skirt or add your tree collar.
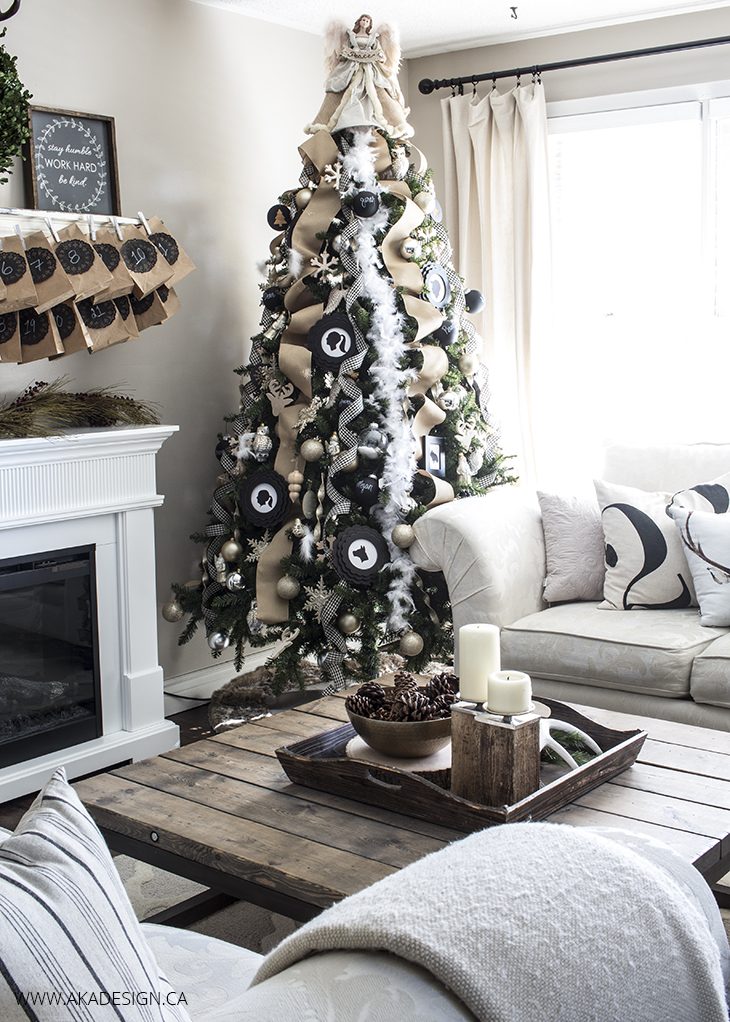
Step 9: Add the Topper
Now that our kids are mainly grown, I do most of the actual tree decorating. But it is still a tradition for Dean and Jonah to put the tree topper on the tree together and we actually wait for them to do this each year. (Don’t tell the kids I shared this pic 😉)

Bonus Step: Coordinate your gift-wrapping
Another way I like to “decorate” our Christmas tree is to coordinate our wrapping paper for each year with the colors or theme that the tree is decorated in. That way when the presents make their way under the tree, the living room looks super pretty, elegant, and filled with holiday cheer.
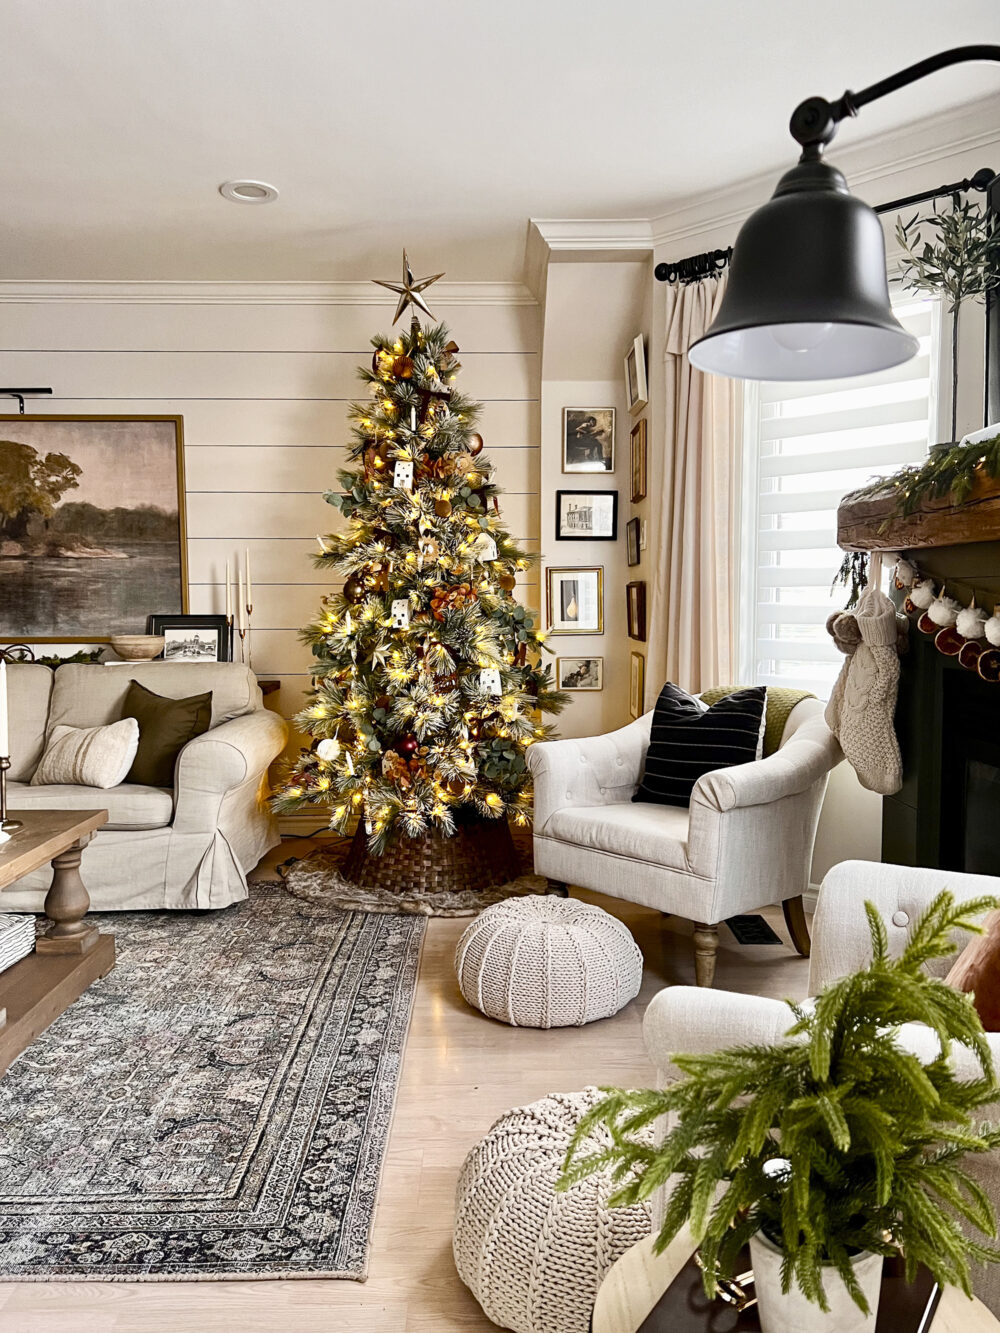
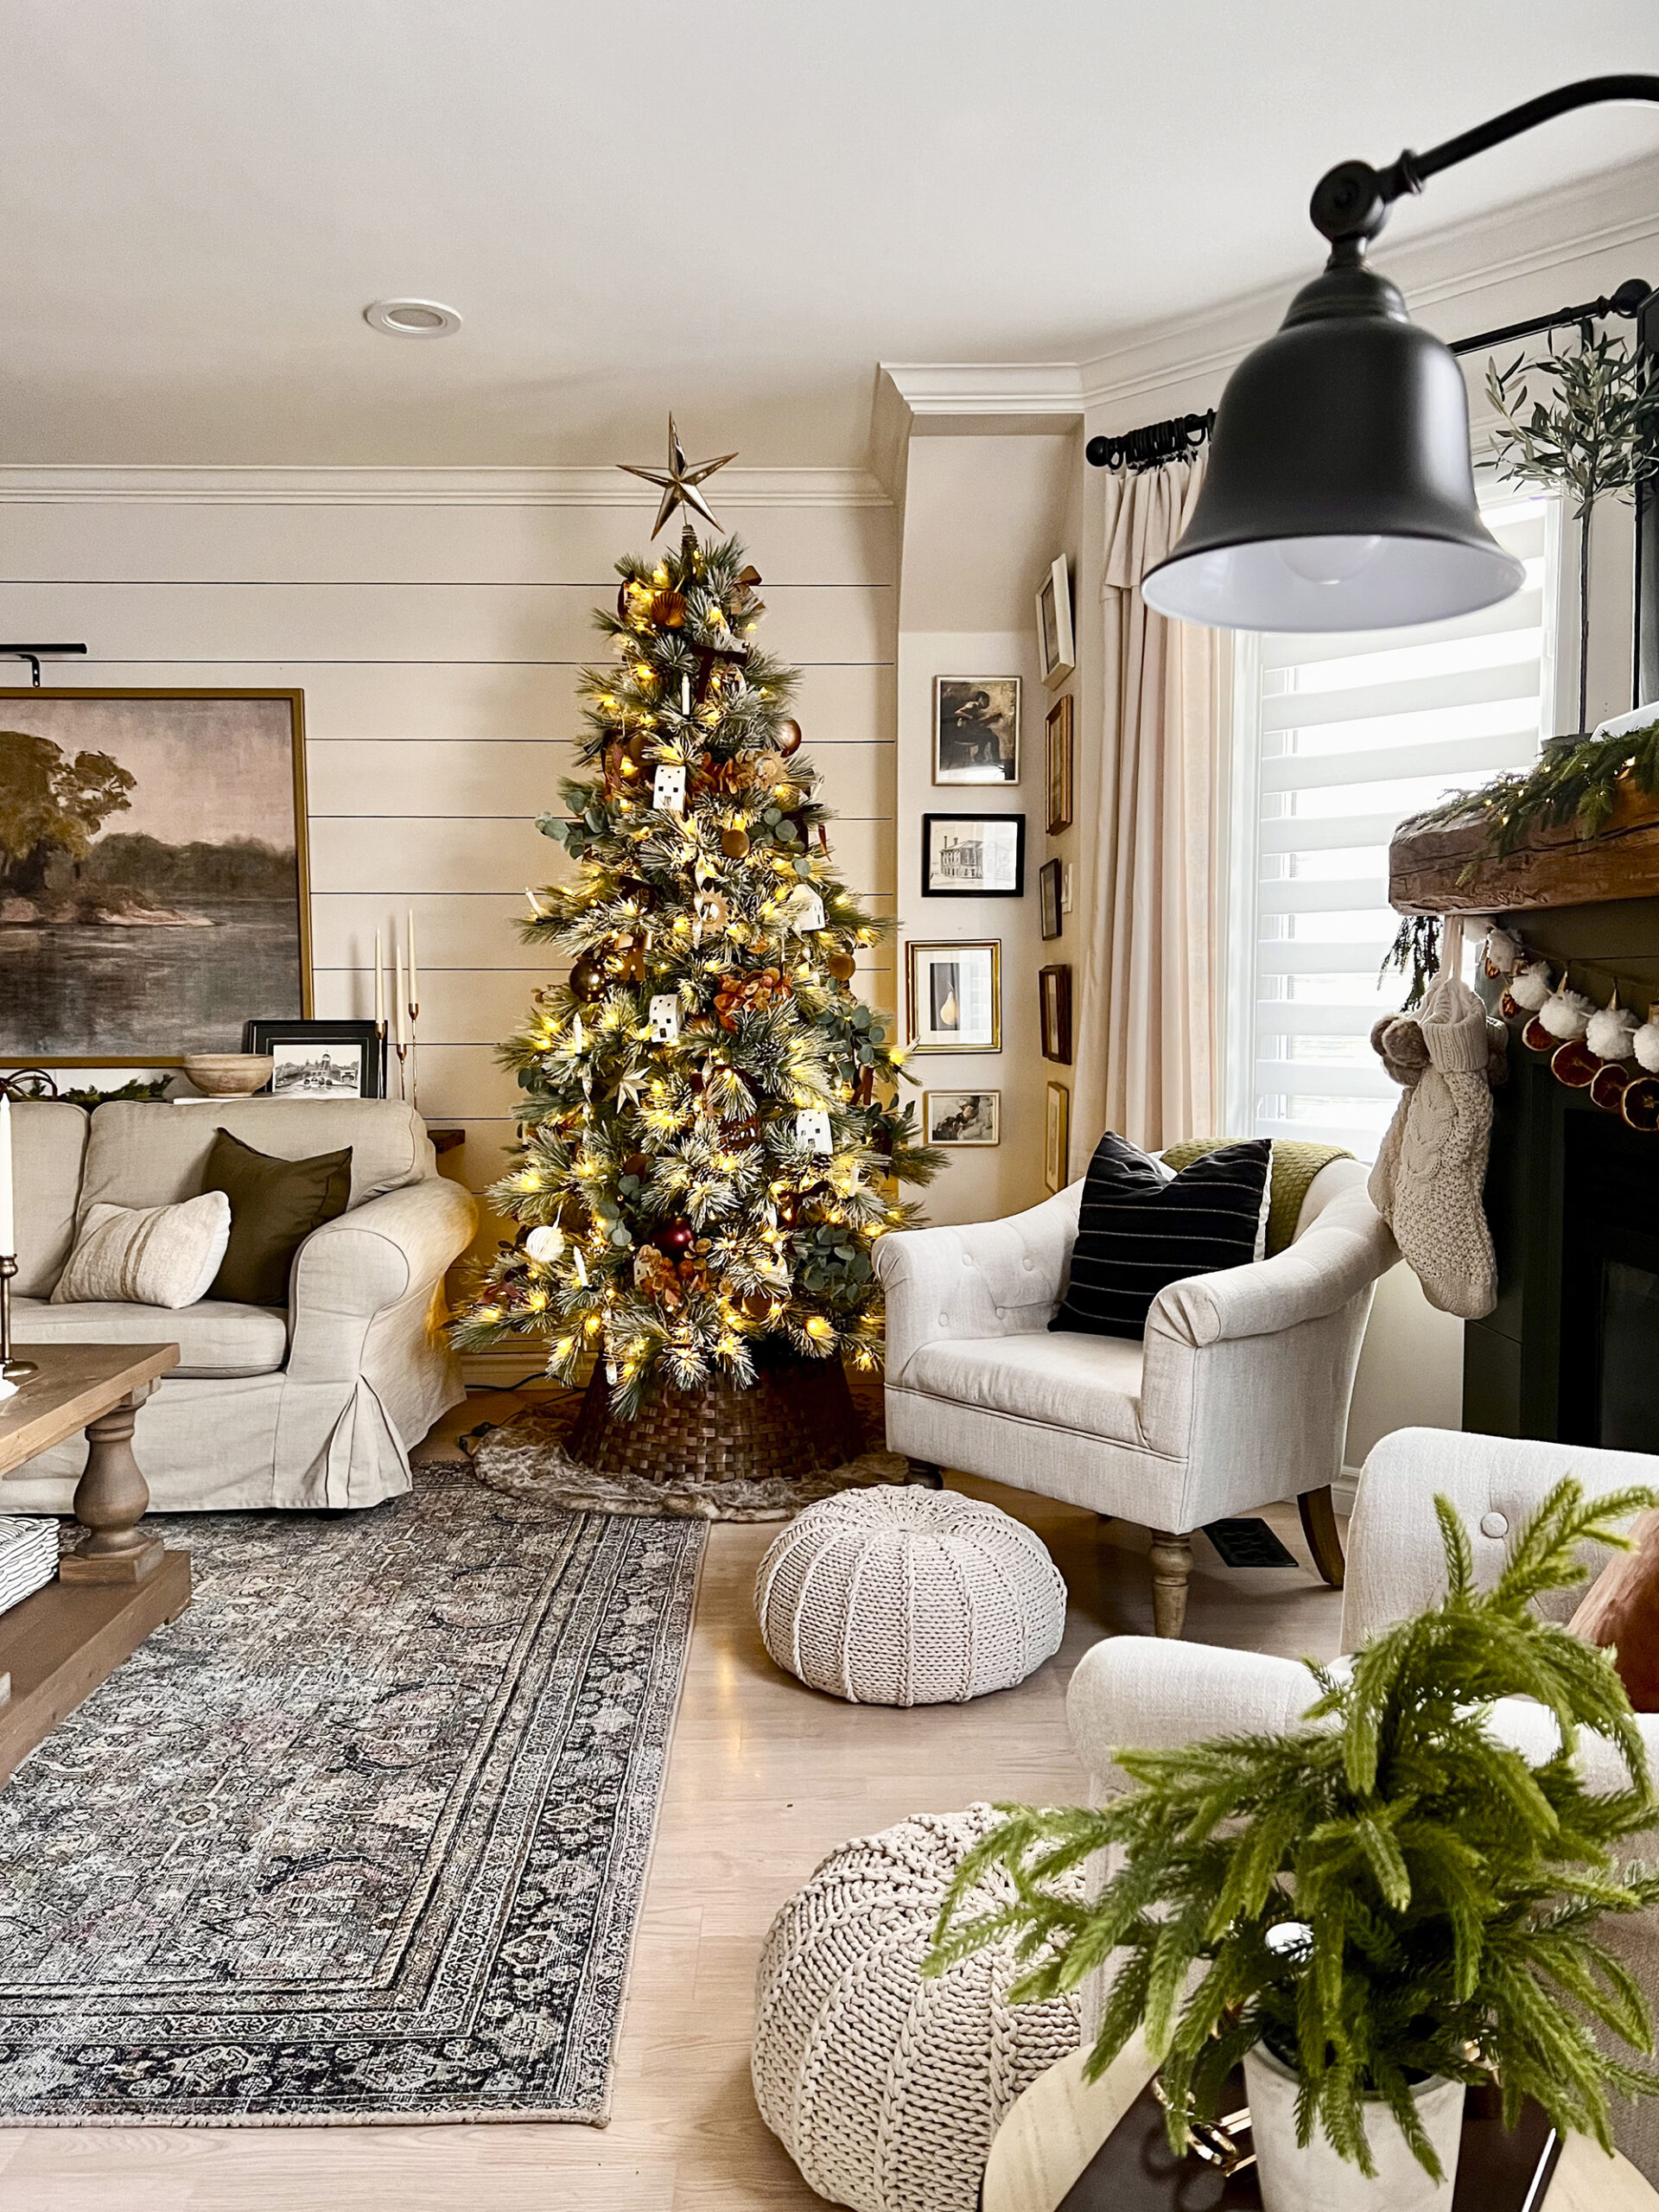
And now you have a fully decorated tree!


How to Decorate a Christmas Tree – Video
Watch as I explain how to decorate your tree with step-by-step instructions.
FAQs
Fluffing each branch thoroughly is essential, especially with faux trees. Spread the branches out and angle them to fill gaps. You can also add garlands or sprays to create more depth and a fuller look.
A good rule of thumb is about 100 mini lights per foot of tree height. For a 6-7 foot tree, aim for at least 600-700 lights. If you want extra sparkle, add more!
Always start with lights! Placing lights first helps create depth, and you can see where ornaments will look best without them being hidden by wires.
Start by deciding if you want the ribbon to wrap around the tree or cascade vertically. Cascading ribbons make the tree look taller, while horizontal wrapping creates a fuller look. Use wired ribbon for easier styling, and layer different ribbons for added texture.
Use extra greenery or floral picks in matching colors to fill gaps. Garlands or other tree fillers like berry stems or branches can add volume and help disguise empty spaces.
To keep ornaments secure, especially if you have pets or young children, twist ornament hooks around the branches tightly. You can also use floral wire to attach larger or heavier ornaments.
After fluffing the tree and adding lights, start with the largest or boldest ornaments first. Then add ribbons, followed by medium-sized ornaments, and finish with smaller or special ornaments for balance.
Tree toppers can reflect your style and the theme of your tree. Stars, angels, or large bows are popular options. Try a topper that complements the size of your tree—larger trees can handle taller, more dramatic toppers, while smaller ones might look better with simpler options.
Yes! Mixing different styles can create a unique and personalized look. Try balancing vintage ornaments with modern ones, or mix glossy and matte finishes for texture.
More Christmas Decorating Ideas
- How to Decorate for Christmas: My Tips for a Cozy, Festive Home
- How to Decorate a Christmas Tree
- 10 Classic Christmas Decor Staples That Never Go out of Style
- 10 Christmas Decorating Mistakes to Avoid This Season
- How to Decorate a Mantel with a TV Above It for Christmas
- How My Christmas Decorating Style Evolved
- How to Decorate for Christmas Without Clutter: 7 Festive Ideas
And there you have it—your beautifully decorated Christmas tree! I hope following these steps made the process easier and more fun. Decorating a tree is all about adding those special touches that make it feel like your holiday centerpiece.
How do you decorate your Christmas tree? Do you have a pretty tree? Or a family tree? Or both? Let me know in the comments below!

Want to see more content like this in your Google searches?
This button tells Google that Home Made Lovely is a source you like, so it can show you more of it.