As someone who has navigated the challenges of home organization, I understand the frustration of dealing with cluttered closets and chaotic kitchen drawers. Creating an organized and functional space is not just a dream; it’s entirely achievable with the right approach. In this post, I’m going to guide you through my five-step process for organizing your home, no matter the room or space.
I’ve learned that no amount of decorating or organizing can truly solve the problem of too much clutter. Decluttering spaces always comes first, although I can technically declutter and organize at the same time—it’s just easier to tackle them one at a time. For this post, let’s focus on the organization process. I’m assuming you’ve already decluttered and removed what you don’t need, so now we can dive into organizing. I’ll share five simple steps that will make organizing any room or space in your home a breeze! Let’s get started.
How to Organize Your Home in 5 Steps
Step 1: Set Clear Goals
I’m not a big planner. I’m fairly certain I have some undiagnosed ADHD, so planning and goal-setting is really hard for me. Maybe that’s you, too, but maybe not. Either way, the goal setting I’m talking about here is super simple for everyone.
You’re just going to find your “why.” Your “why” can be hugely motivating to get you started and keep you going with organizing your home. Define what you want to achieve with your organizing.
- Why do you want an organized home?
- What’s your end goal? Is it better functionality? Better sleep? Less stress? Saving time or money?
- Or even just for a more aesthetically pleasing space?
Your “why” will keep you going when things seem overwhelming.
Step 2: Prioritize Your Spaces
After you’ve defined why you want an organized home, you need to decide which room or space needs organizing first. Or if you’ve been doing this for a while, which room or space needs organizing next? As I’ve mentioned when I talk about decluttering in my videos, courses, and other blog posts, the place to begin is the space that will give you the quickest win.
- Start by asking yourself if a particular room, drawer, closet, or whatever you’re working on causes the most stress for you. If the answer is yes, start organizing that space. If not, move on to the next question.
- Consider whether you spend a lot of time using that room, space, drawer, or closet. If yes, start organizing there. If not, proceed to the next question.
- Determine if the room, space, or drawer can be quickly organized. If yes, start organizing it. If not, move on.
- Ask yourself if you have the least emotional attachment to that room or the things in it. If yes, start there. If not, proceed to the next question.
- Do you frequently misplace items in that room? If the answer is yes, you misplace things there, start with that room. If not, move on to another question.
- Assess whether organizing that room would make a significant impact with minimal effort. If yes, start organizing there. If not, proceed to the next question.
- Do guests see that space very much? If yes, start organizing there. If not, move on.
- Reflect on whether you feel motivated to tackle organizing that space. If yes, start there. If not, proceed to the next question.
- Would that room benefit most from improved functionality? If yes, start organizing it. If not, move on.
- Assess if that room is currently disrupting your daily routine. If the answer is yes, start organizing it. If not, consider a different room.
That’s basically my “where to start” flow chart/list of questions to prioritize organization. Organize the space that needs it most, but that will also give you a sense of accomplishment fairly quickly so that you are motivated to keep organizing the rest of your spaces.
As you go through your house and organize more and more rooms, these questions will be harder to answer, so you’ll have to work further down the flow chart of criteria.
Step 3: Create Zones
Now that you’ve determined your “why” and sorted your spaces in the order you need to organize, it’s time to divide each room into zones based on function or category. Think of the room in terms of how you use it. You can do this with drawers and closets, too! You can draw this out on paper for all your spaces at once or one at a time as you begin to work on them.
Examples of zones are to create a workspace and a related zone or categorize items like books, clothes, or kitchen supplies. Zones are about functionality and time: they increase your home’s functionality and save you time. Zones are vital because when you know how you use your space, you can better design the space you want.
Here are a few examples of zones you can create in the living room, kitchen, and bedroom.
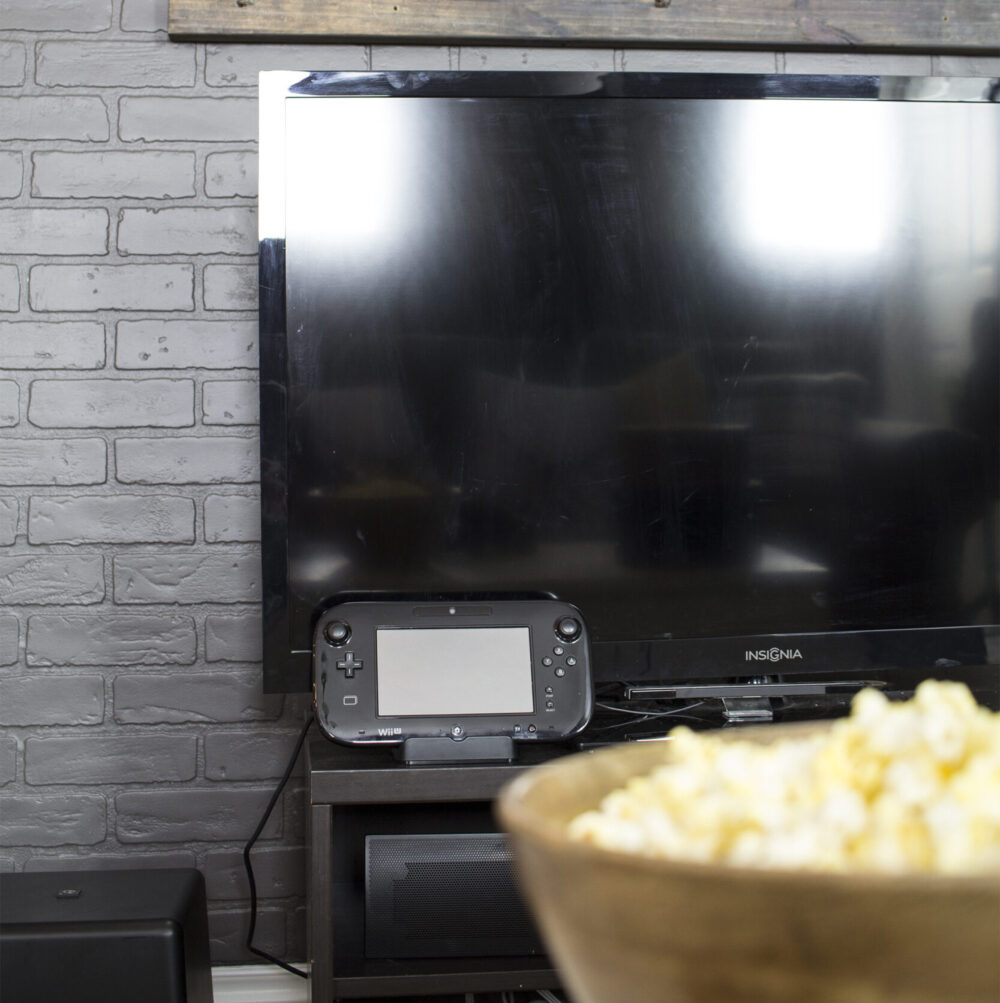
In the living room, you can create an entertainment zone. This could include the TV, gaming, consoles, and comfortable seating arranged for optimal viewing around the TV.

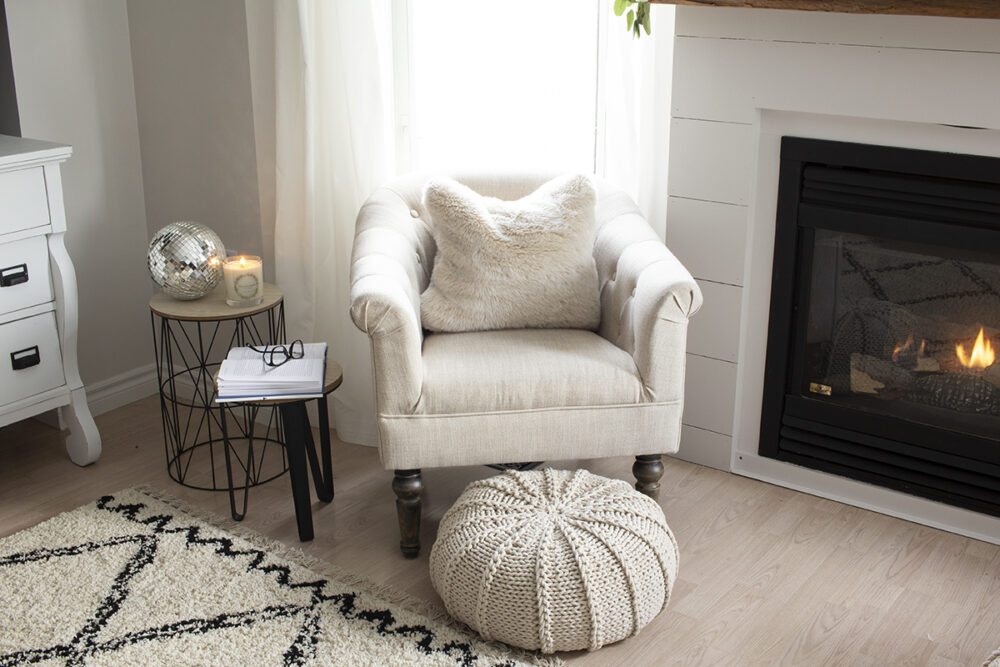
You can also create a reading nook: a cozy corner with a comfortable chair or chaise lounge, a small table, and a bookshelf for storing books and magazines.
In the kitchen, you can create a preparation zone. This is the area where most of the food preparation takes place. The preparation zone is typically set up on the countertop near the sink and/or the stove.
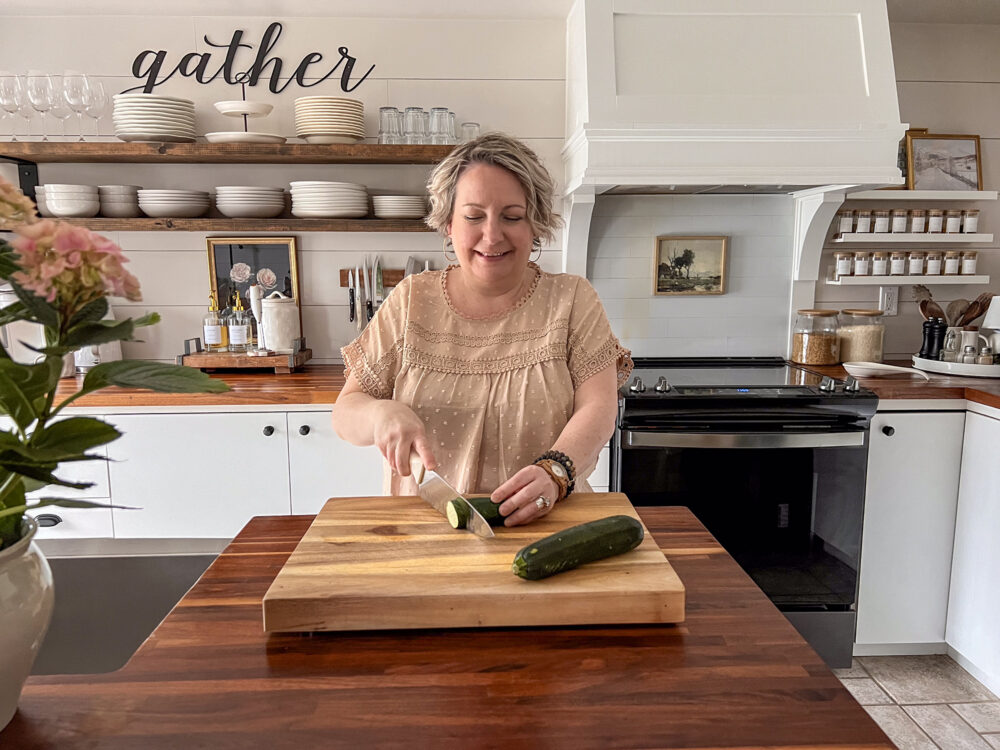
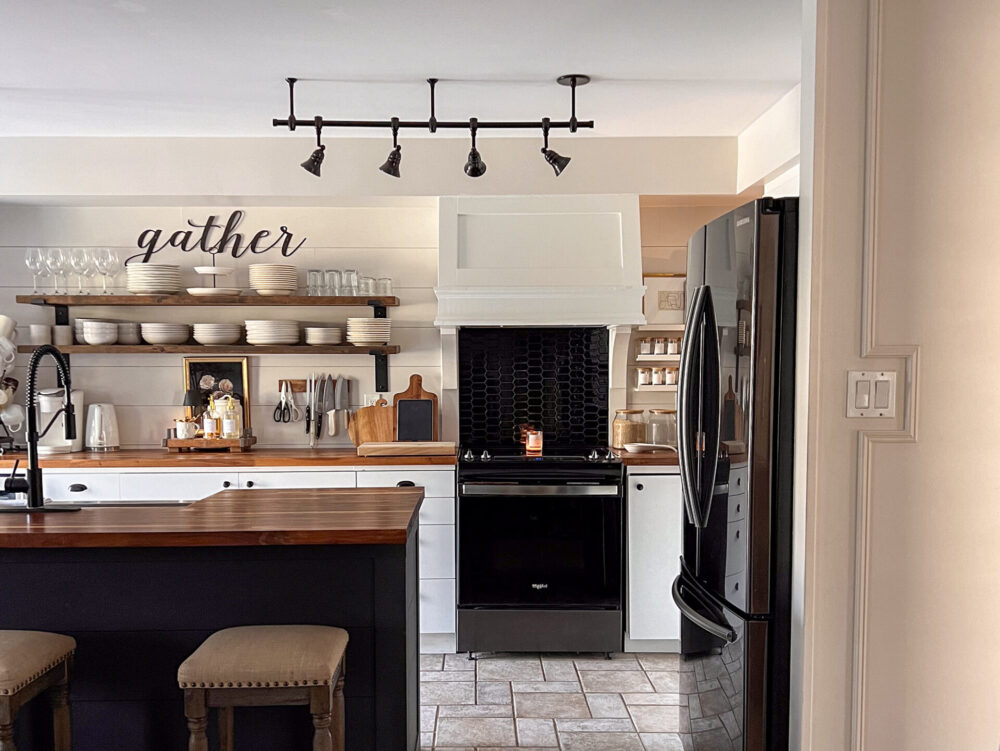
You can also create a cooking zone around the stove and oven where cooking activities primarily occur. The cooking zone can also include storage for pots, pans, and cooking utensils.
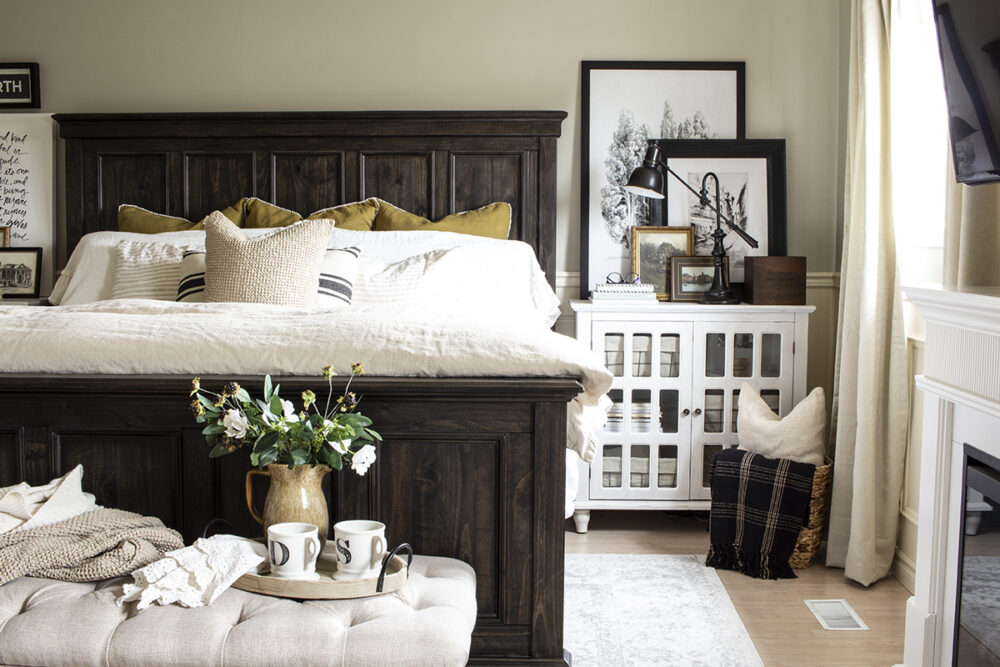
In the bedroom, of course, the primary focus is the sleeping zone. This consists of a bed with comfortable bedding, pillows, and often nightstands where you can set things down.
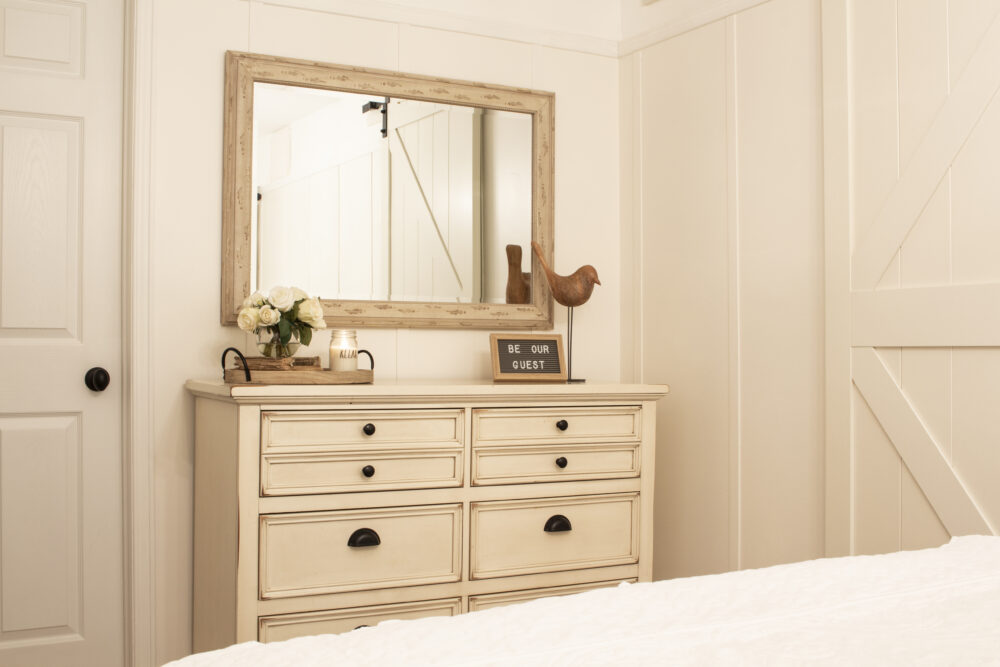
You could also create a dressing area, which is a space dedicated to getting yourself ready for the day. This could include a dresser or wardrobe, along with a mirror or possibly a vanity for applying makeup and styling your hair.
Creating zones like these can help you organize your space more effectively and make it easier to find what you need when you need it.
Step 4: Storage Solutions
Now that you’ve got your zones all plotted out, it’s time to invest in appropriate bins, baskets, shelves, and organizers. Choose storage solutions that fit the size and shape of your items and space. To help with this, I like to use the M.A.X.I.M.I.Z.E. acronym:
The first “M” is for MEASURING your space.
The “A” stands for ASSESSING negative space. In this case, negative space refers to the areas in a room that are currently unused or underutilized.
After you measure and assess the space, the “X” is for EXPLORING creative solutions and thinking outside the box.
The first “I” is to INVEST in a variety of storage.
The next “M” is to MAXIMIZE usable space.
The second “I” is to INCORPORATE your lifestyle needs. Ask yourself who uses the room. Is it little kids? Is it older people? You need to choose suitable storage solutions for who is using the space.
The “Z” in the M.A.X.I.M.I.Z.E. acronym is for ZEROING in on consistency in your storage pieces. For example, if you have open shelving, you probably want storage pieces that at least coordinate, if not match.
The final “E” is for EXTRAS; buy extra storage solutions and then return what you don’t need.
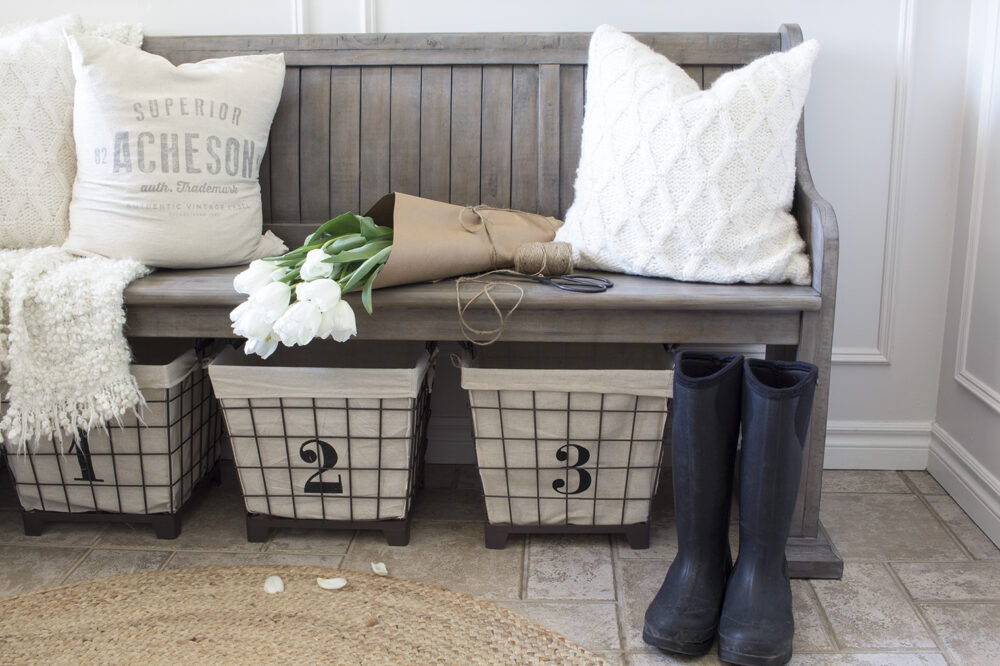
Step 5: Label Everything
I like to use labels where needed to help identify the contents of containers, shelves, drawers, etc. In a labeled home, chaos becomes clear, and everything finds its place. Labels make it easy for everyone in your house to put things away where they go.
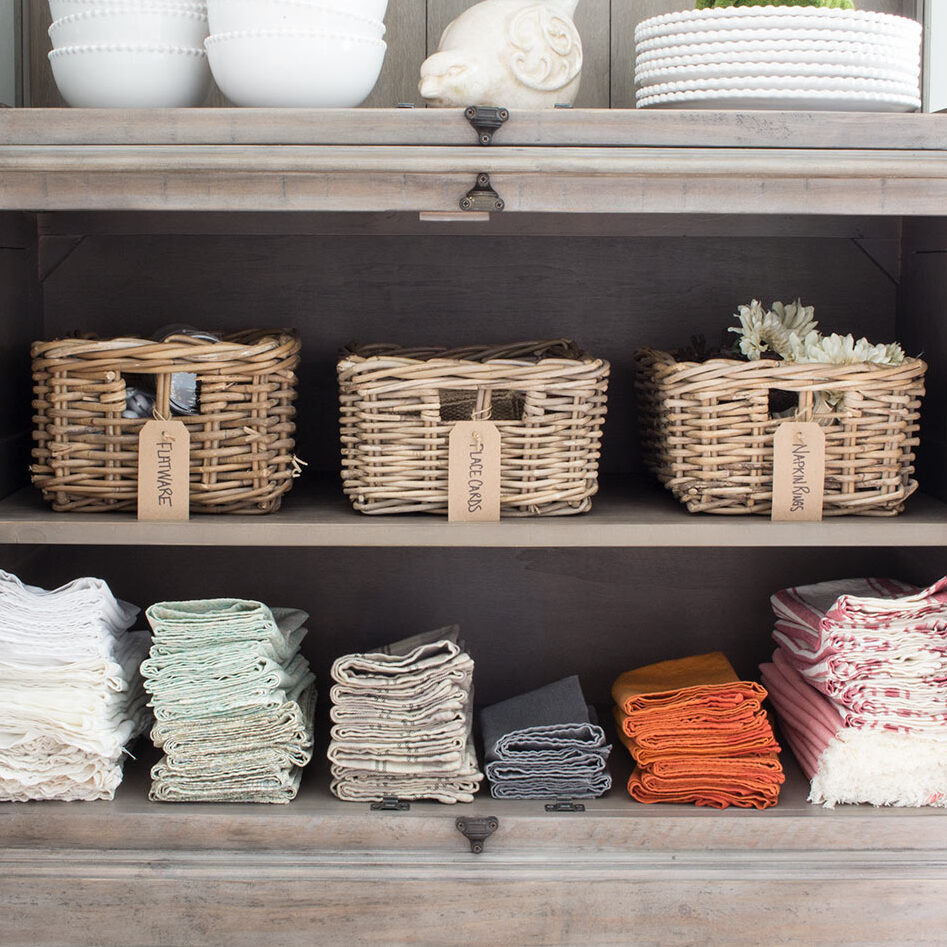
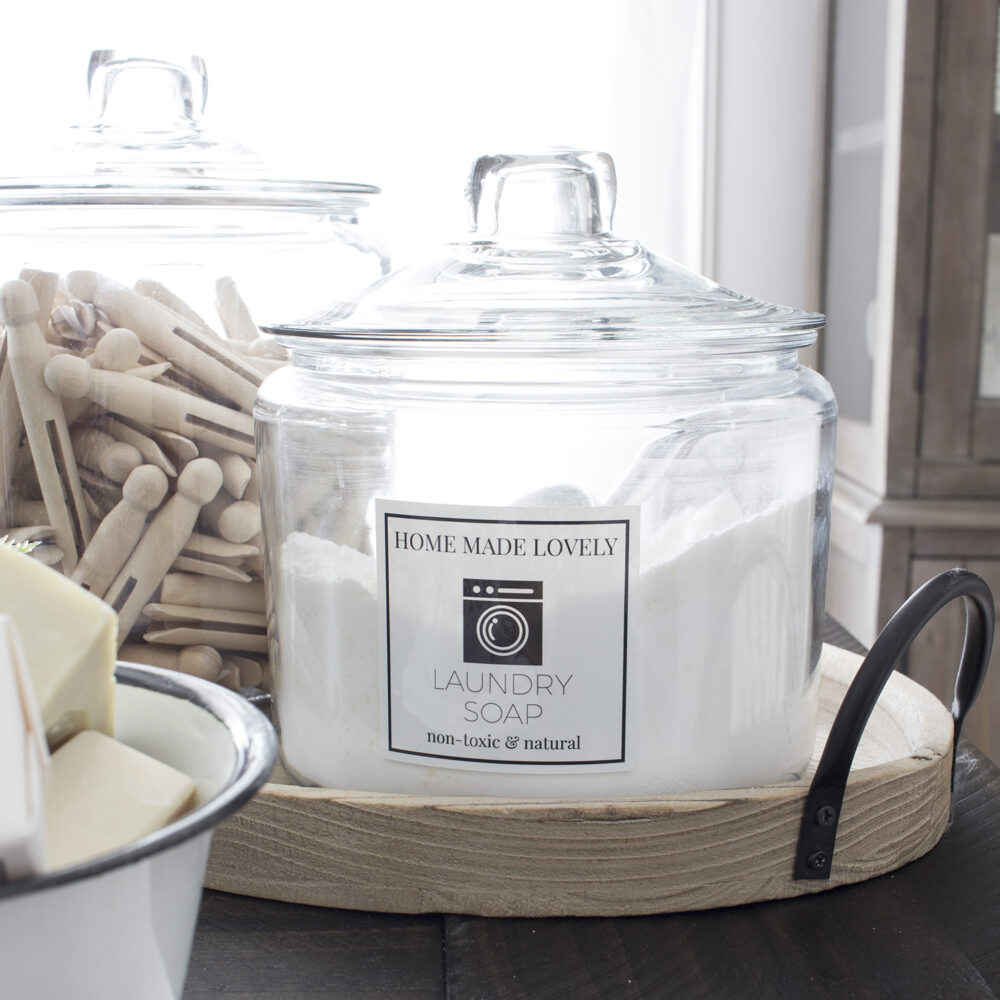
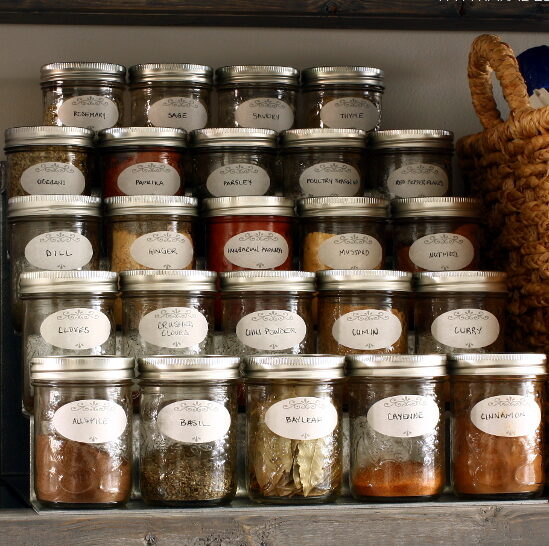
Labels are the key to getting and staying organized, directing you to the designated spot and precise place for every item. Labels are like a map for your organized home. They make it easy for everyone in your house to put things away where they belong.
FAQs
No! Clutter can make it challenging to find a place for everything, and you may end up organizing items you don’t need.
It varies by size and clutter level, but expect to spend anywhere from a few hours to a couple of days per room.
Common supplies include bins, baskets, shelving, labels, and a good pair of scissors. It depends on your space, your budget and your needs.
Would You Rather Watch?
Summary: 5 Steps to Organize Your Home
So, now you know how to organize your home in five steps:
- Step 1: Set Clear Goals
- Step 2: Prioritize Your Spaces
- Step 3: Create Zones
- Step 4: Storage Solutions
- Step 5: Label Everything
Which room in your home could most use organizing with the steps I shared in this post? Let me know in the comments below!

Want to see more content like this in your Google searches?
This button tells Google that Home Made Lovely is a source you like, so it can show you more of it.
Thank you for such a comprehensive article on organizing!! I’ve decluttered like crazy!! Nothing hiding in my closets!! I’m disabled physically and never could have done this without my best girl friend!! Now excited to organize and my best friend will be helping!! She’s so good to me!! So many people I knew and thought we we’re close have disappeared since I became more ill!!
I’m so glad you best friend has been able to help you along with my guide/blog! Yay you! SO good! (I am sorry that many have shied away since you became more ill. That is not pleasant, I’m sure.)