If you have a room that needs curtains but you’re working with a tight budget, or maybe you’re not quite a sewing pro (but can handle an iron), you’re in the right place! I’ve got an easy, budget-friendly solution for you: no-sew drop cloth curtains. These simple curtains give you that rustic, farmhouse vibe while saving you a ton of money. And they’re perfect for any room—especially if you’re looking for a DIY project that doesn’t require complicated tools or skills.
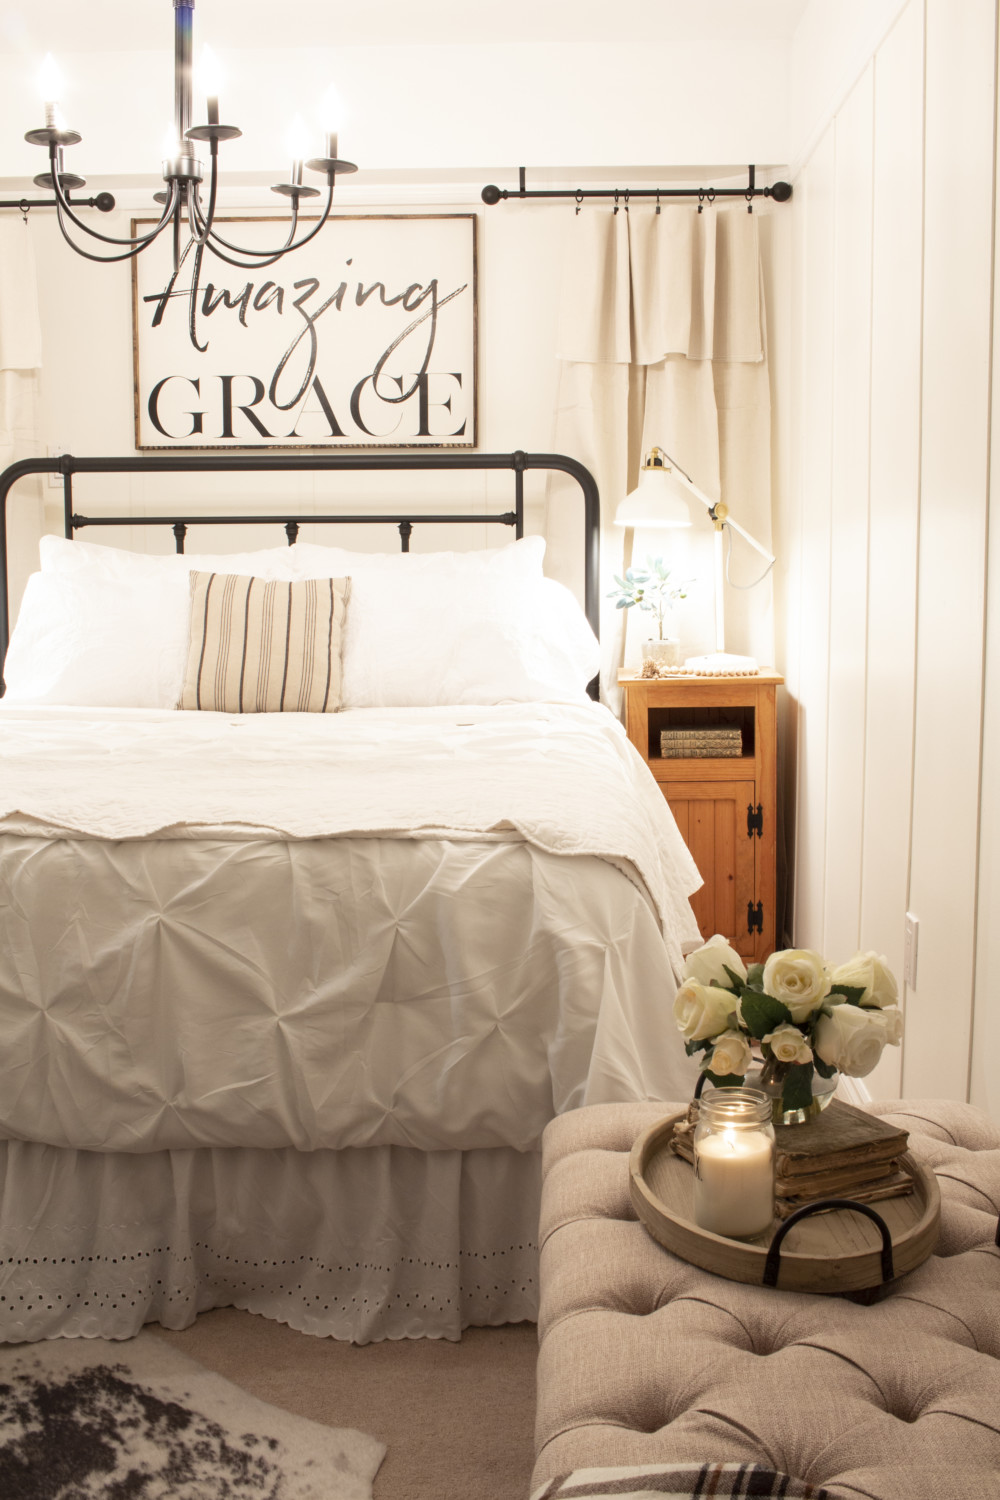
Not too long ago, I used drop cloth curtains in our guest bedroom for the One Room Challenge (ORC). We had some odd corners on either side of the bed, and while there’s no actual window, we decided to disguise them with our DIY drop cloth curtains for a cozy, stylish look. If you want more tips on choosing curtains that work for your space, make sure to check out my post on how to choose the perfect curtains for every room—it’ll help you pick the right style, fabric, and color to fit your decor.
Now, let’s get into the fun part: creating your very own no-sew drop cloth curtains!
How to Make Your Own No-Sew Drop Cloth Curtains
Making your own drop cloth curtains is surprisingly easy and affordable. I’ve actually done this project before in our old house. Without sewing, I often use my glue gun and glue. But for this tutorial, I’m using an iron and hem fuse tape instead. Here’s how to do it:
Materials:
- One 4’ x 15’ canvas drop cloth (I recommend a medium weight for the perfect balance of drape and sturdiness)
- Hem fuse tape (this will make the “hemming” process easy without a sewing machine)
- Curtain rod (choose a style that complements your room)
- Curtain rings with clips (these make it super easy to hang and switch out your curtains)
Tools:
- Iron and ironing board
- Scissors
Instructions:
- Cut the Drop Cloth: Start by cutting the drop cloth in half, creating two pieces that are about 4’ x 7.5’. This will give you the right length for most standard windows.
- Iron the Fabric: Iron out the fold lines of the drop cloth, spritzing with water if necessary. Iron the raw edges down about 1/2” to prepare for the hem.
- Apply Hem Tape: Place the hem tape in the folded canvas along the raw edges. Then, use your iron to press on one side, then the other, to fuse the fabric together. This will create a clean hem without sewing.
- Install the Curtain Rod: Hang your curtain rod with the appropriate hardware. Make sure it’s placed high enough to give the illusion of height in your room.
- Attach the Rings and Hang the Curtains: Slip the curtain rings onto the rod, then clip the canvas to the rings.

Optional Customizations:
- Double Up for Fuller Look: If you want a thicker curtain, you can double up the drop cloth fabric before attaching the curtain rings.
- Let It Puddle: For a more relaxed, elegant look, let your curtains puddle on the floor, like we did in our old living room after switching the living and dining areas.
- Create a Ruffled Look: For our guest room, I flipped the top portion of the drop cloth over to create a lovely ruffled effect—such an easy way to add texture and style!
Tips for the Best Results
- Wash the Drop Cloths First: Before you start, wash your drop cloths. This softens them up, making them easier to work with and giving them a beautiful, relaxed drape once they’re hung.
- Don’t Forget the Length: When deciding how long you want your curtains to be, consider the height of your ceiling and how much length you want at the bottom. Curtains that touch the floor give a more polished look, while those that hang just above it can create a more casual feel.

FAQs
I recommend using medium-weight cotton or canvas drop cloths for the best combination of drape and durability. These fabrics are easy to work with and look great in any room!
After washing and drying, give your drop cloths a good ironing. Make sure to use steam or water to get out any stubborn wrinkles, especially along the folds.
You can easily use hem fuse tape to create a clean edge and curtain rings with clips to hang them. No sewing machine needed!
More Ideas for Curtains

Make Your Own No-Sew Drop Cloth Curtains
Make your own no-sew drop cloth curtains with this really easy trick. Save money on curtains and get that rustic farmhouse look too!
Materials
Tools
Instructions
- Cut drop cloth in half, creating two pieces approximately 4’x7.5′.
- Iron out the fold lines, spritzing with water if necessary. Iron the raw edge down about 1/2″.

- Place hem tape in folded canvas and iron on one side and then the other to fuse together.
- Hang rod with appropriate hardware.
- Slip curtain rings onto rod and clip canvas onto ring clips.


Notes
Washing the drop cloths before making them into curtains will make your curtains extra soft and pliable!
Creating your own no-sew drop cloth curtains is a simple, affordable way to refresh any room. They’re easy to make, customizable to your taste, and fit perfectly into a variety of decor styles. If you’re looking for a DIY project that doesn’t break the bank but still looks great, this is the way to go!
Have you made any curtains for your house? Let me know in the comments below!

Want to see more content like this in your Google searches?
This button tells Google that Home Made Lovely is a source you like, so it can show you more of it.
Hi Shannon,
Love this!! Love! Spent a couple of hours with a glass of wine on my porch yesterday and went through your blog – wow – just wow. Love it. I feel like I had a visit with you and Dean in your house (houses). It was so great to meet and hang out with you at Haven, and I’m SUPER excited to see your full dining room reveal! xxWendy
Aw, thank you. I so wish you could come visit for real. Well, not today – it’s pretty messy. I’ve only just started unpacking and doing laundry! So glad you decided to take the limo with us from the airport! xo, S.
Your curtains look lovely. What caught my eye, was the Bible verses that you have on either side of the window. Do you have them on your site as downloads? Or where could I get them>
Thanks, Dianne. You can find the verses for download on our site for free here: http://akadesign.ca/free-indeed-know-who-you-are-in-christ-free-printables/. 🙂
Shannon, I love these! So fabulous! Also, LOVE your chandelier. Where did you get that? Can’t wait to see the full reveal soon 🙂
Danielle x
Thanks! The chandelier was bought on kijiji, however it is made by Hampton Bay and sold at Home Depot. Here’s the Canadian link: http://www.homedepot.ca/product/heritage-6-light-iron-and-crystal-chandelier/941011. I couldn’t find it on the US site. xo, S.
We’ve been searching for an idea for the window treatments in our kitchen eat-in nook–I think this is the winner! Thanks for the inspiration. I’ll try to remember to share with you when I’ve done it.
We’d love to see it!!
Love these!! I have an idea…I need you to come to my new home and help me! I’ll outfit you in jewelry for life!!! Xoxo ( yes, I’m serious!)
Oh my goodness! That is uber tempting!!! Where did you move to again?
Hi, your room looks great! 🙂
What is the colour on the walls? I really like it! 🙂
The color in the dining room is Sherwin Williams Analytical Gray. 🙂
I love your color make things look so bright. Good job on your on the no sew Drapes.
Thank you, Jean!!!
Thank you – love it!
Can’t tell you how many hours I’ve spent looking for window covering options/ideas. Everything either seemed too over-the-top (decadent) or on looking on the cheap side. I think this will create the look/feeling I’m looking for.
Appreciate that you also provide links to where the materials can be obtained.
Wish me luck! Thanks Diane
Hi Shannon, where do did you get your drop cloths?
Just from Home Depot, Lowe’s or Amazon!